Being Done is SO 2023

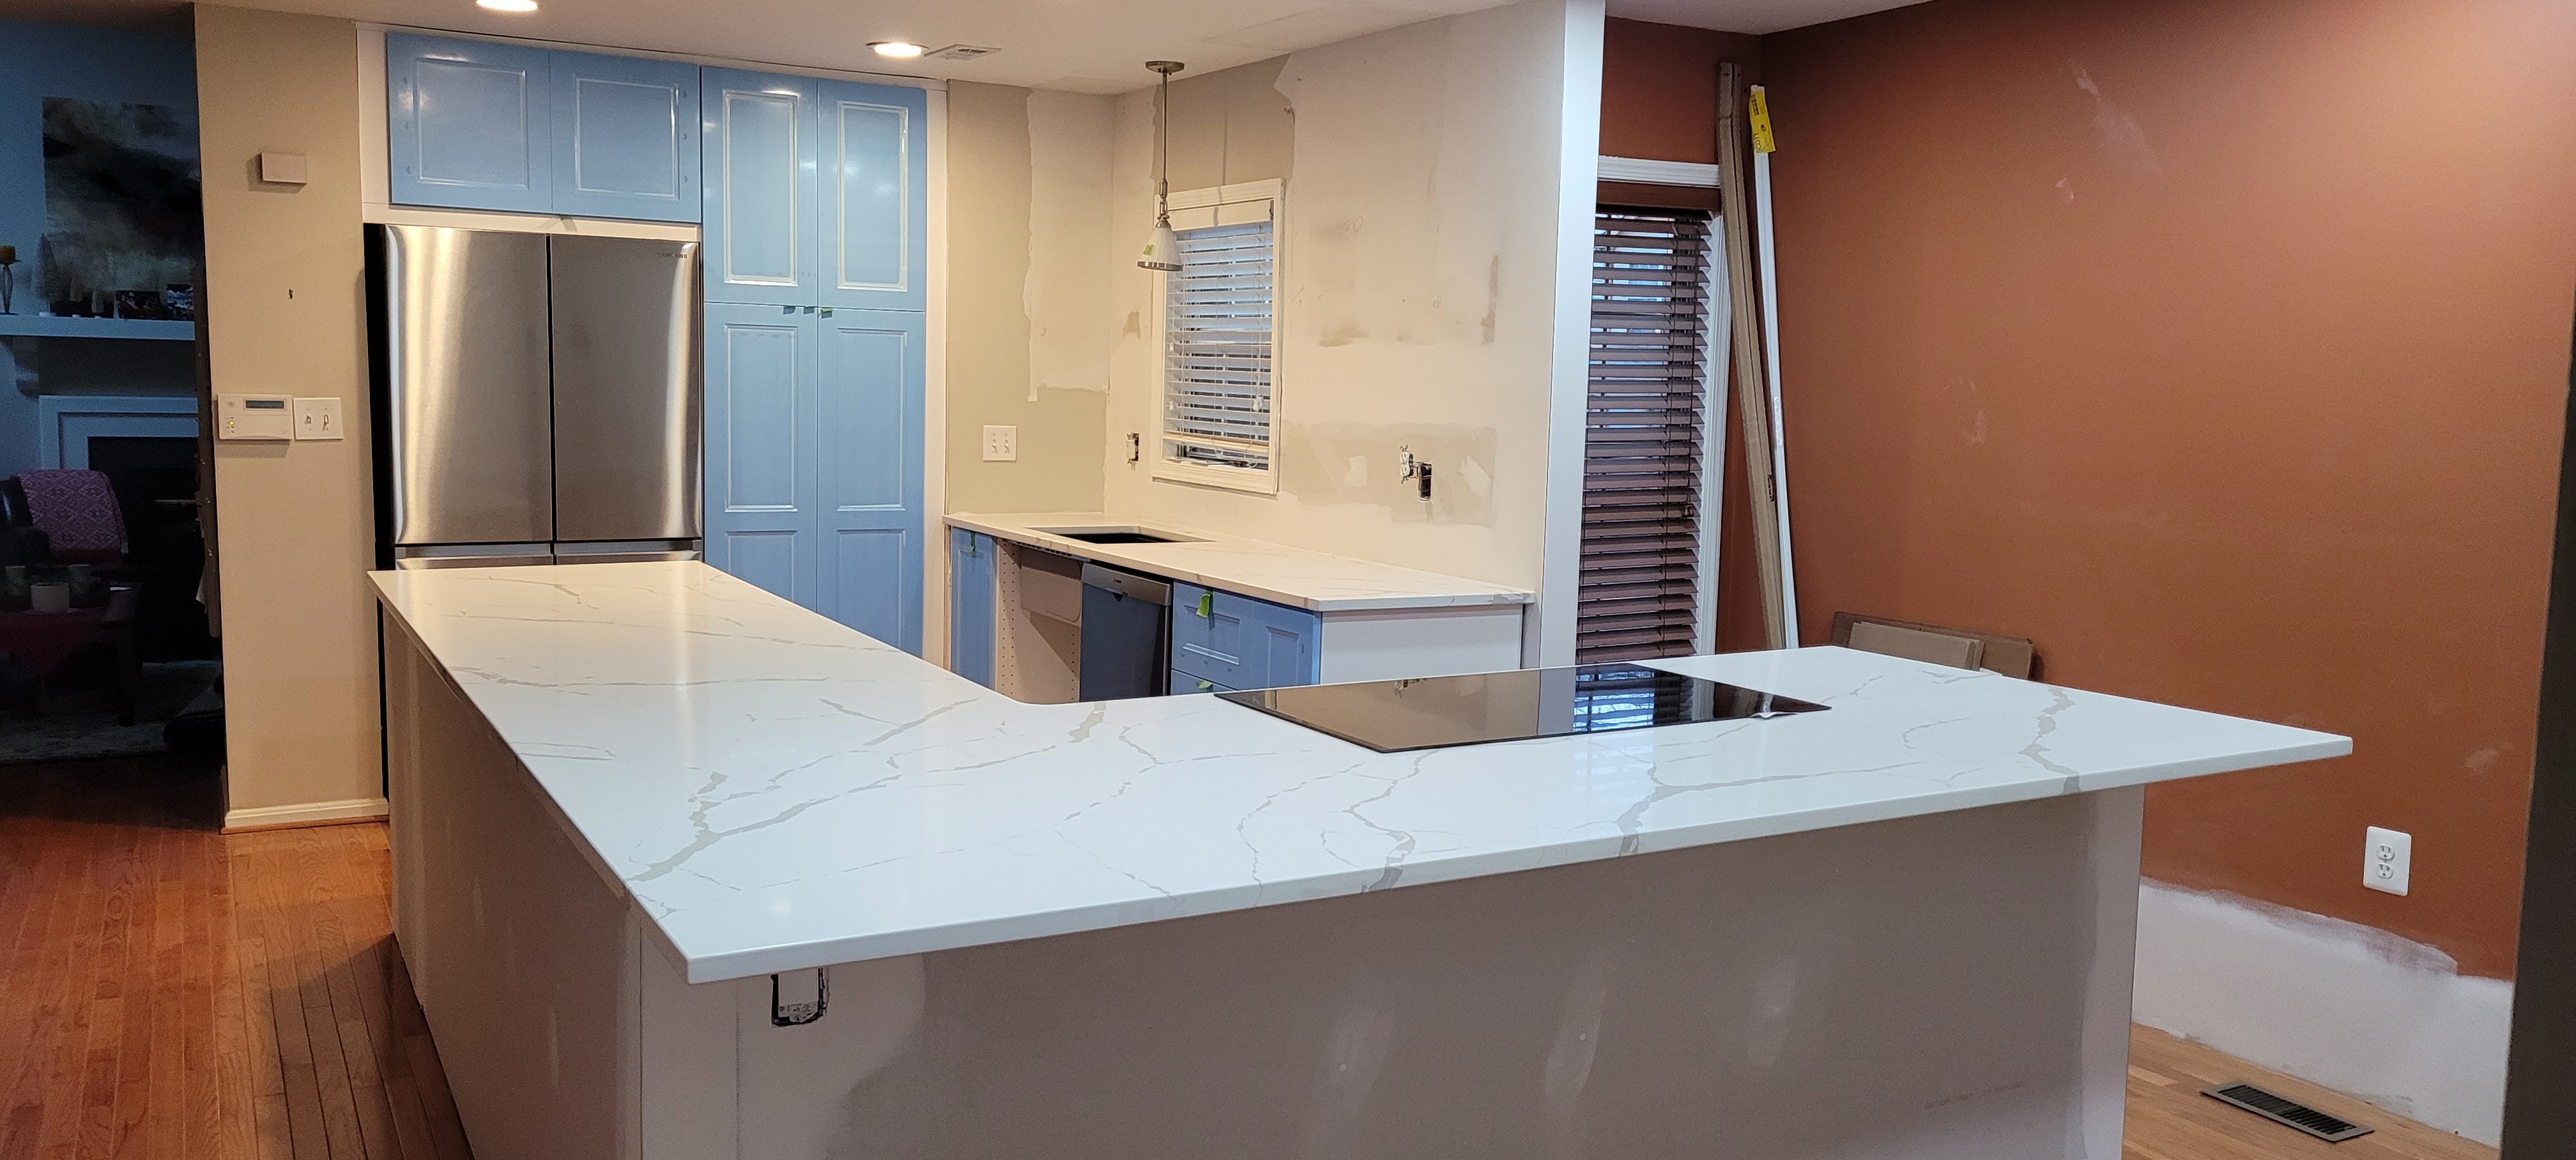
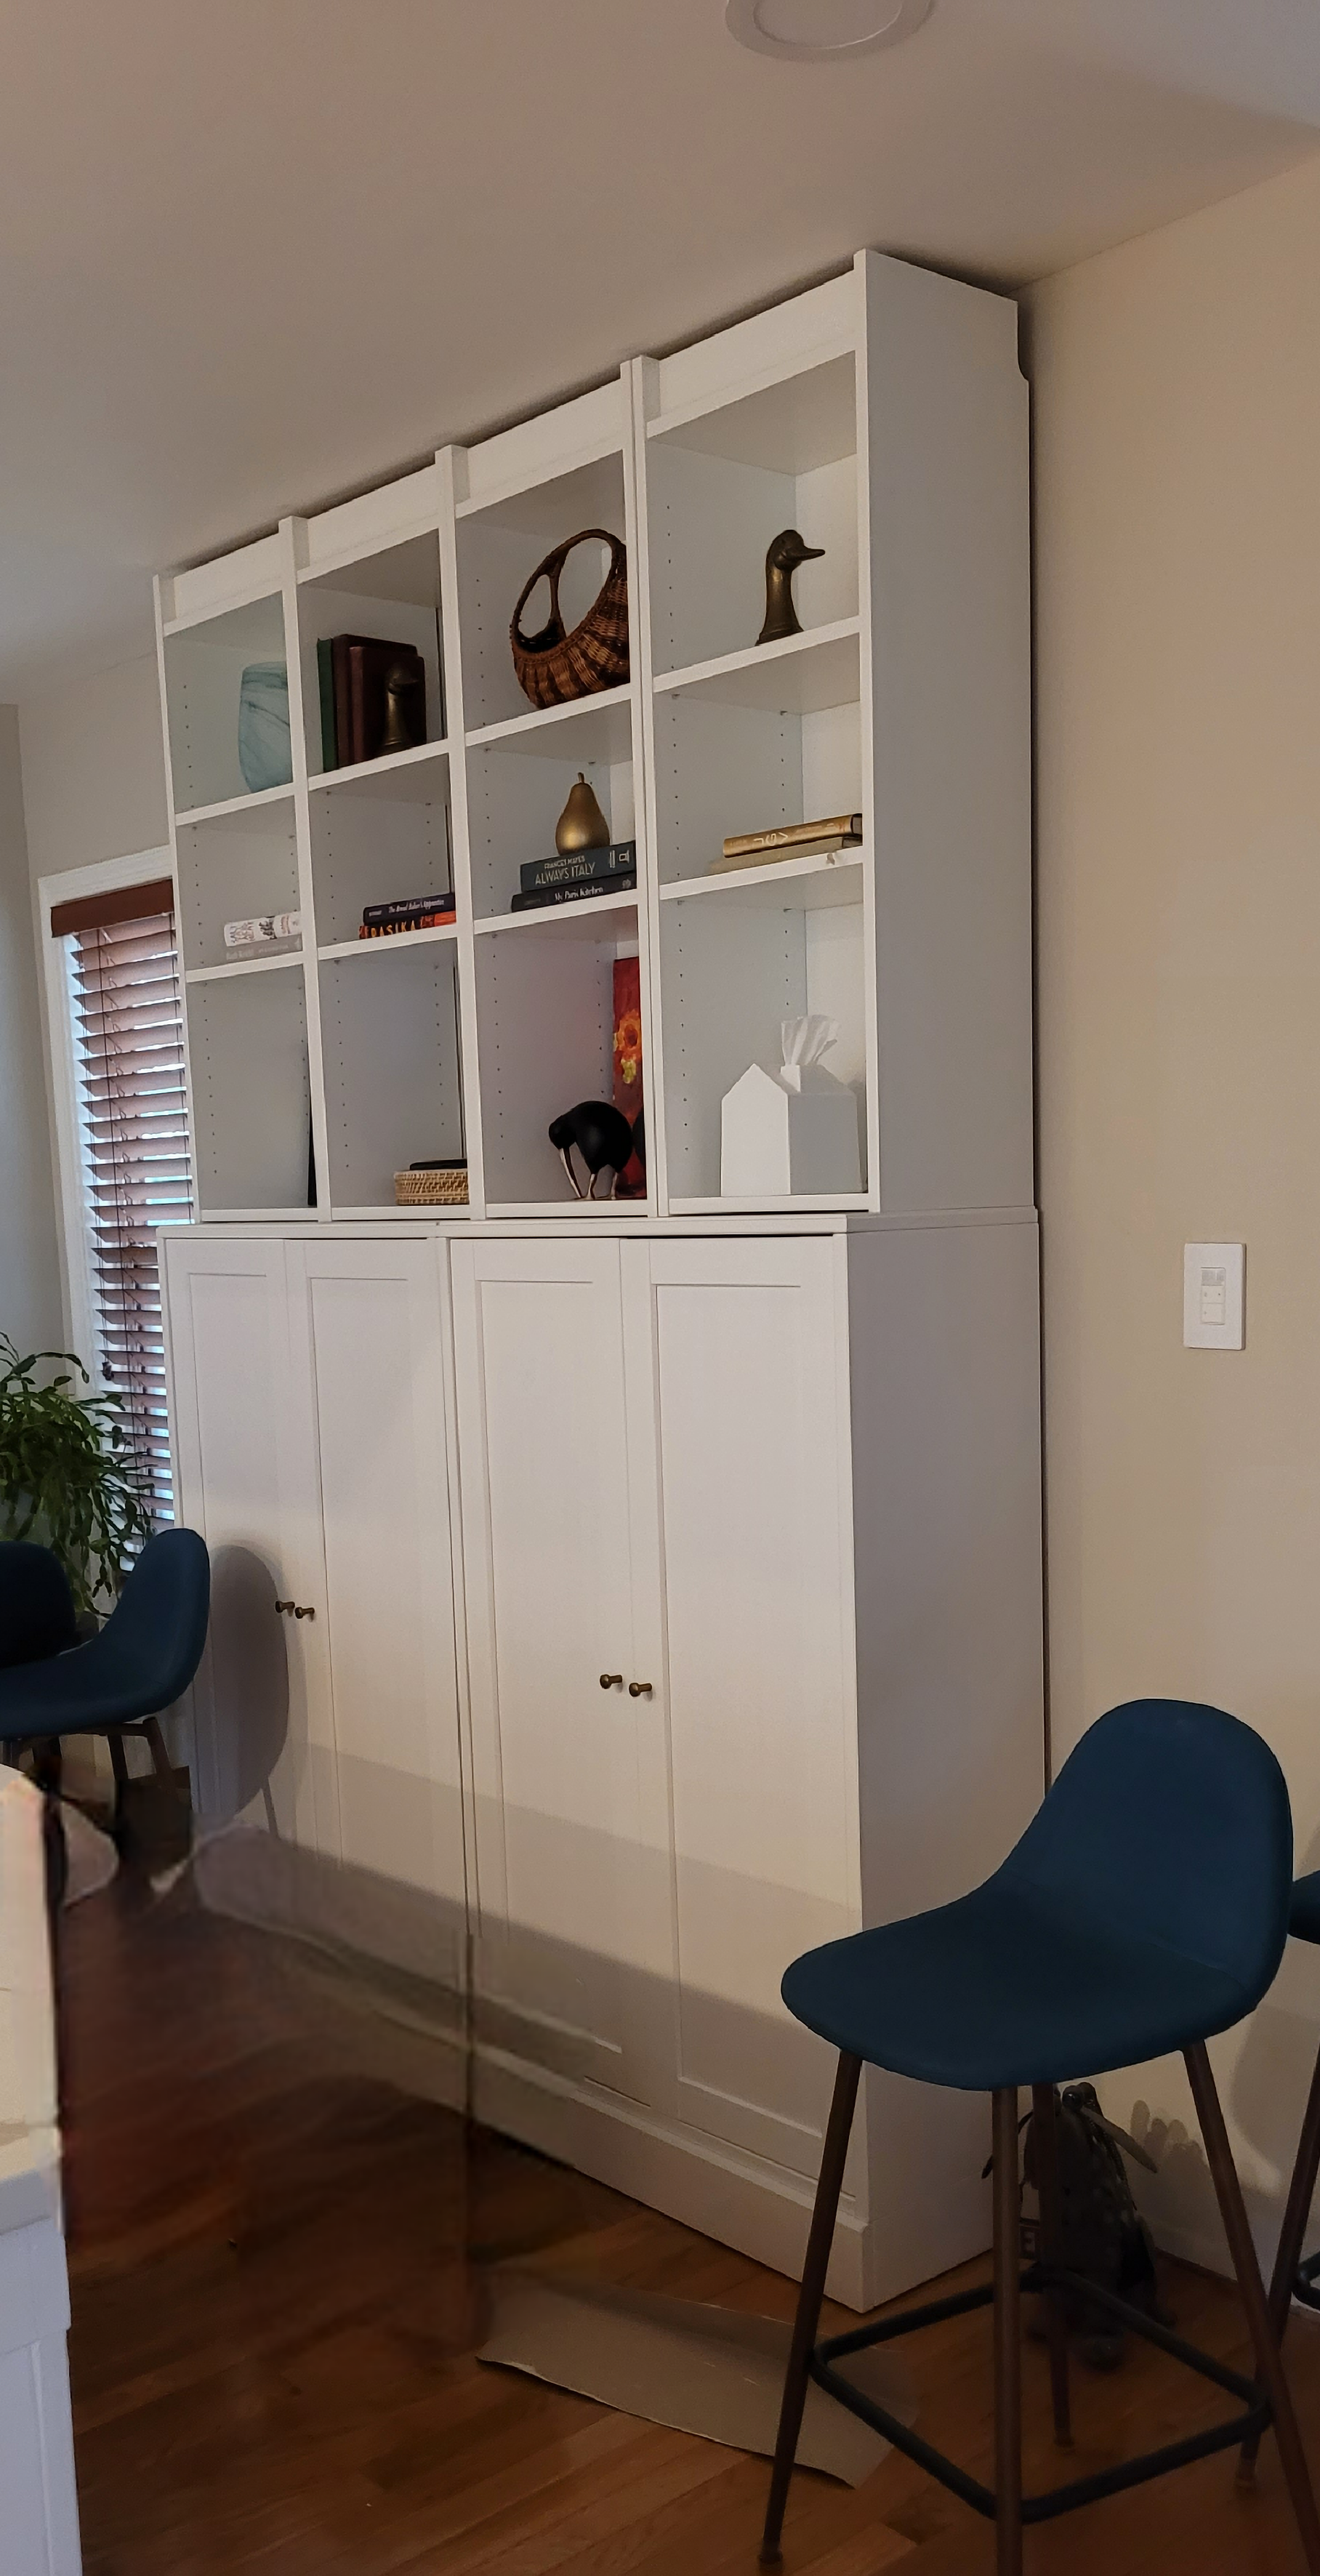
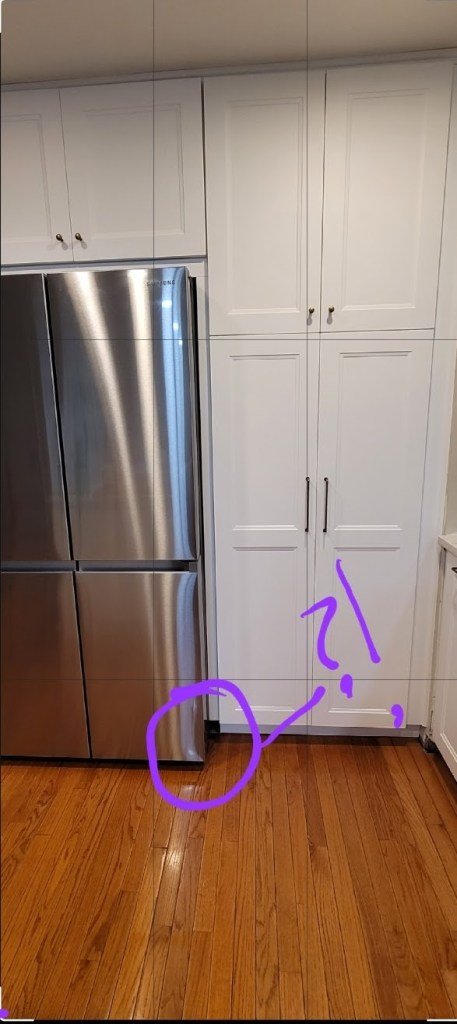
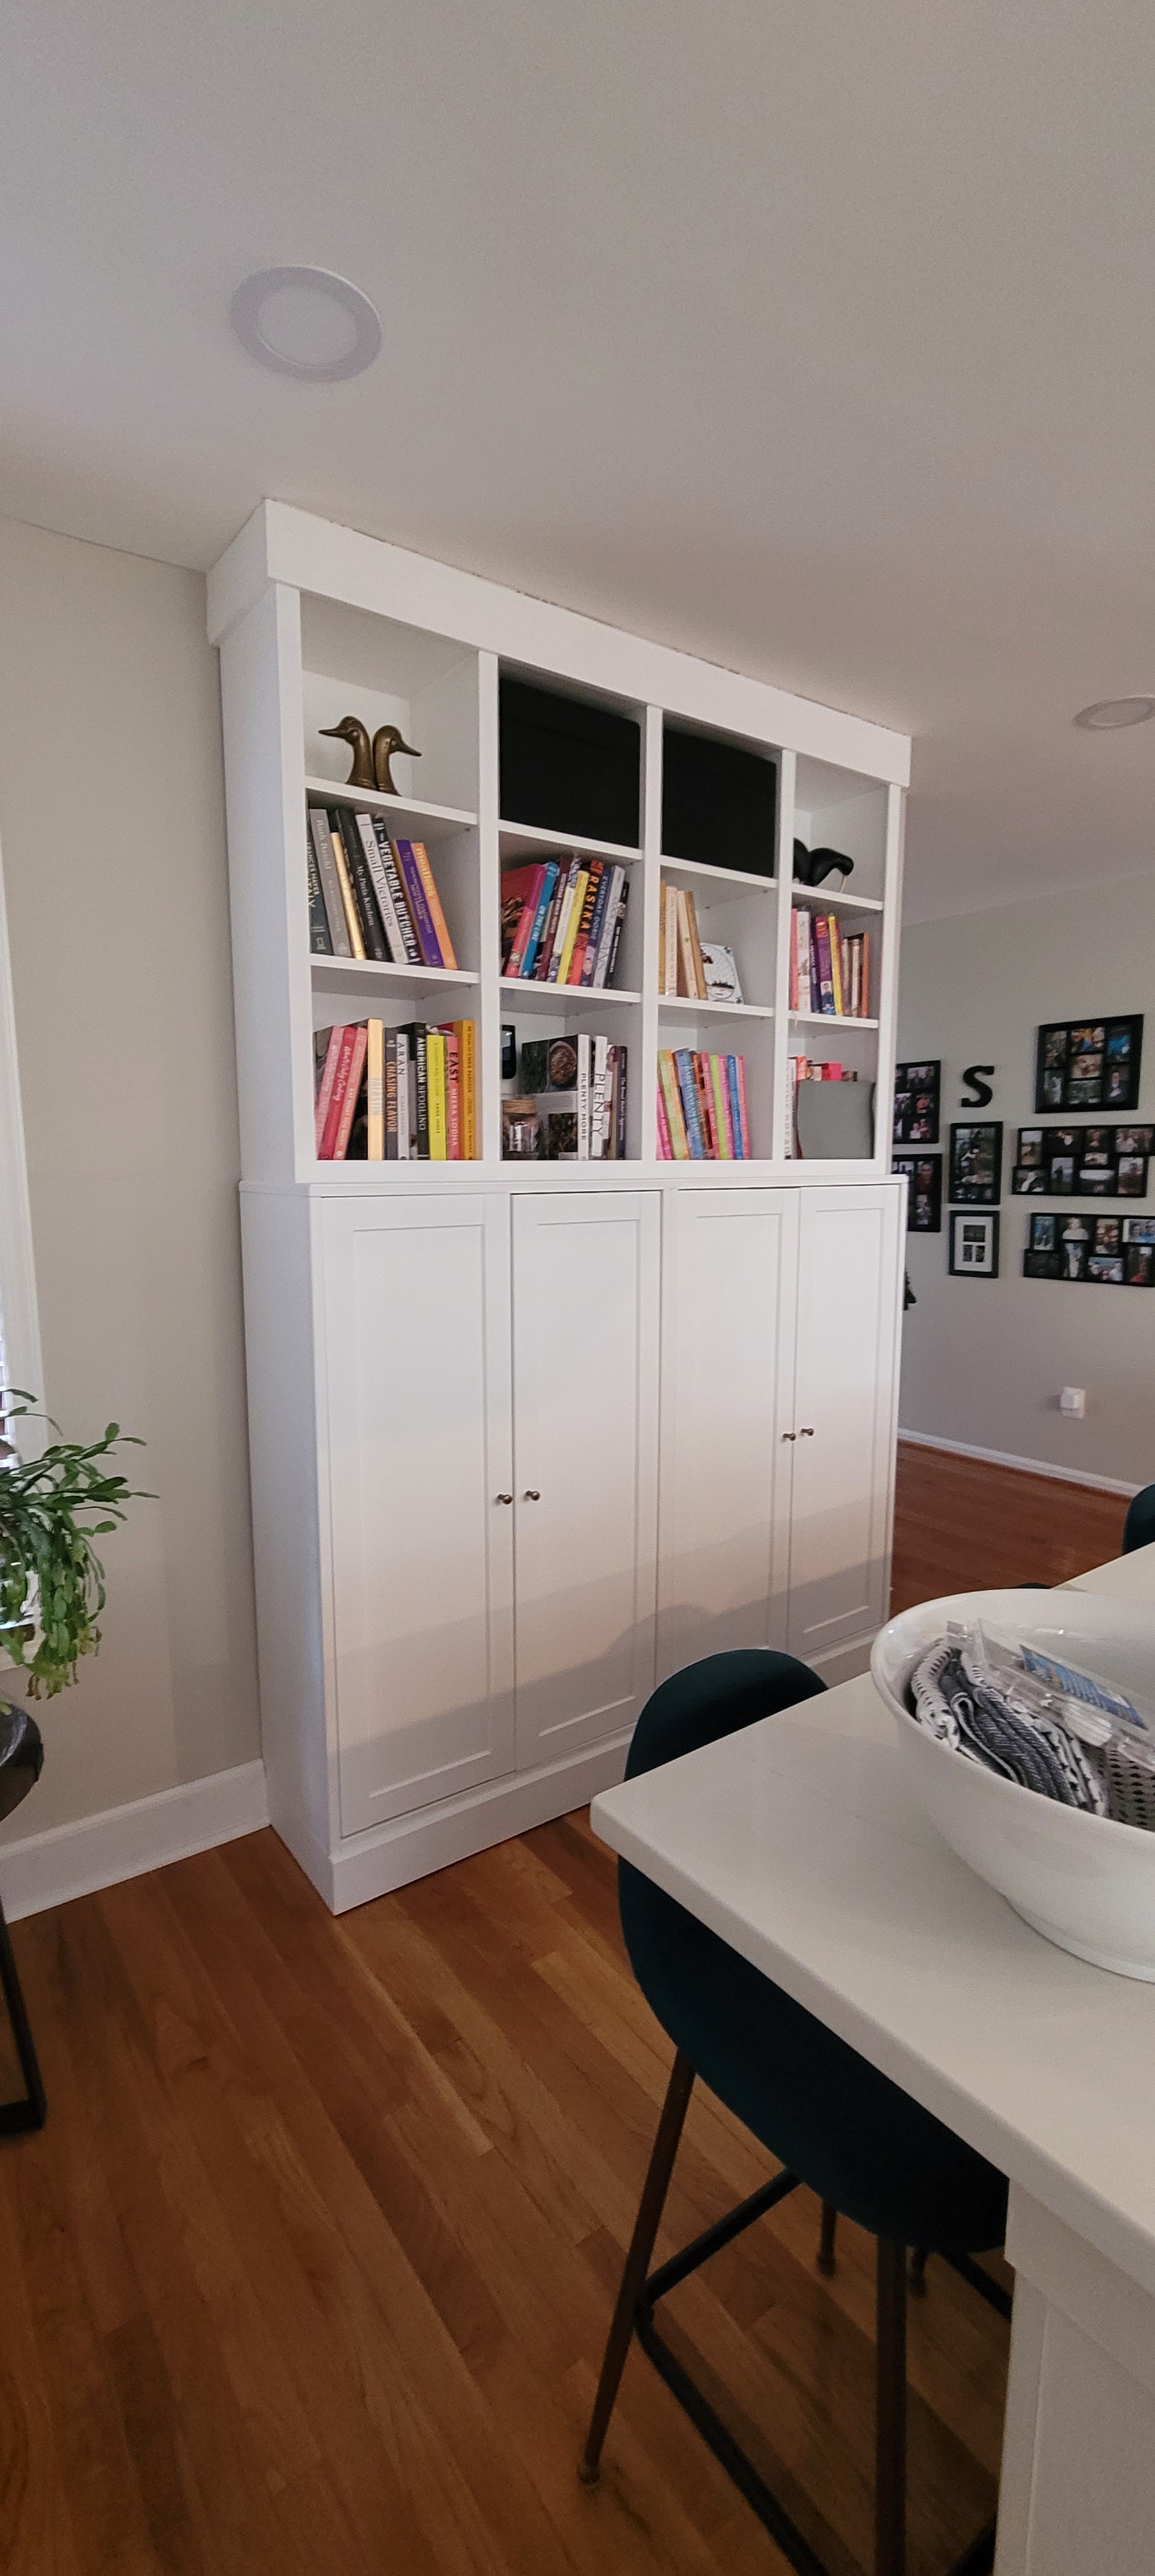
So, late last summer, we began building The Beast out — the affectionate name we’ve given for the pantry cabinets at the back of our kitchen.

When all was said and done, it seemed like a no-brainer to paint the cabinets white to match the rest of the kitchen cabinetry and keep things in the low-contrast zone we find ourselves most comfortable. Muddy grey, white, and an occasional pop of black is our jam, baby.

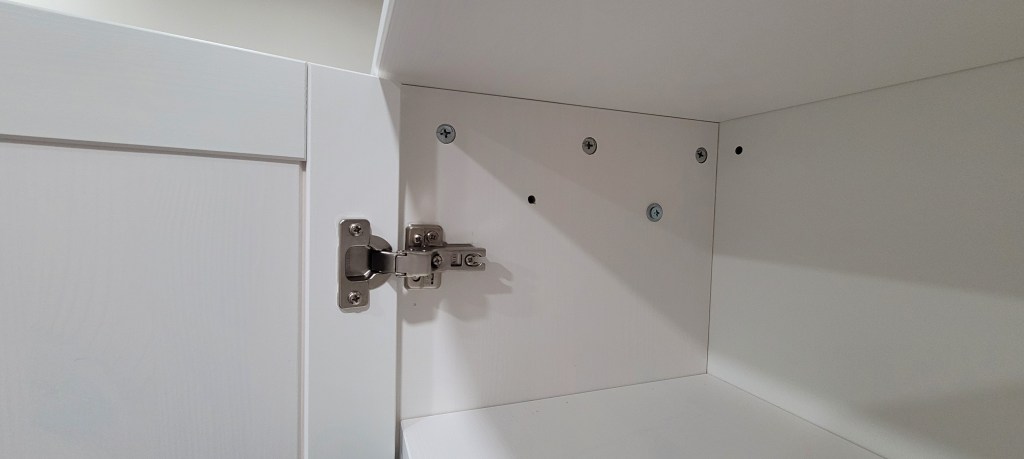
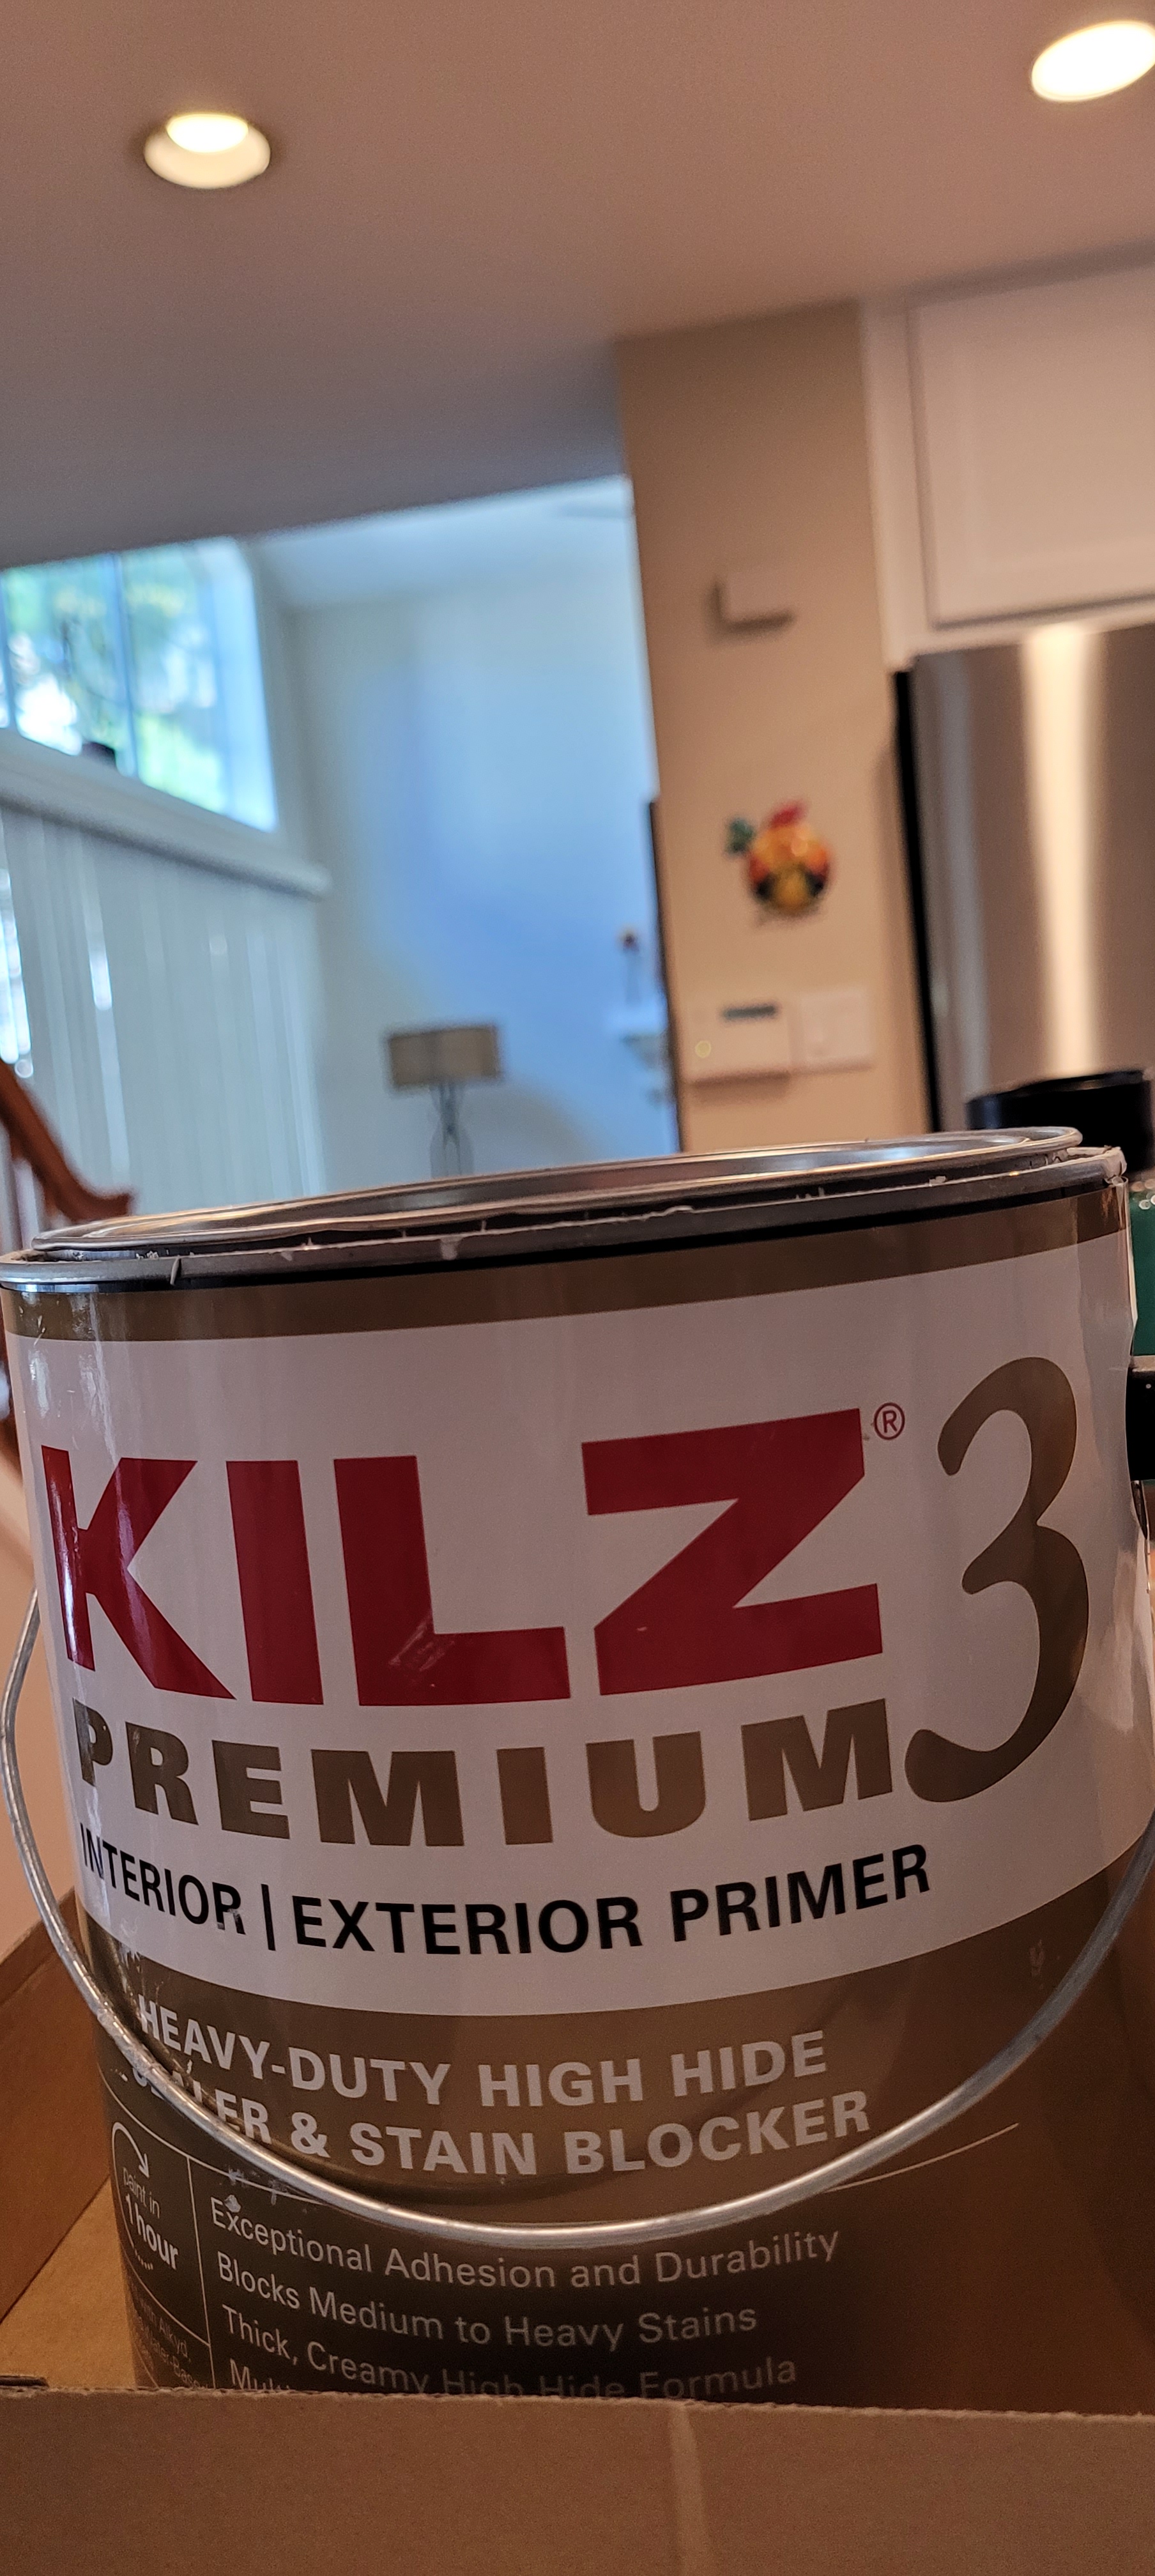
Ikea, for some unknown bizarre reason, does not make matching cabinetry paint. If you get a nick on your cabinet, or if you are trying to match filler pieces to your cabinet, good luck with that. If you have cabinets with color other than white, you may be be able to do a solid color match at your paint store. But, white is a notoriously difficult color to match, even if you bring the whole drawer front into the store.

Never fear, though, we are fortunate to have a consultant on call for just these kinds of dilemmas. His name is Dr. Google and from what we could gather from our research, we are the one billionth person to have this issue. The consensus on the interwebs was to use Behr Premium White in Matte for the closest match possible.

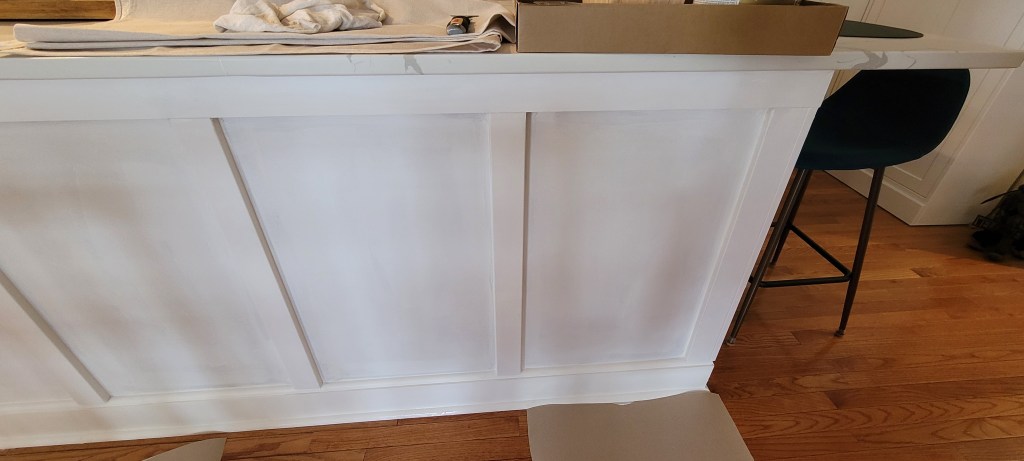
Welp, not the first time Dr. Google has led us astray [remembering that rash on my left ankle which ended up not being early onset malaria, but rather a simple mosquito bite]. To be fair, the color does match fairly well, but the sheen and the finish is all wrong. No one is going to mistake The Beast for something that was factory finished, lemme tell you.

Here she is, all trimmed out and painted

While it doesn’t look too shabby, if we do say so ourselves, something just wasn’t quite right. We couldn’t put our finger on it and decided, since this was the last big thing we had to check off our list for the kitchen reno to be done and dusted, we would live with it for a hot second and see if it grew on us.

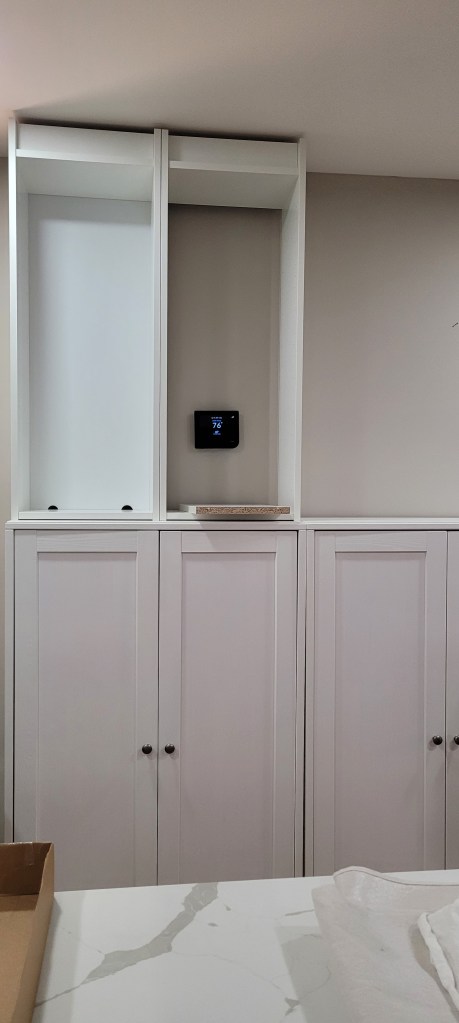
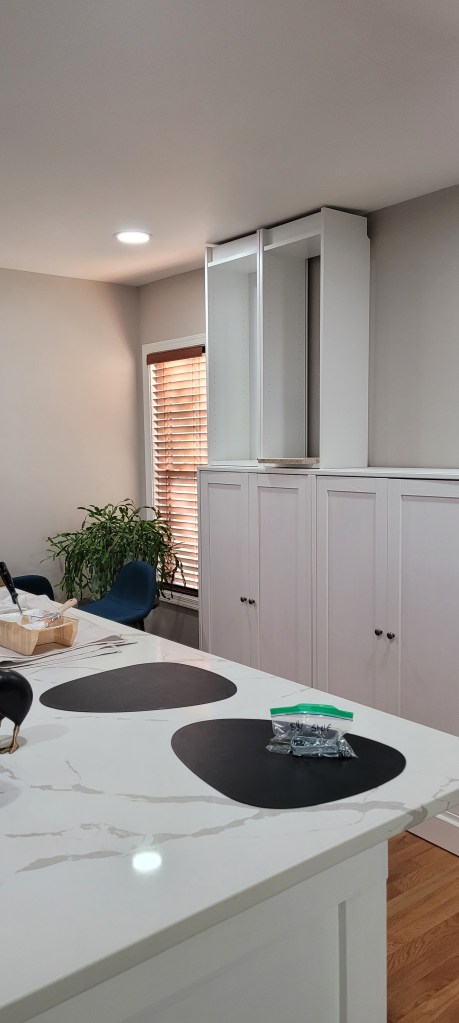
So, here we are, many months later, and I think we have figured out the disconnect. The piece is chalky (hello paint), and too white. I mean, the thing could bring home ships in the dark of night. It also gives off hospital clinic vibes – not exactly the aesthetic we were shooting for.

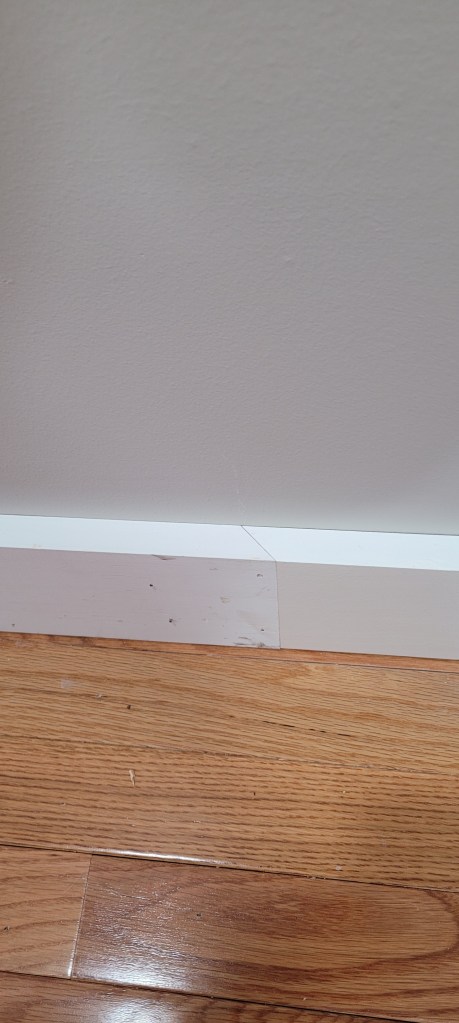
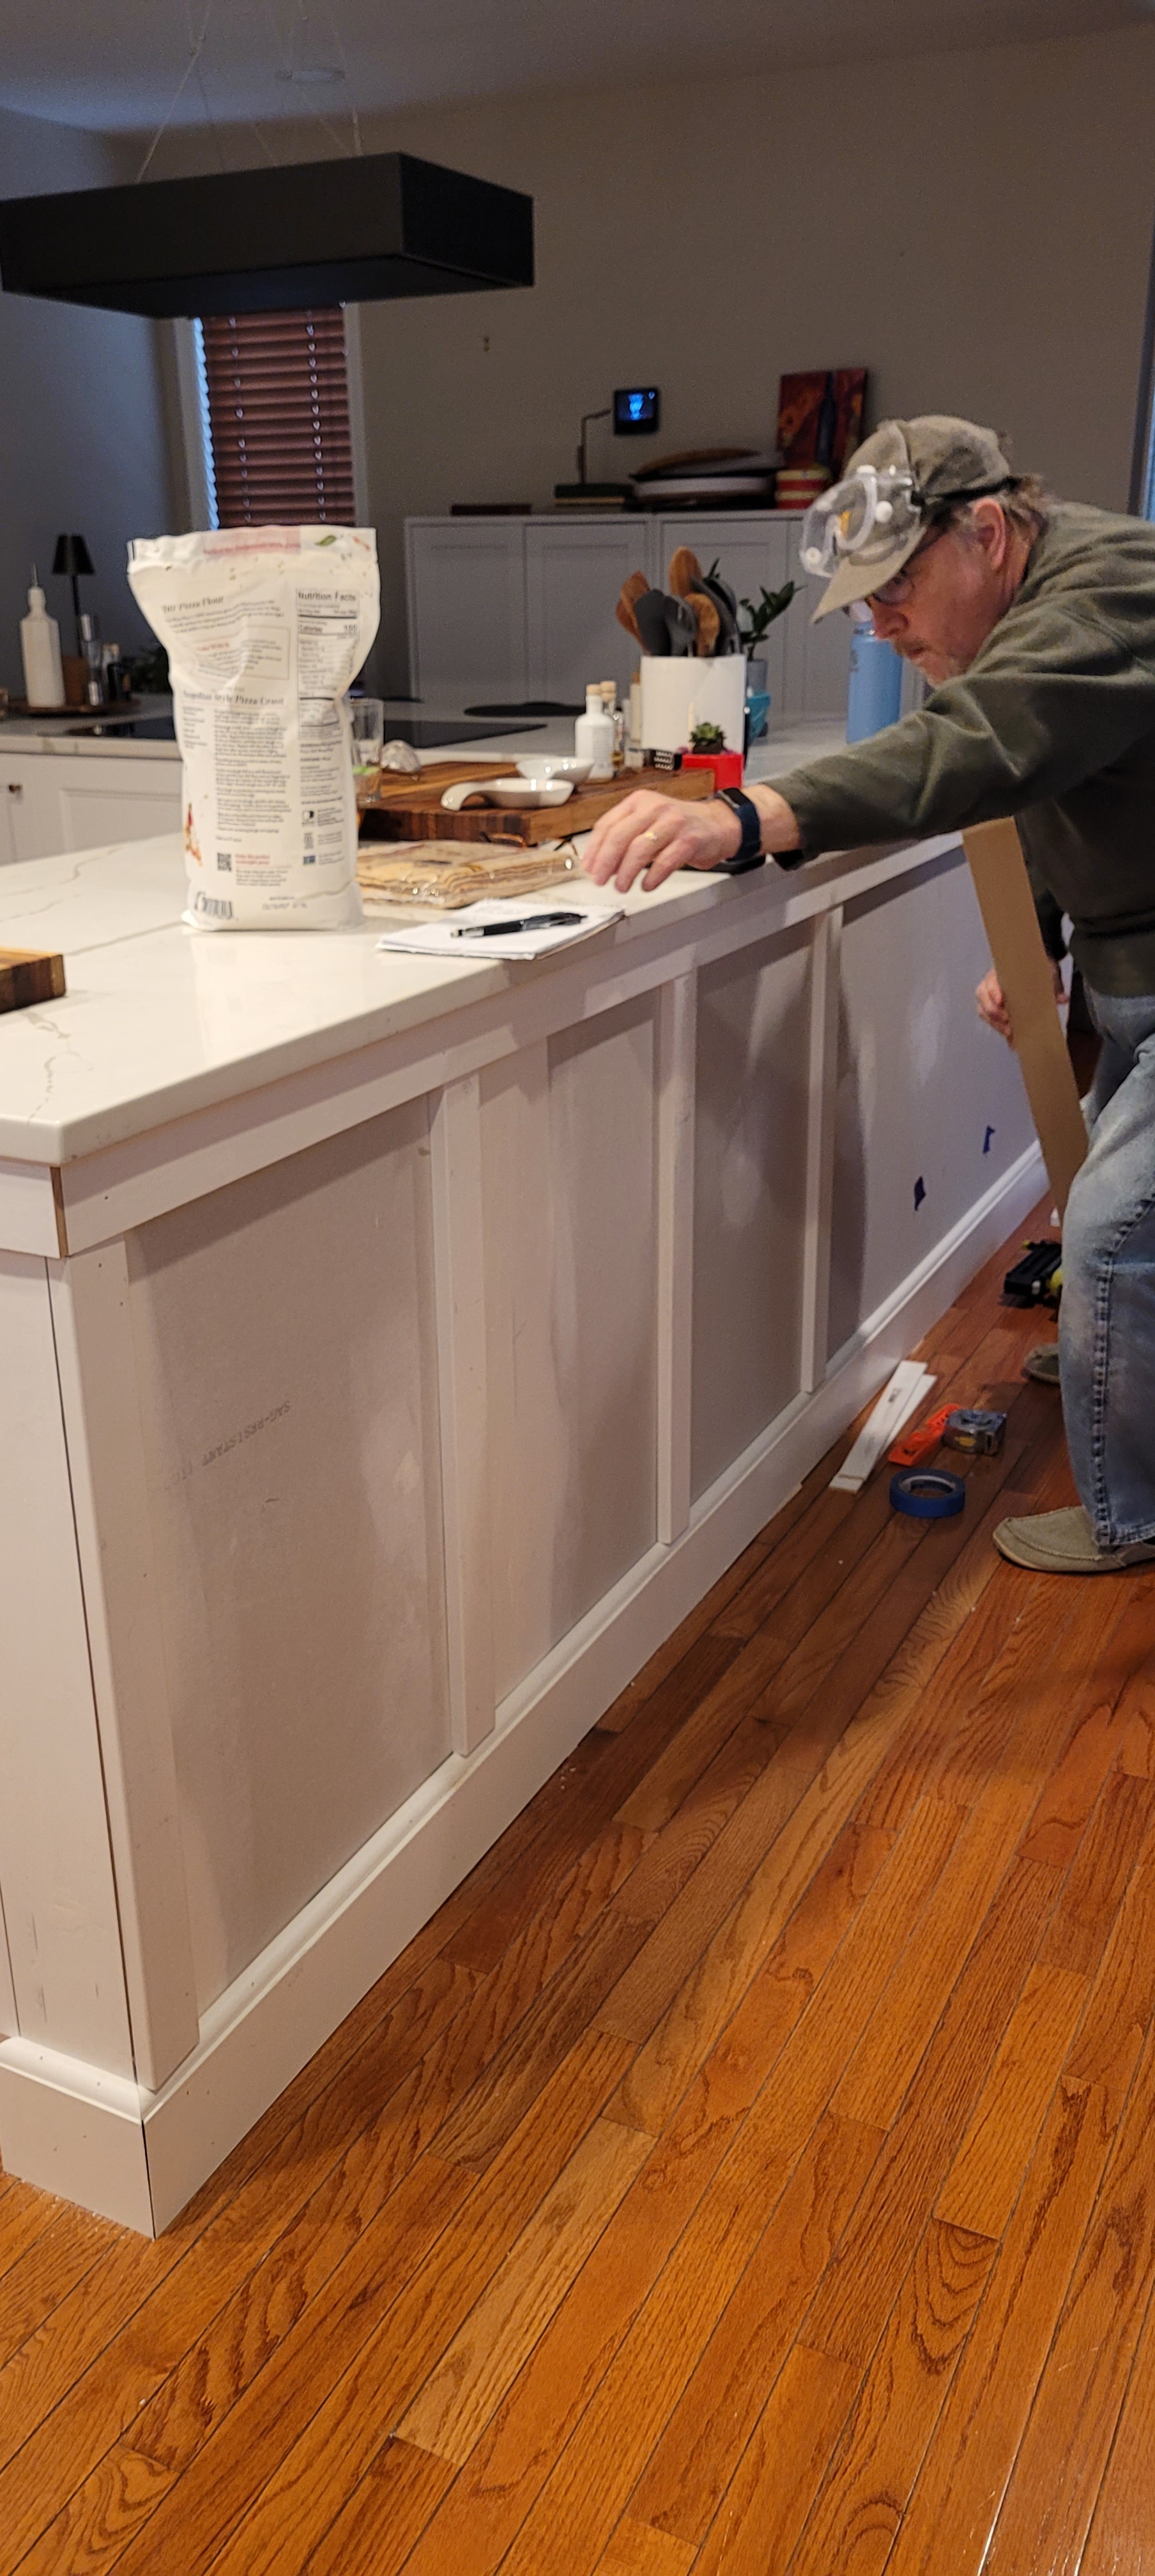
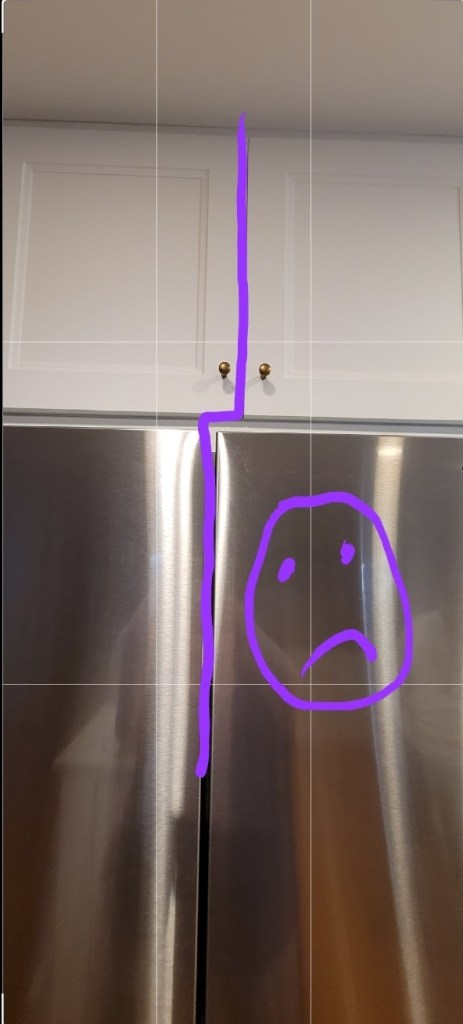
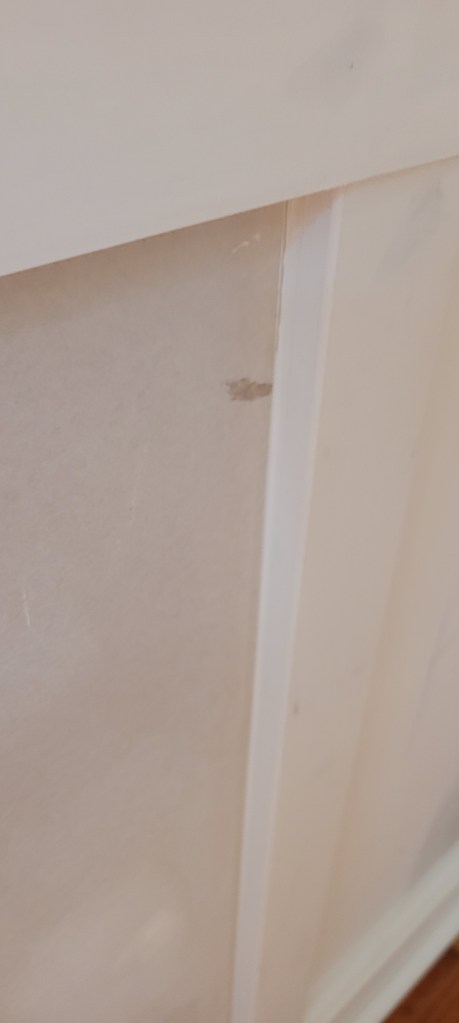
To be honest, we were so tired after a year of reno that we probably would have lived with it forever. But, then, a bad thing happened that ended up being just the catalyst we needed to get back on the reno horse and give it another go. The crown moulding that we had affixed to the top of the unit for that quintessential built-in look started separating from the ceiling!

The unsightly black line where the crown separated from the ceiling was our first clue that something was wrong

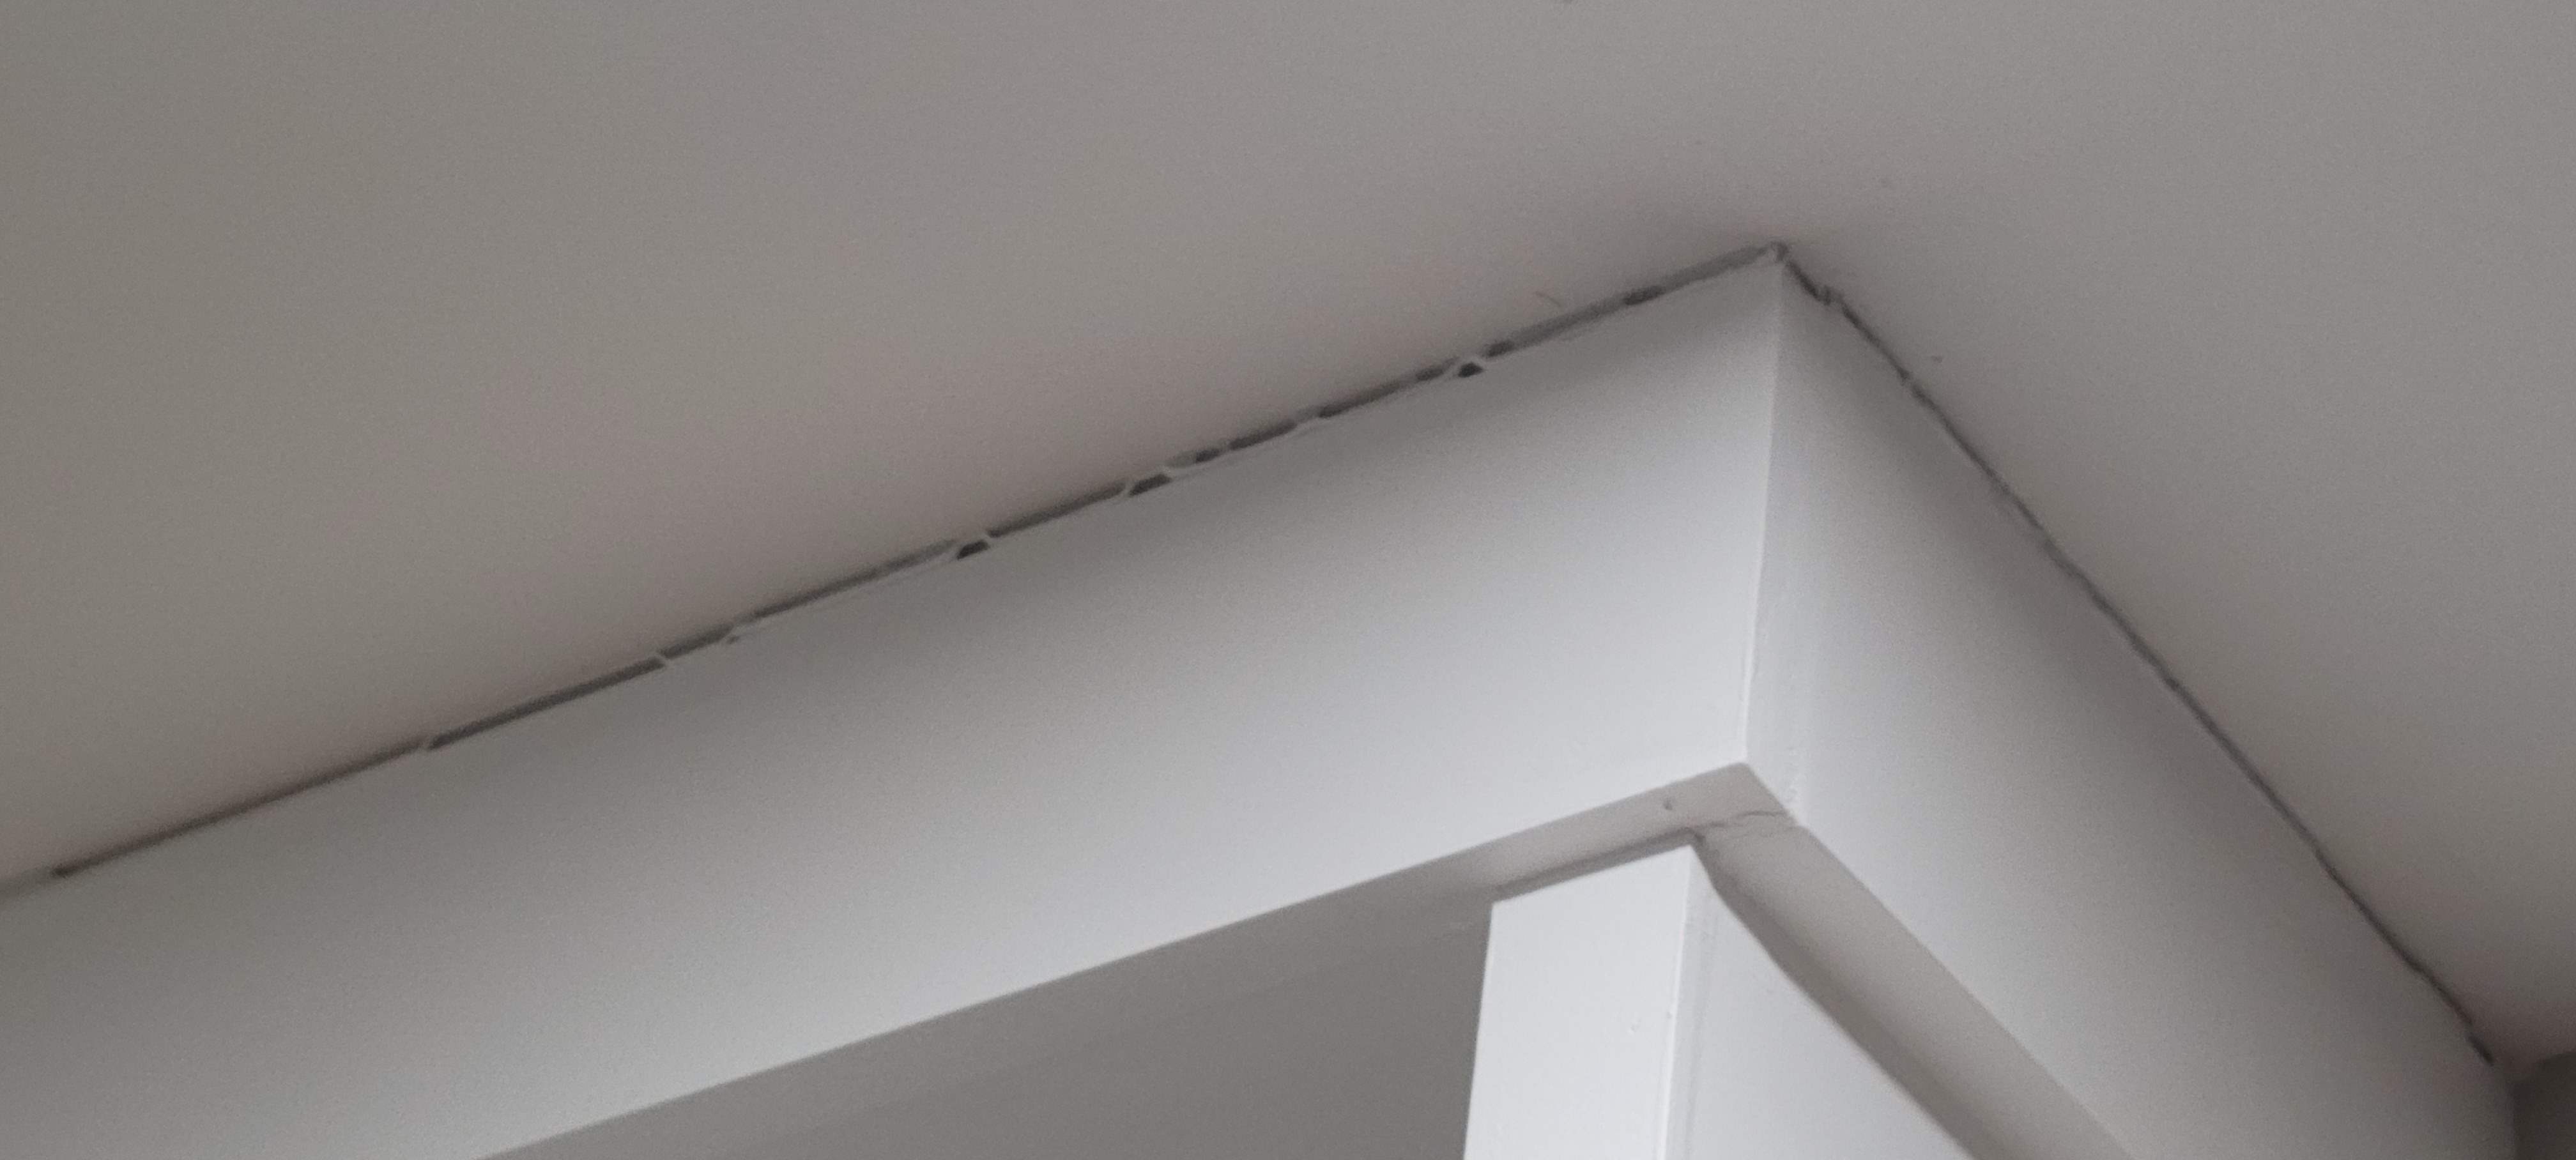
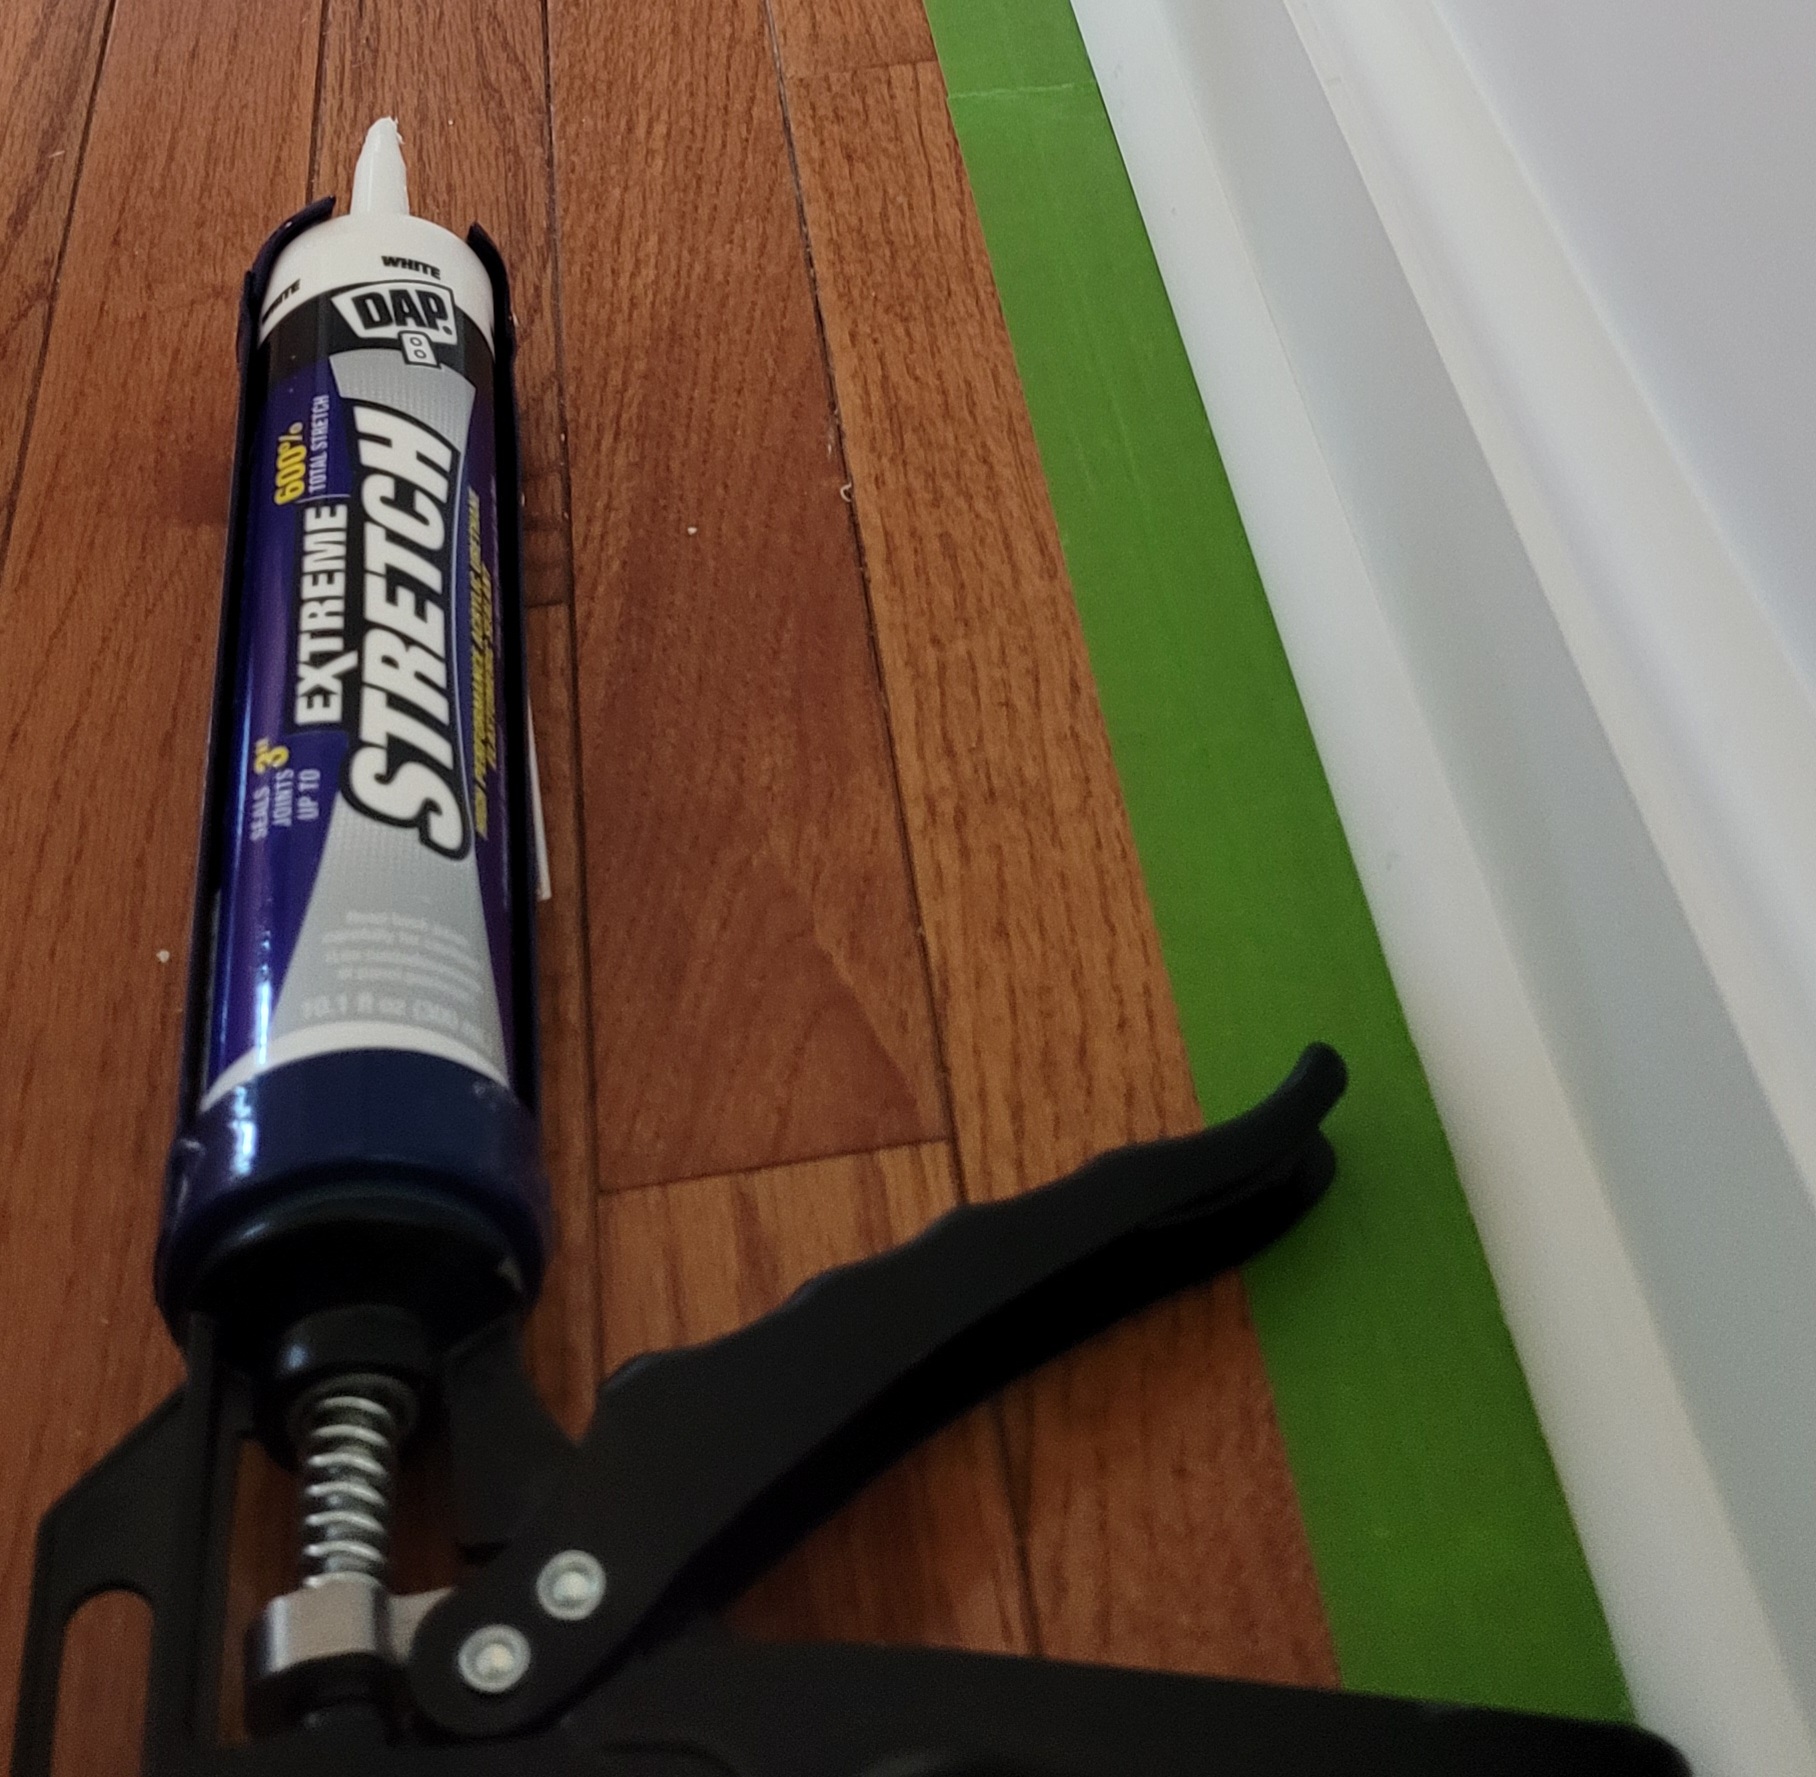
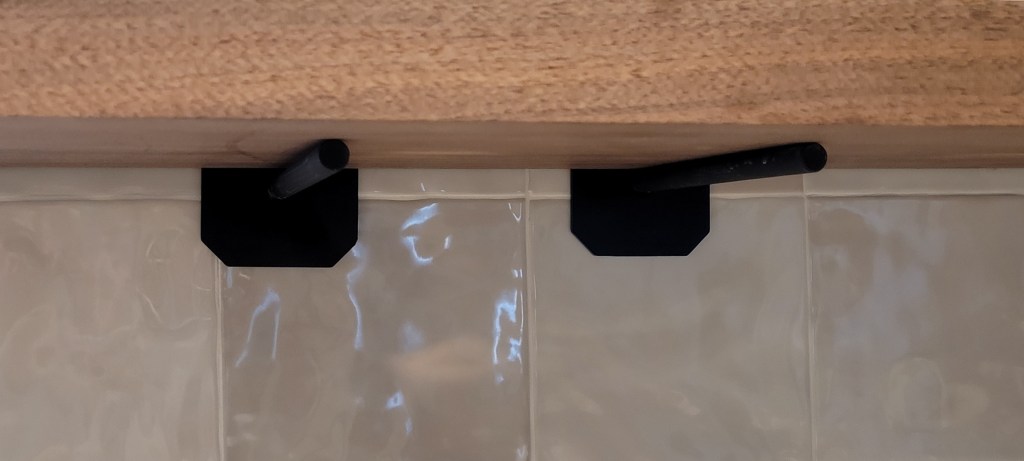
We had used our go-to stretchy caulk that has always worked wonders for us — and seemingly lasts for years without cracking or splitting. We soon realized where things went south on this piece, though — if you scroll back to the original pictures above, you will see the first easter egg (clue) to what likely caused this blessing-in-disguise tragedy.

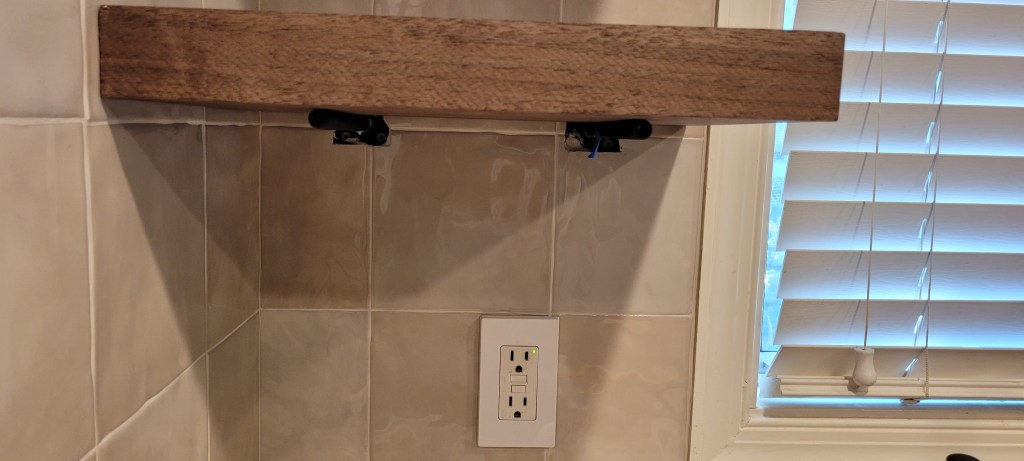
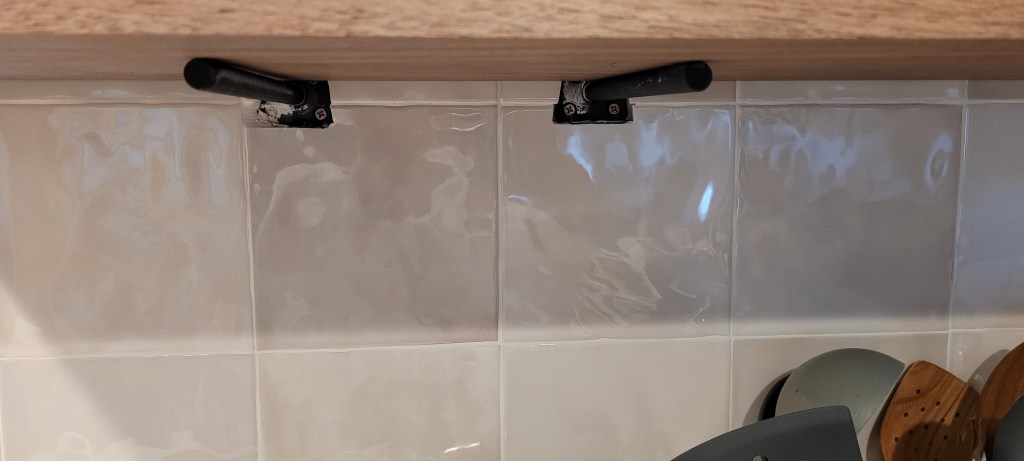
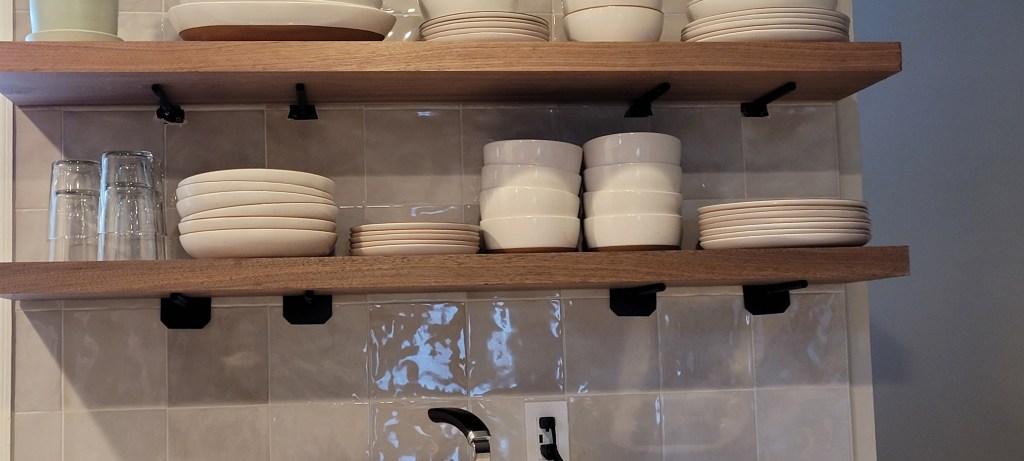
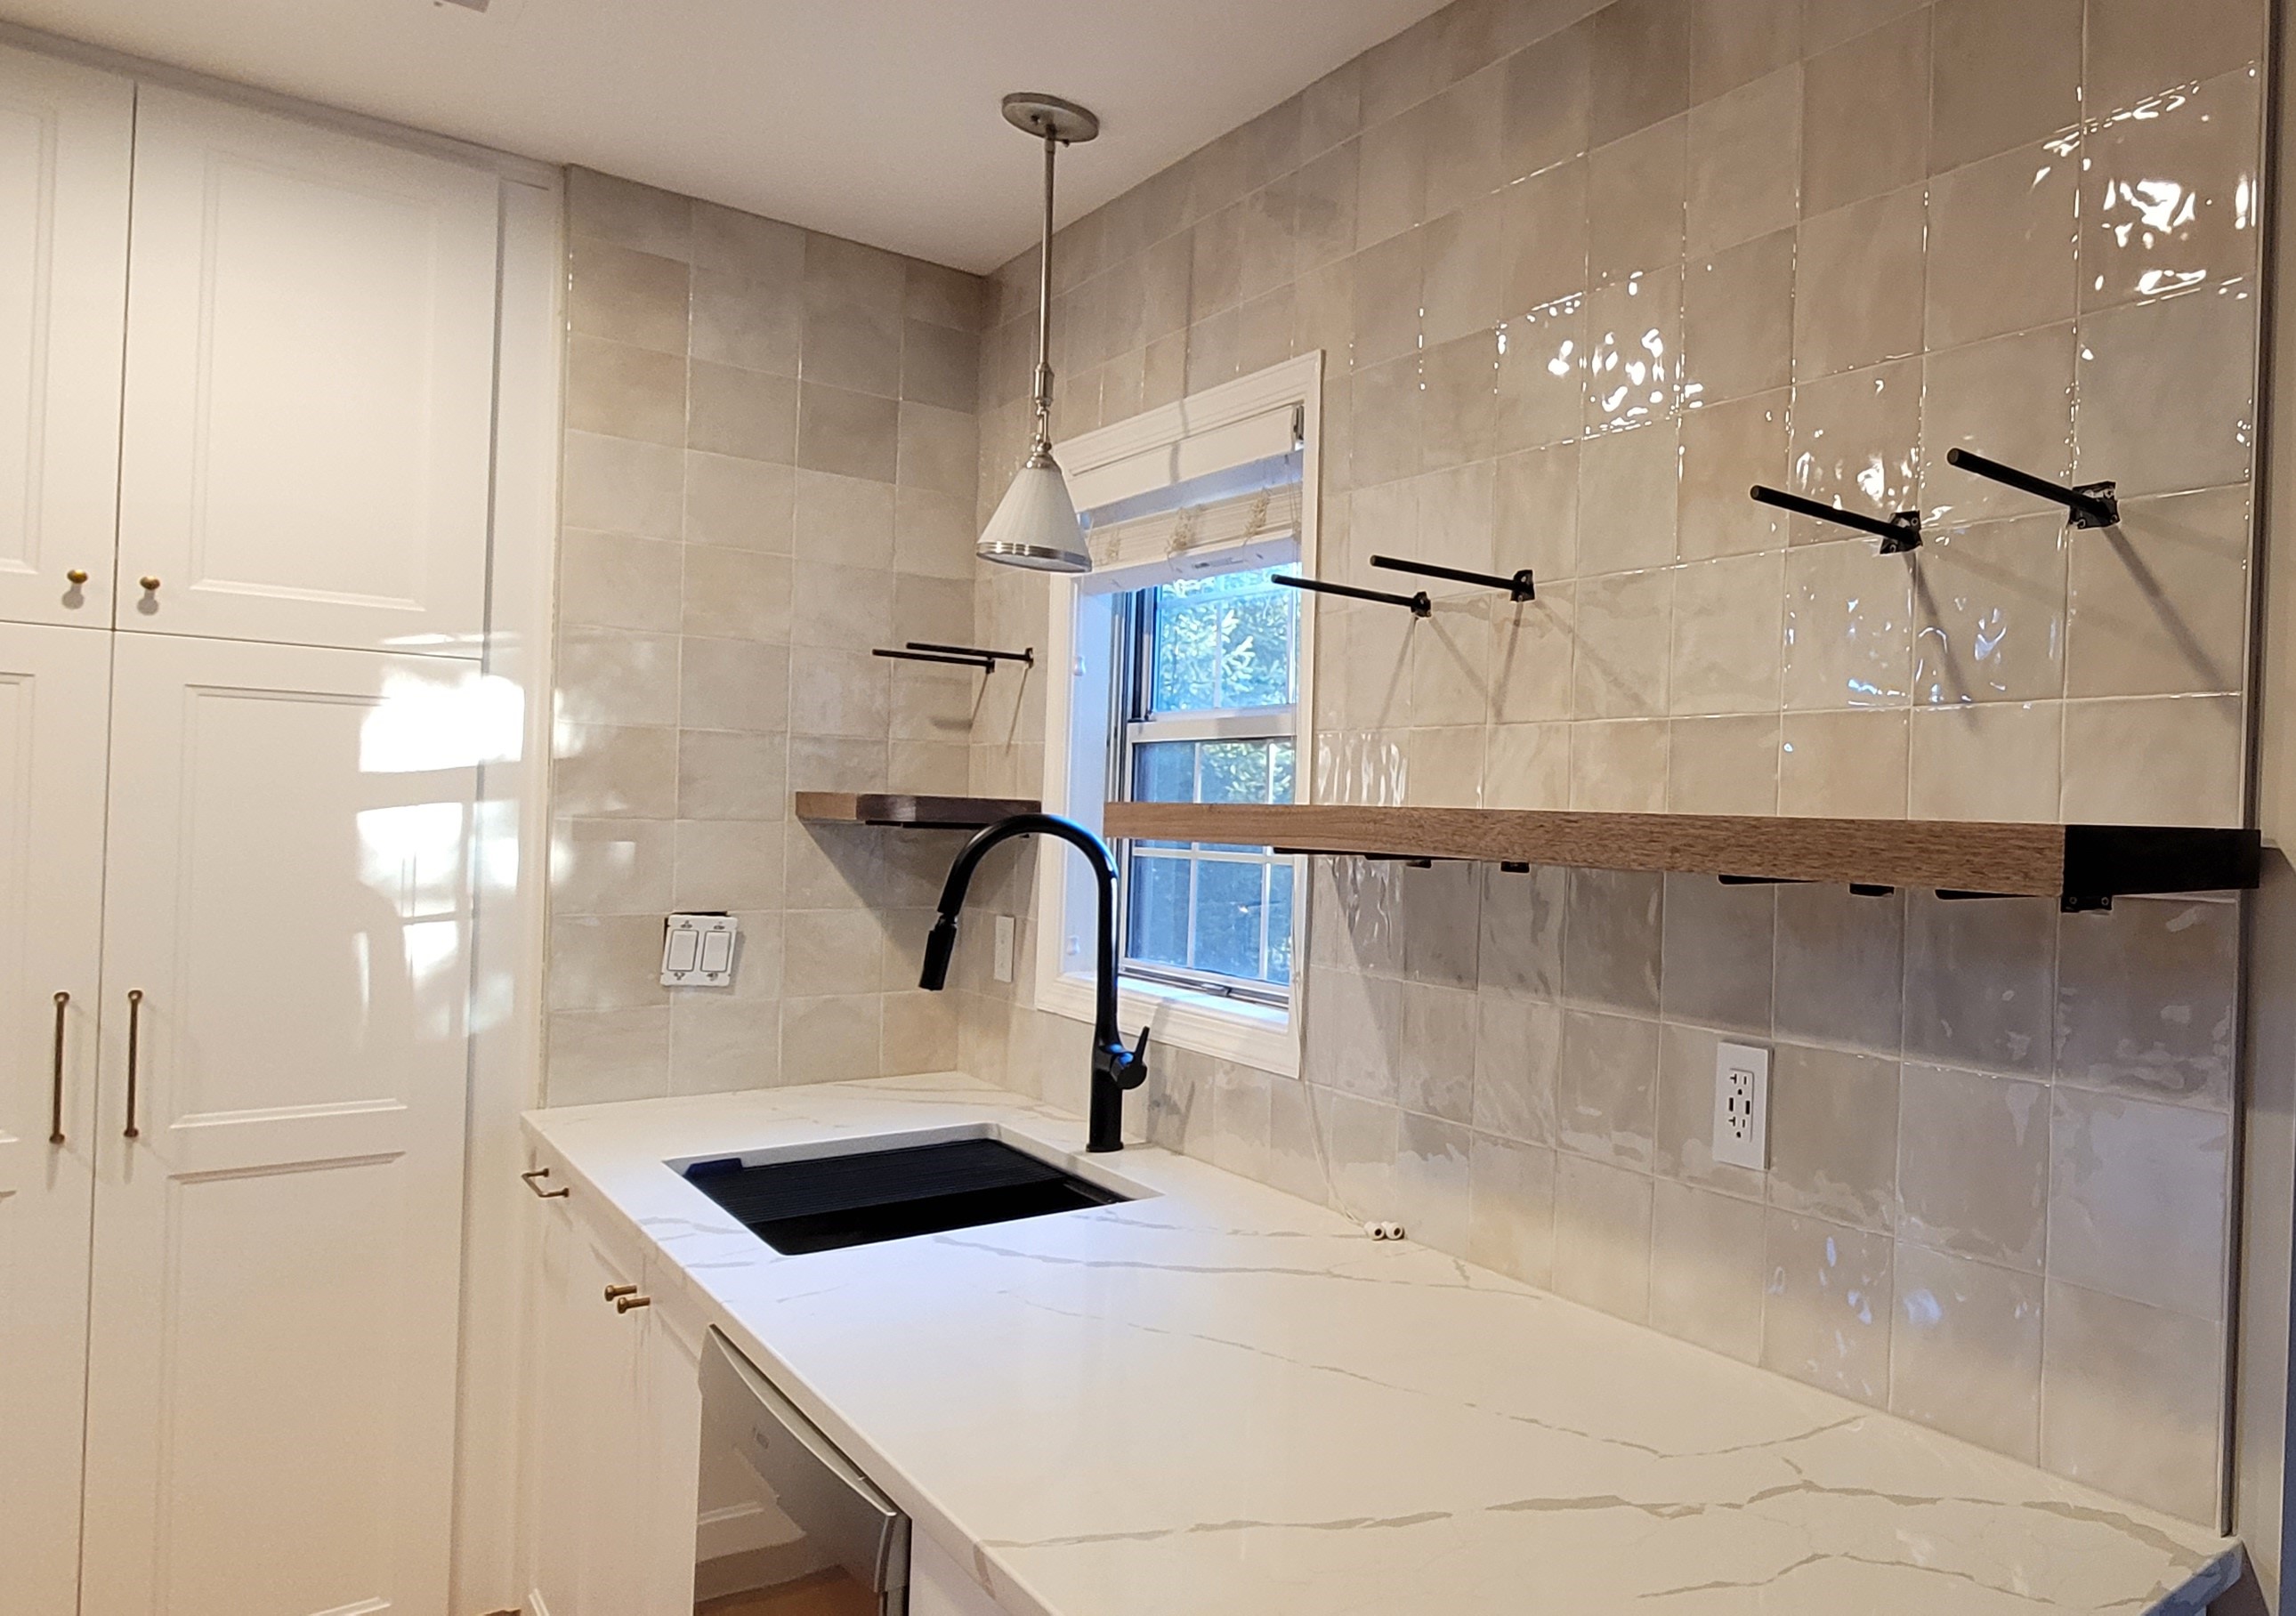
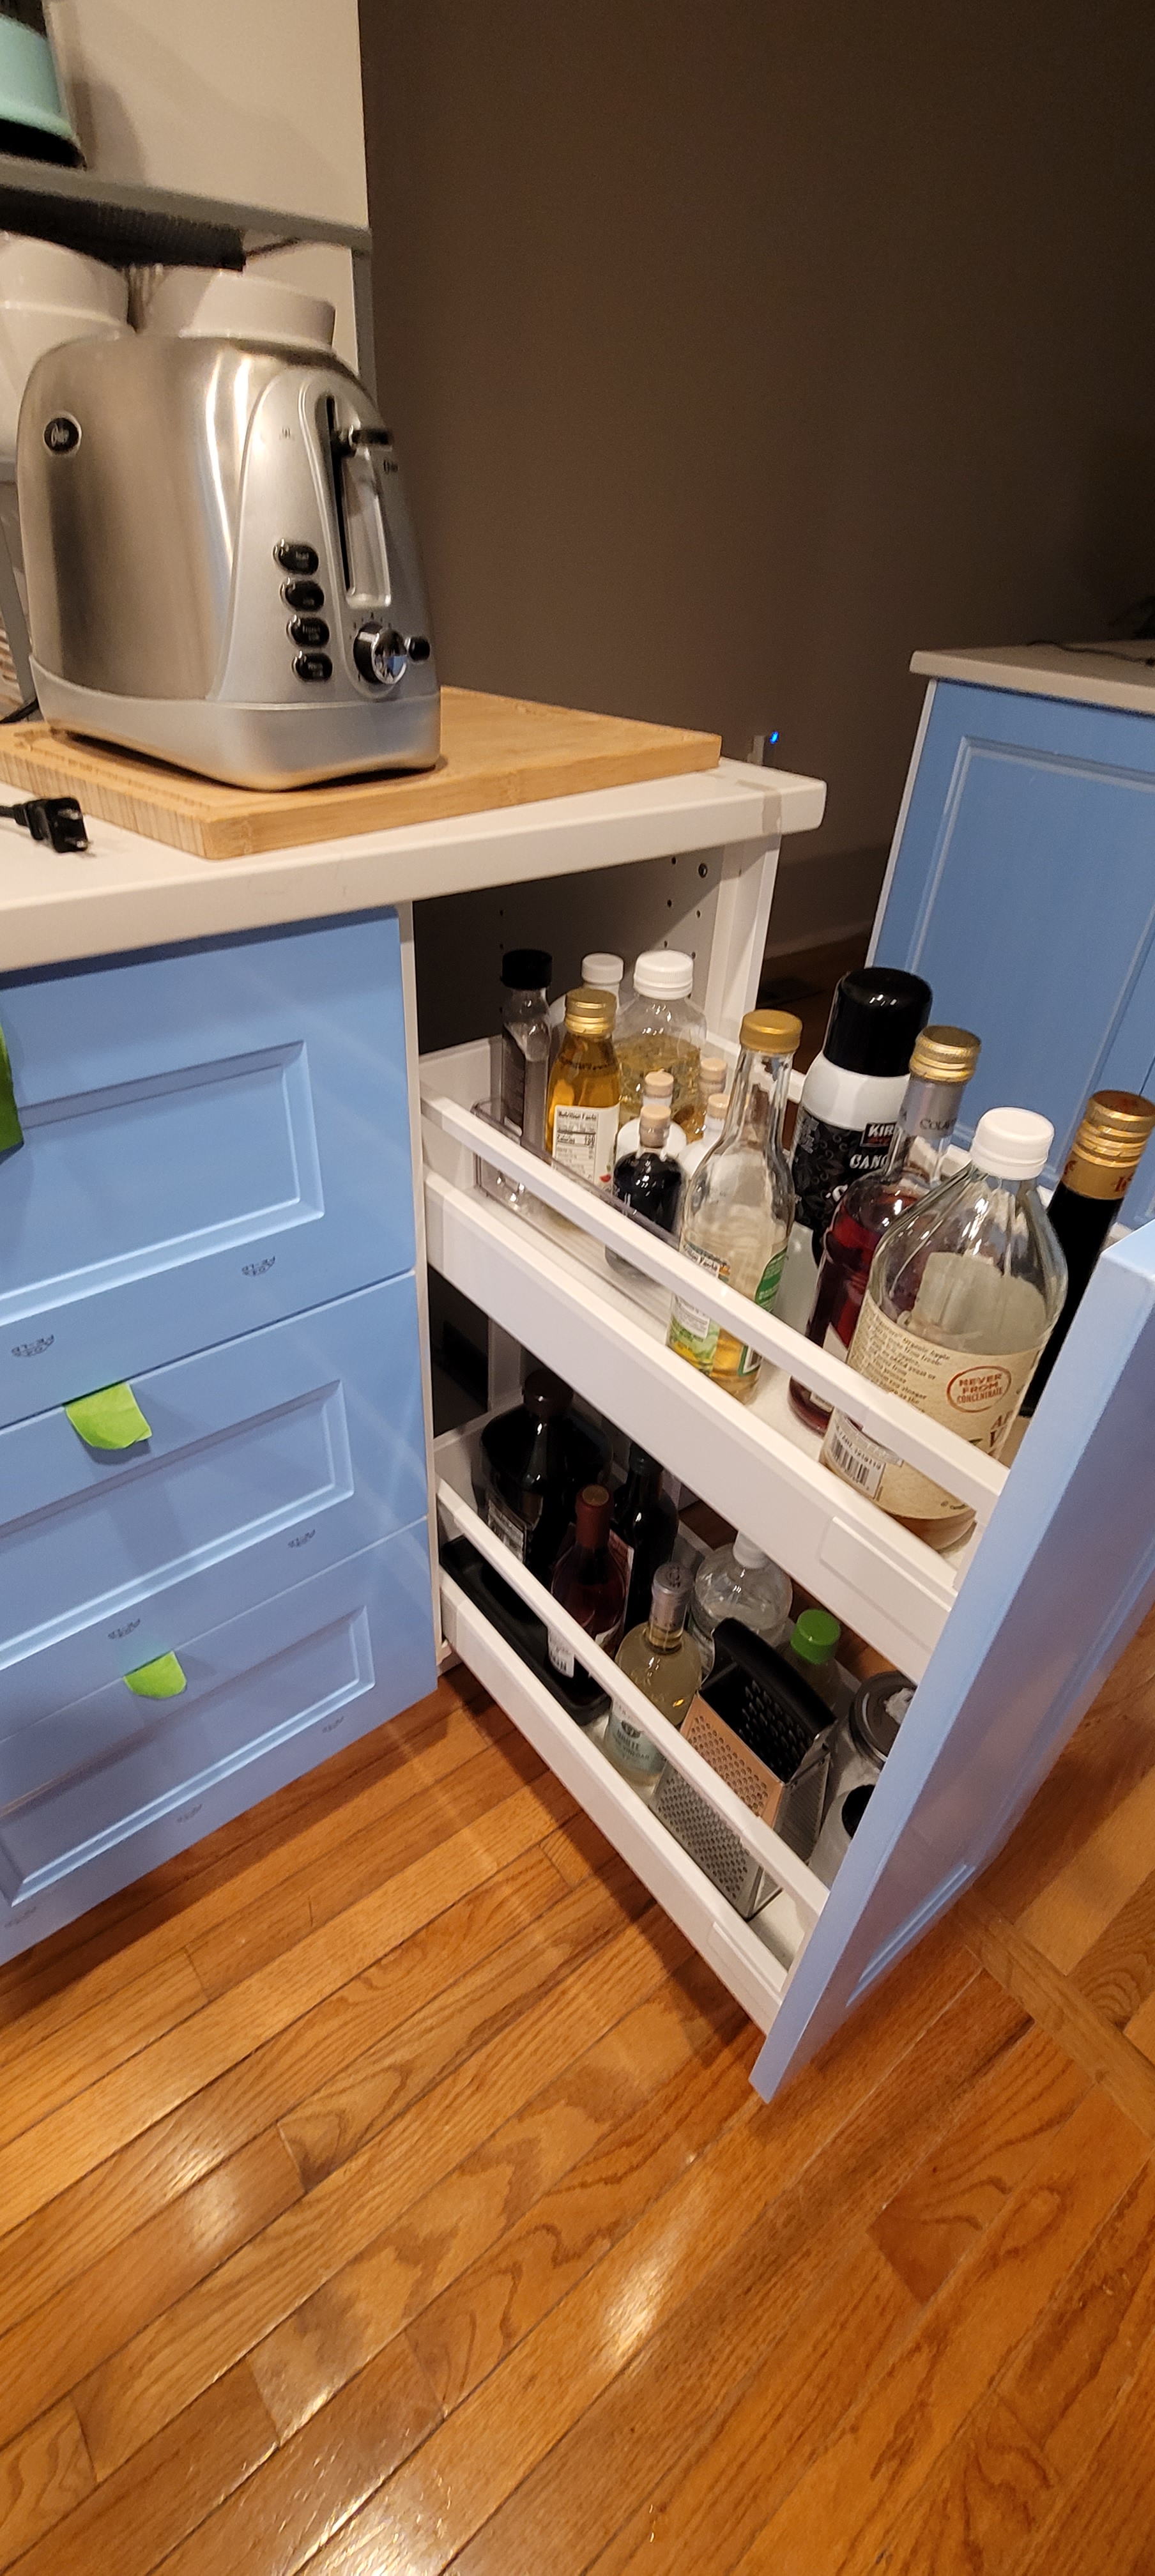
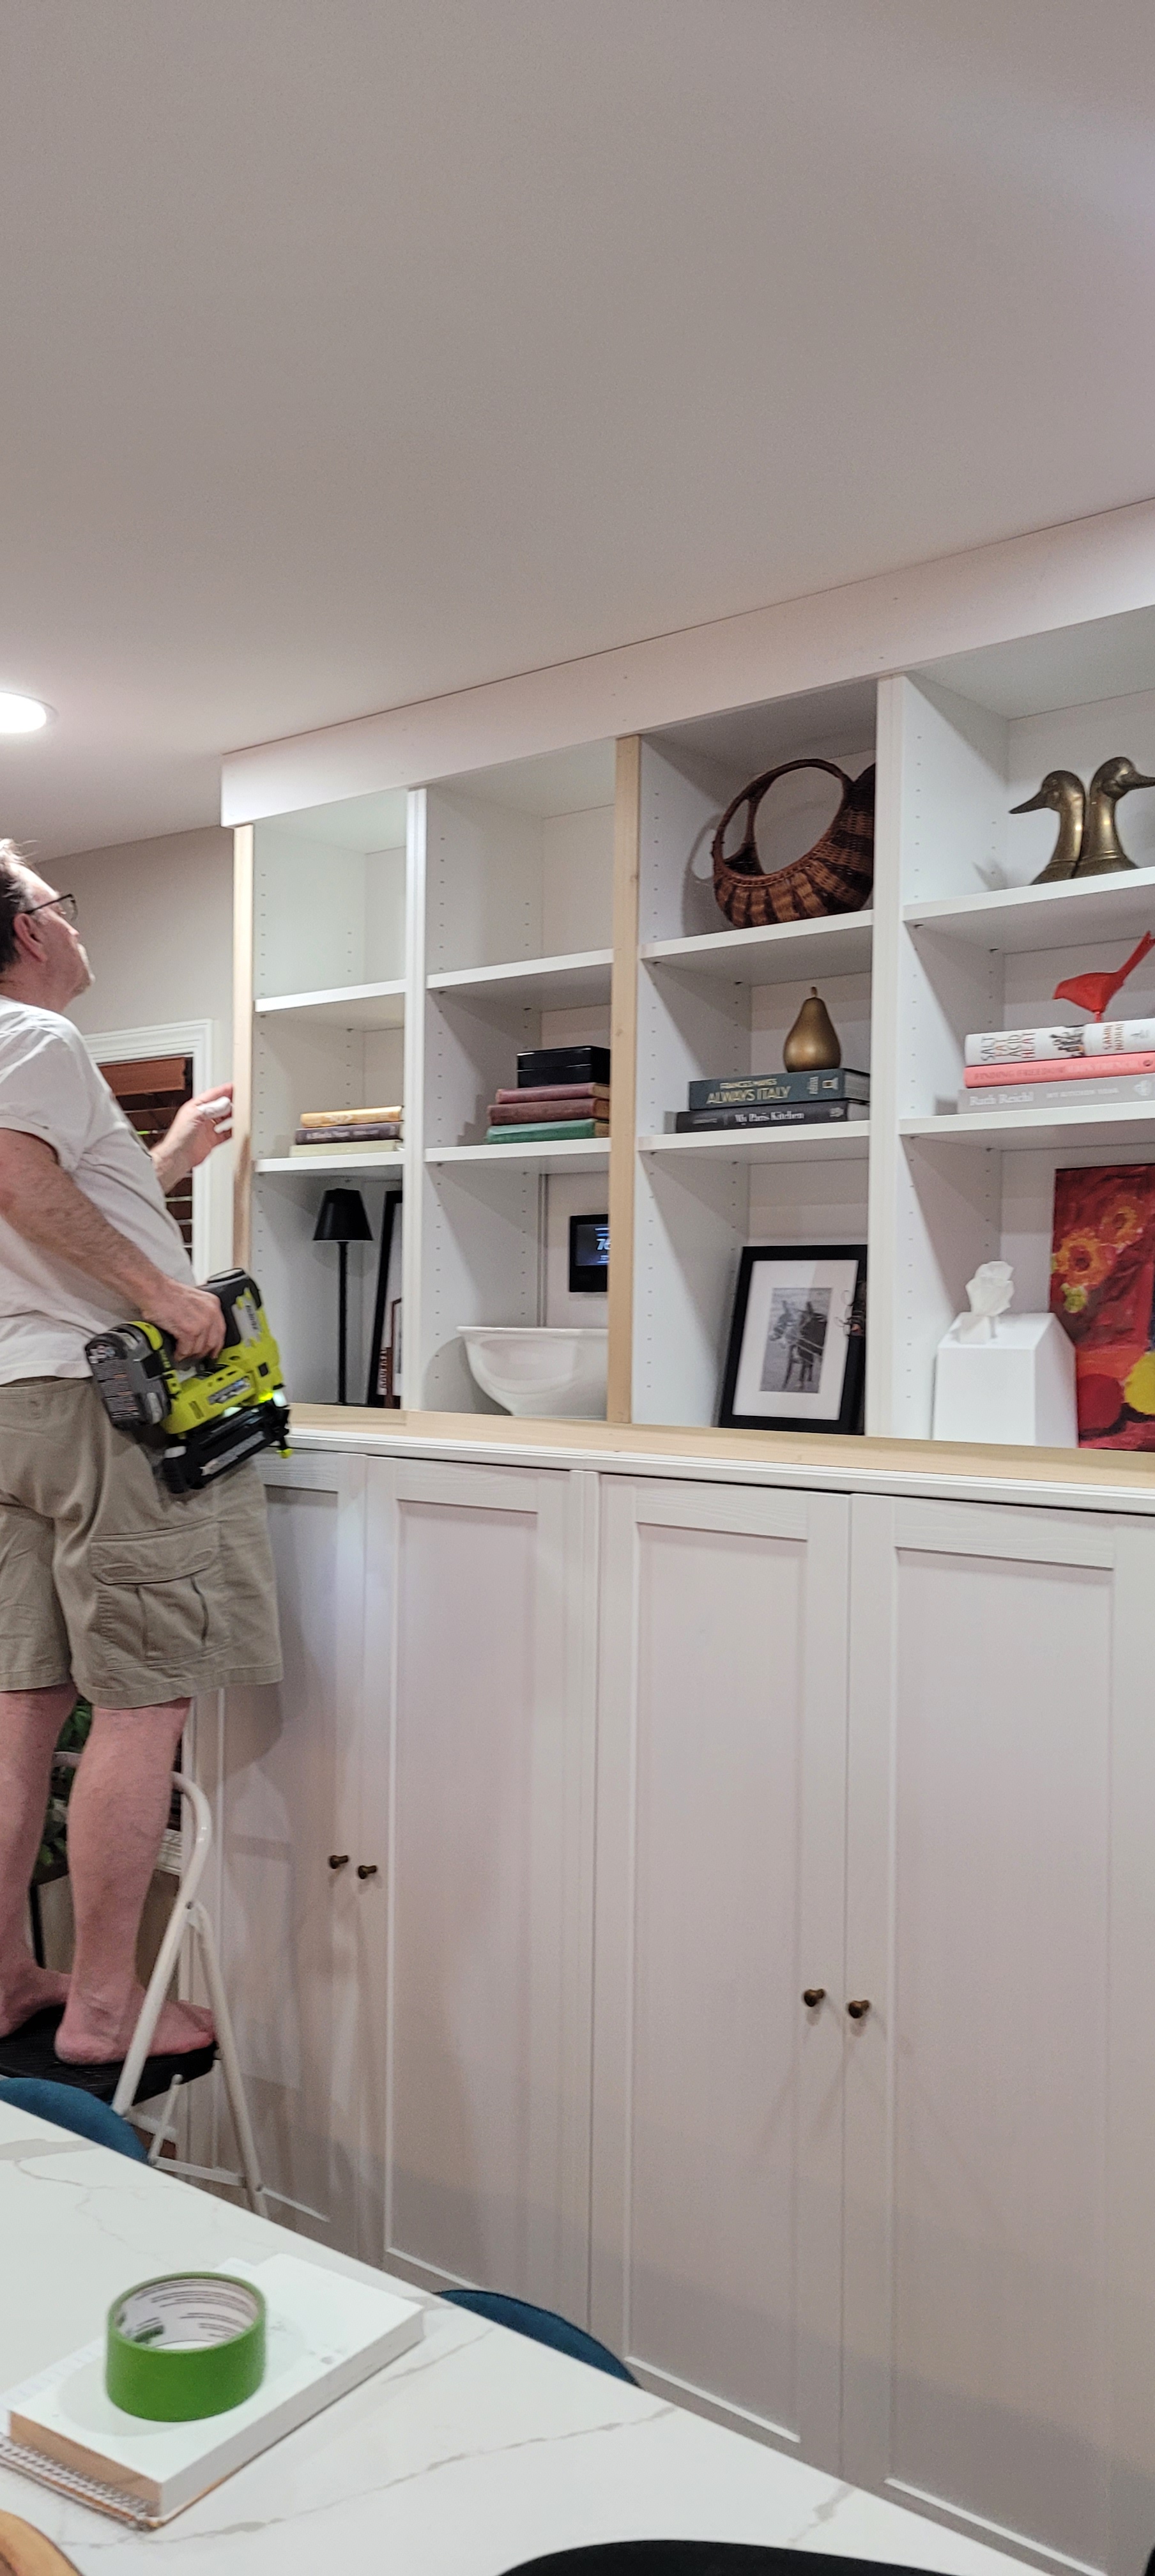
When the piece was originally finished, painted and caulked, we got to work loading it up with all the fun stuff it was meant to house. In the interior cabinets were small appliances and pantry items like canned and jarred goods. In the upper open shelving were a ton (remember that word, your second easter egg of this debacle) of books in my cookbook collection.

And that led us to the culprit.

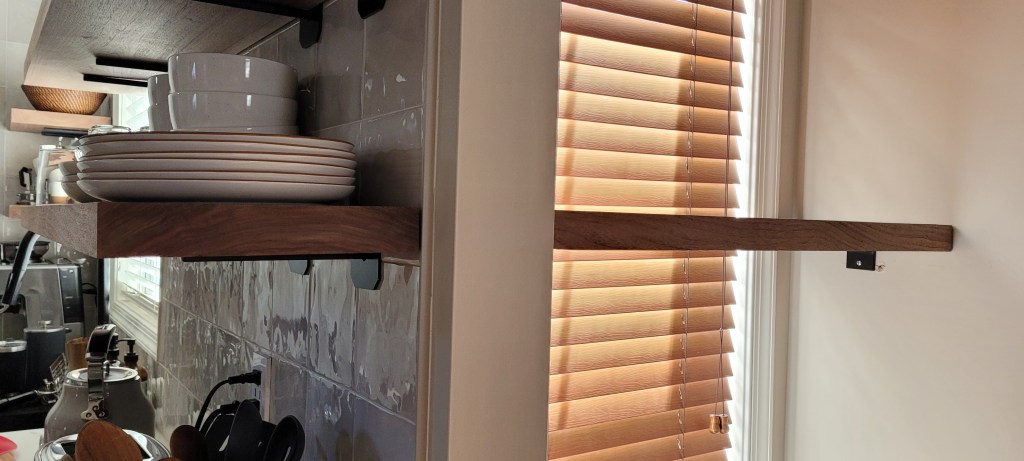
We loaded this thing up after we caulked, and naturally — because gravity — the weight pulled the entire unit down, hence the separation between crown and ceiling.

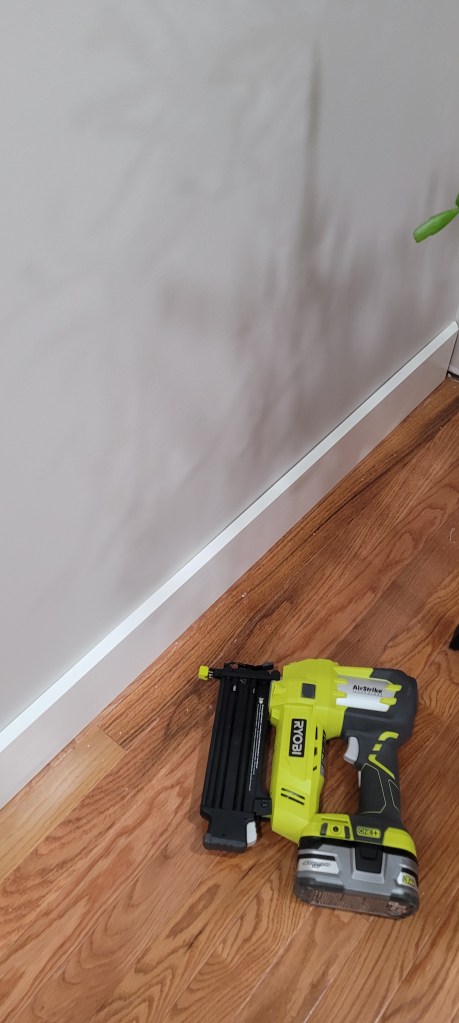
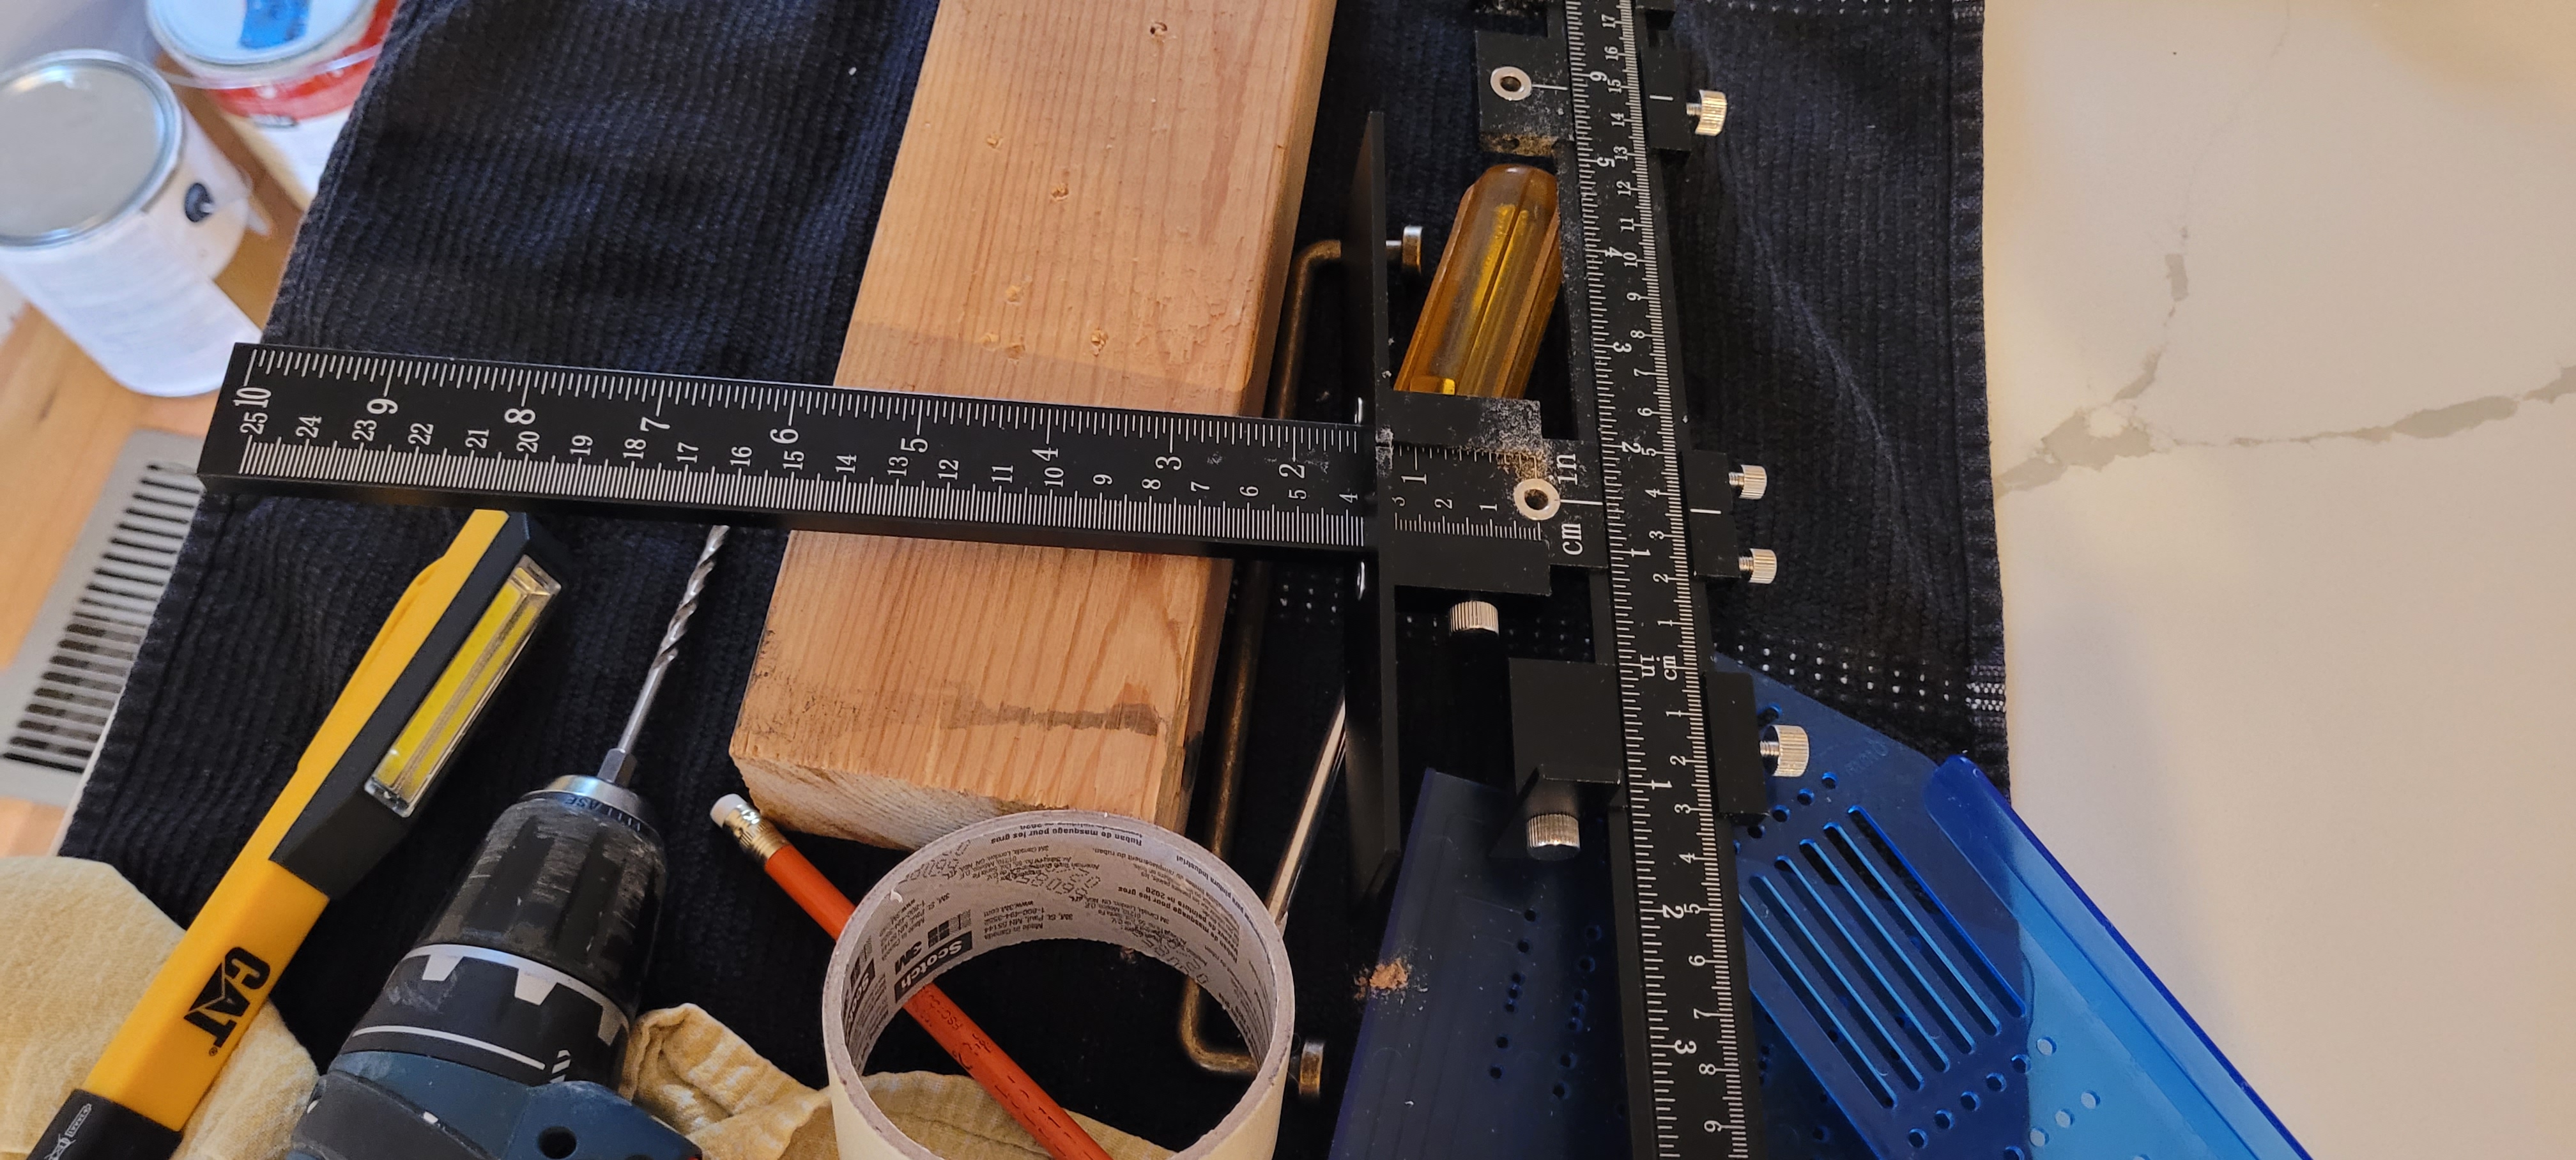
Because we knew we wanted to change the color on the unit anyway, we used the opportunity to add some additional trim to the crown to hide the separation, and then set about to painting the whole shebang, once again. Big sigh.

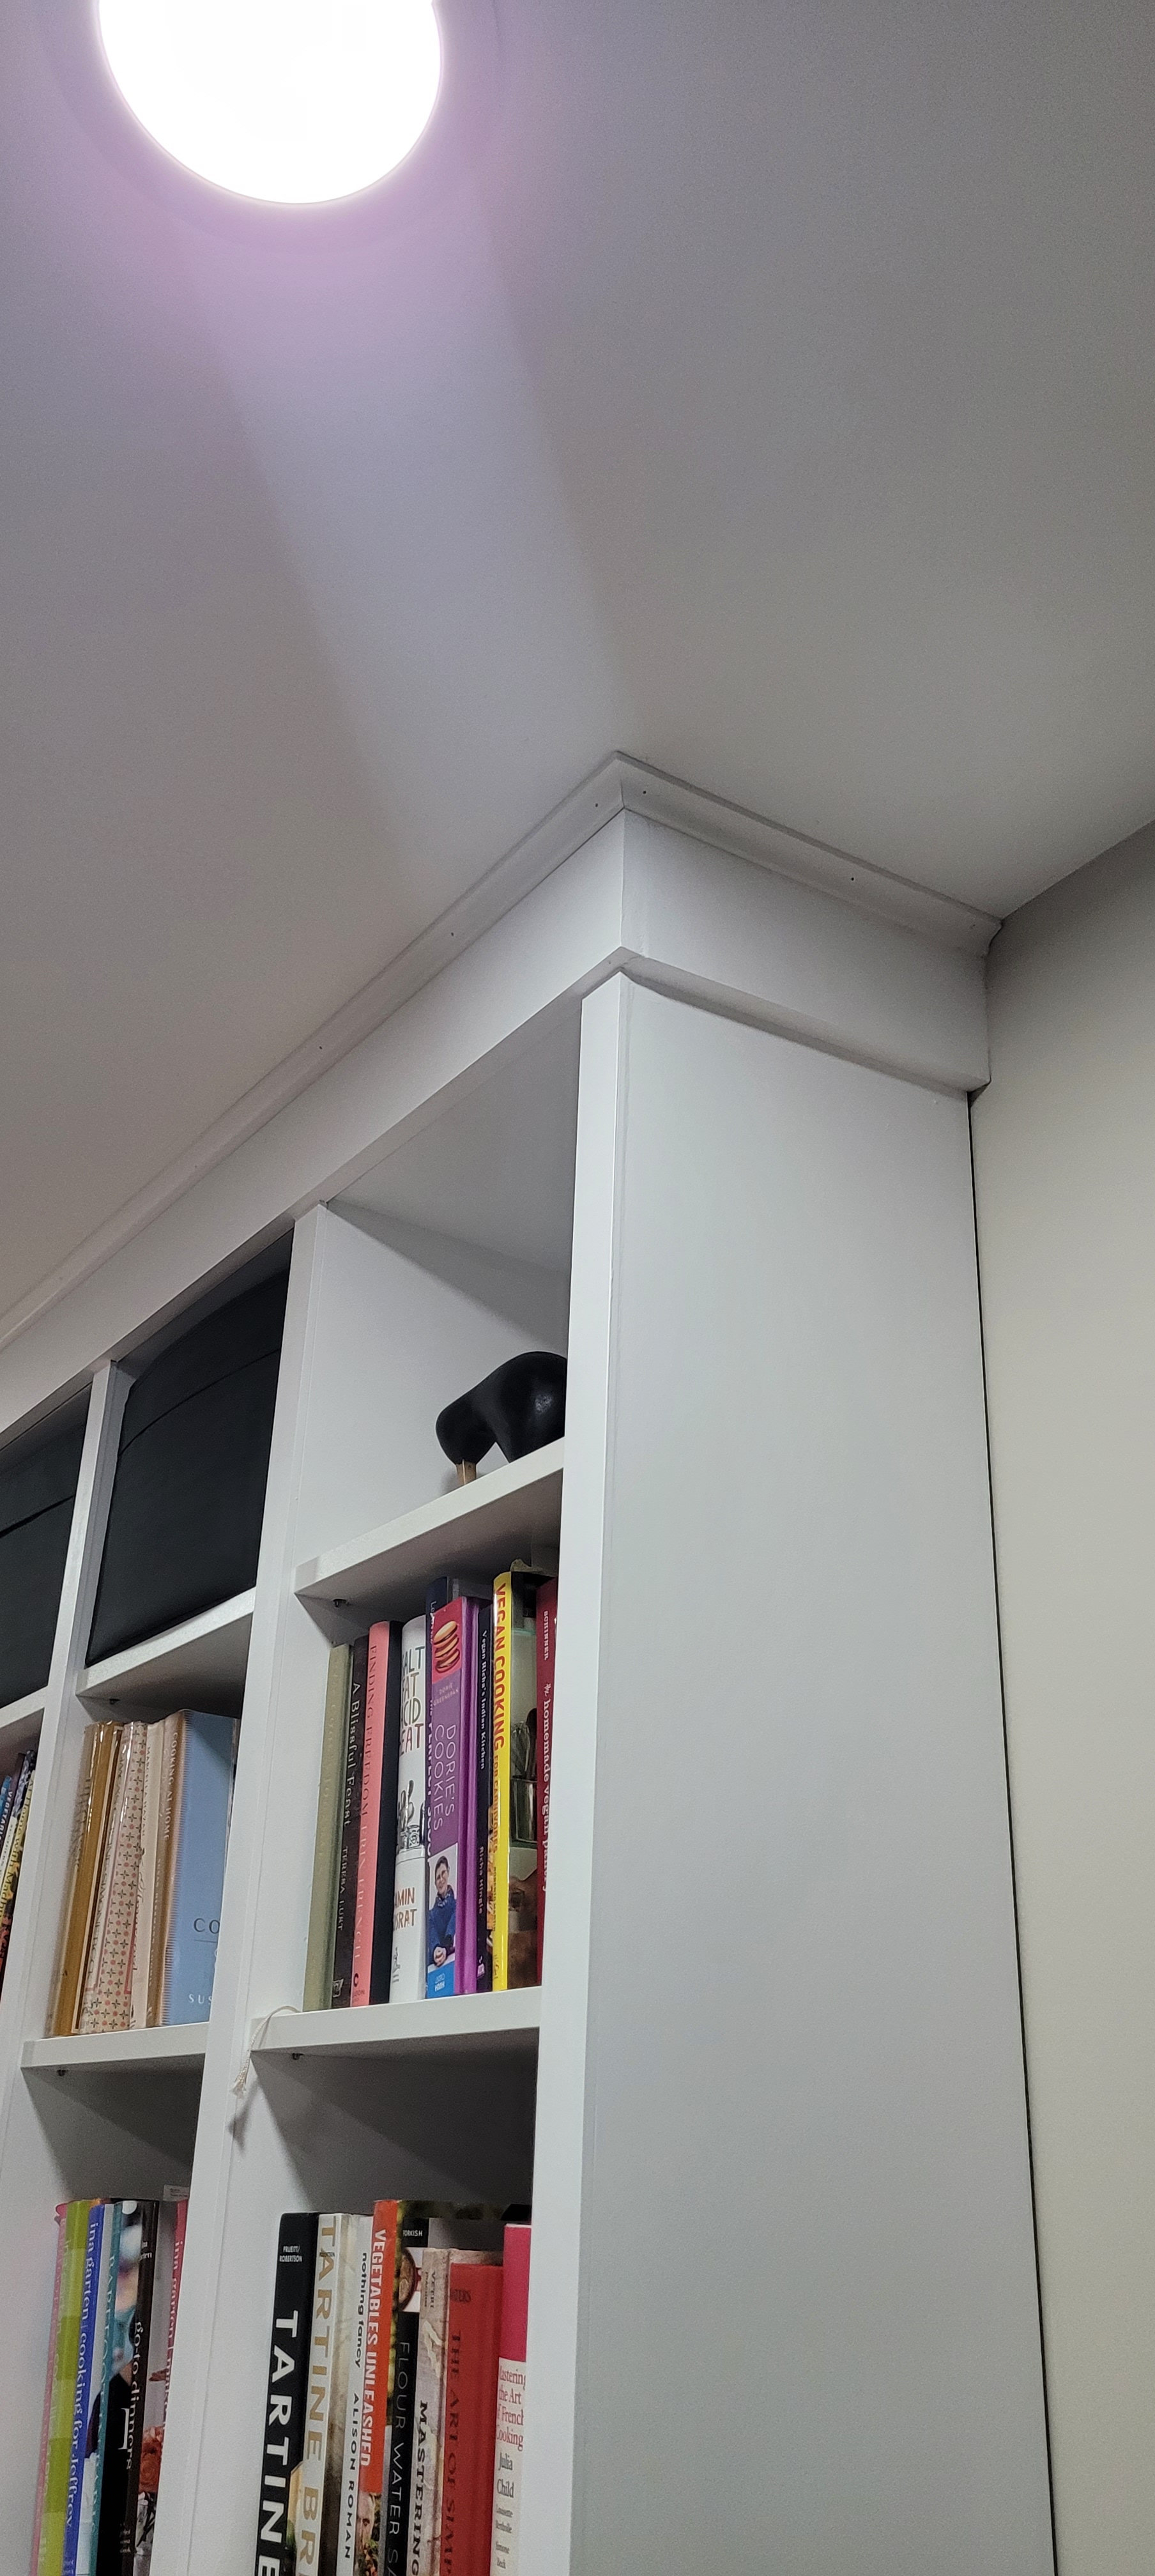
What we didn’t do was caulk the piece of crown trim to the ceiling prior to finishing. Once we get the thing painted out (I’m going to hyperventilate if I keep these big sighs up), we will load all the books and appliance back in and THEN caulk the ceiling.

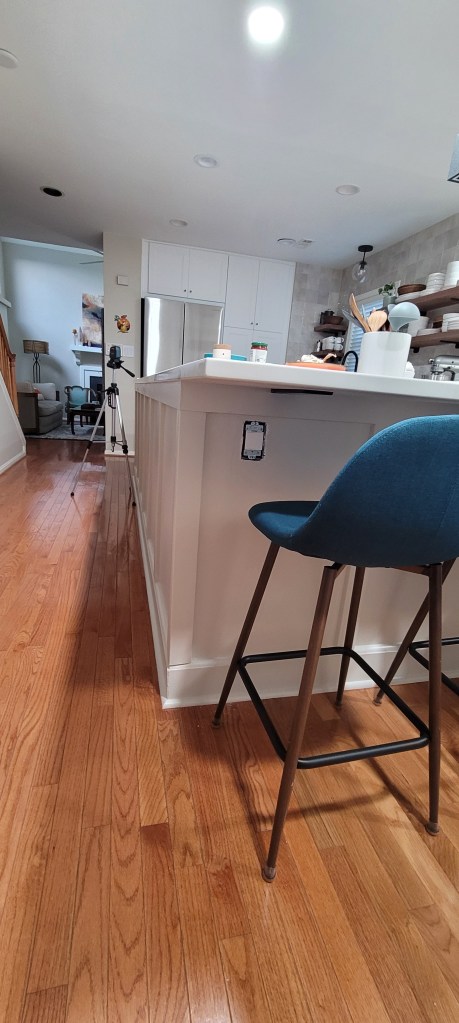
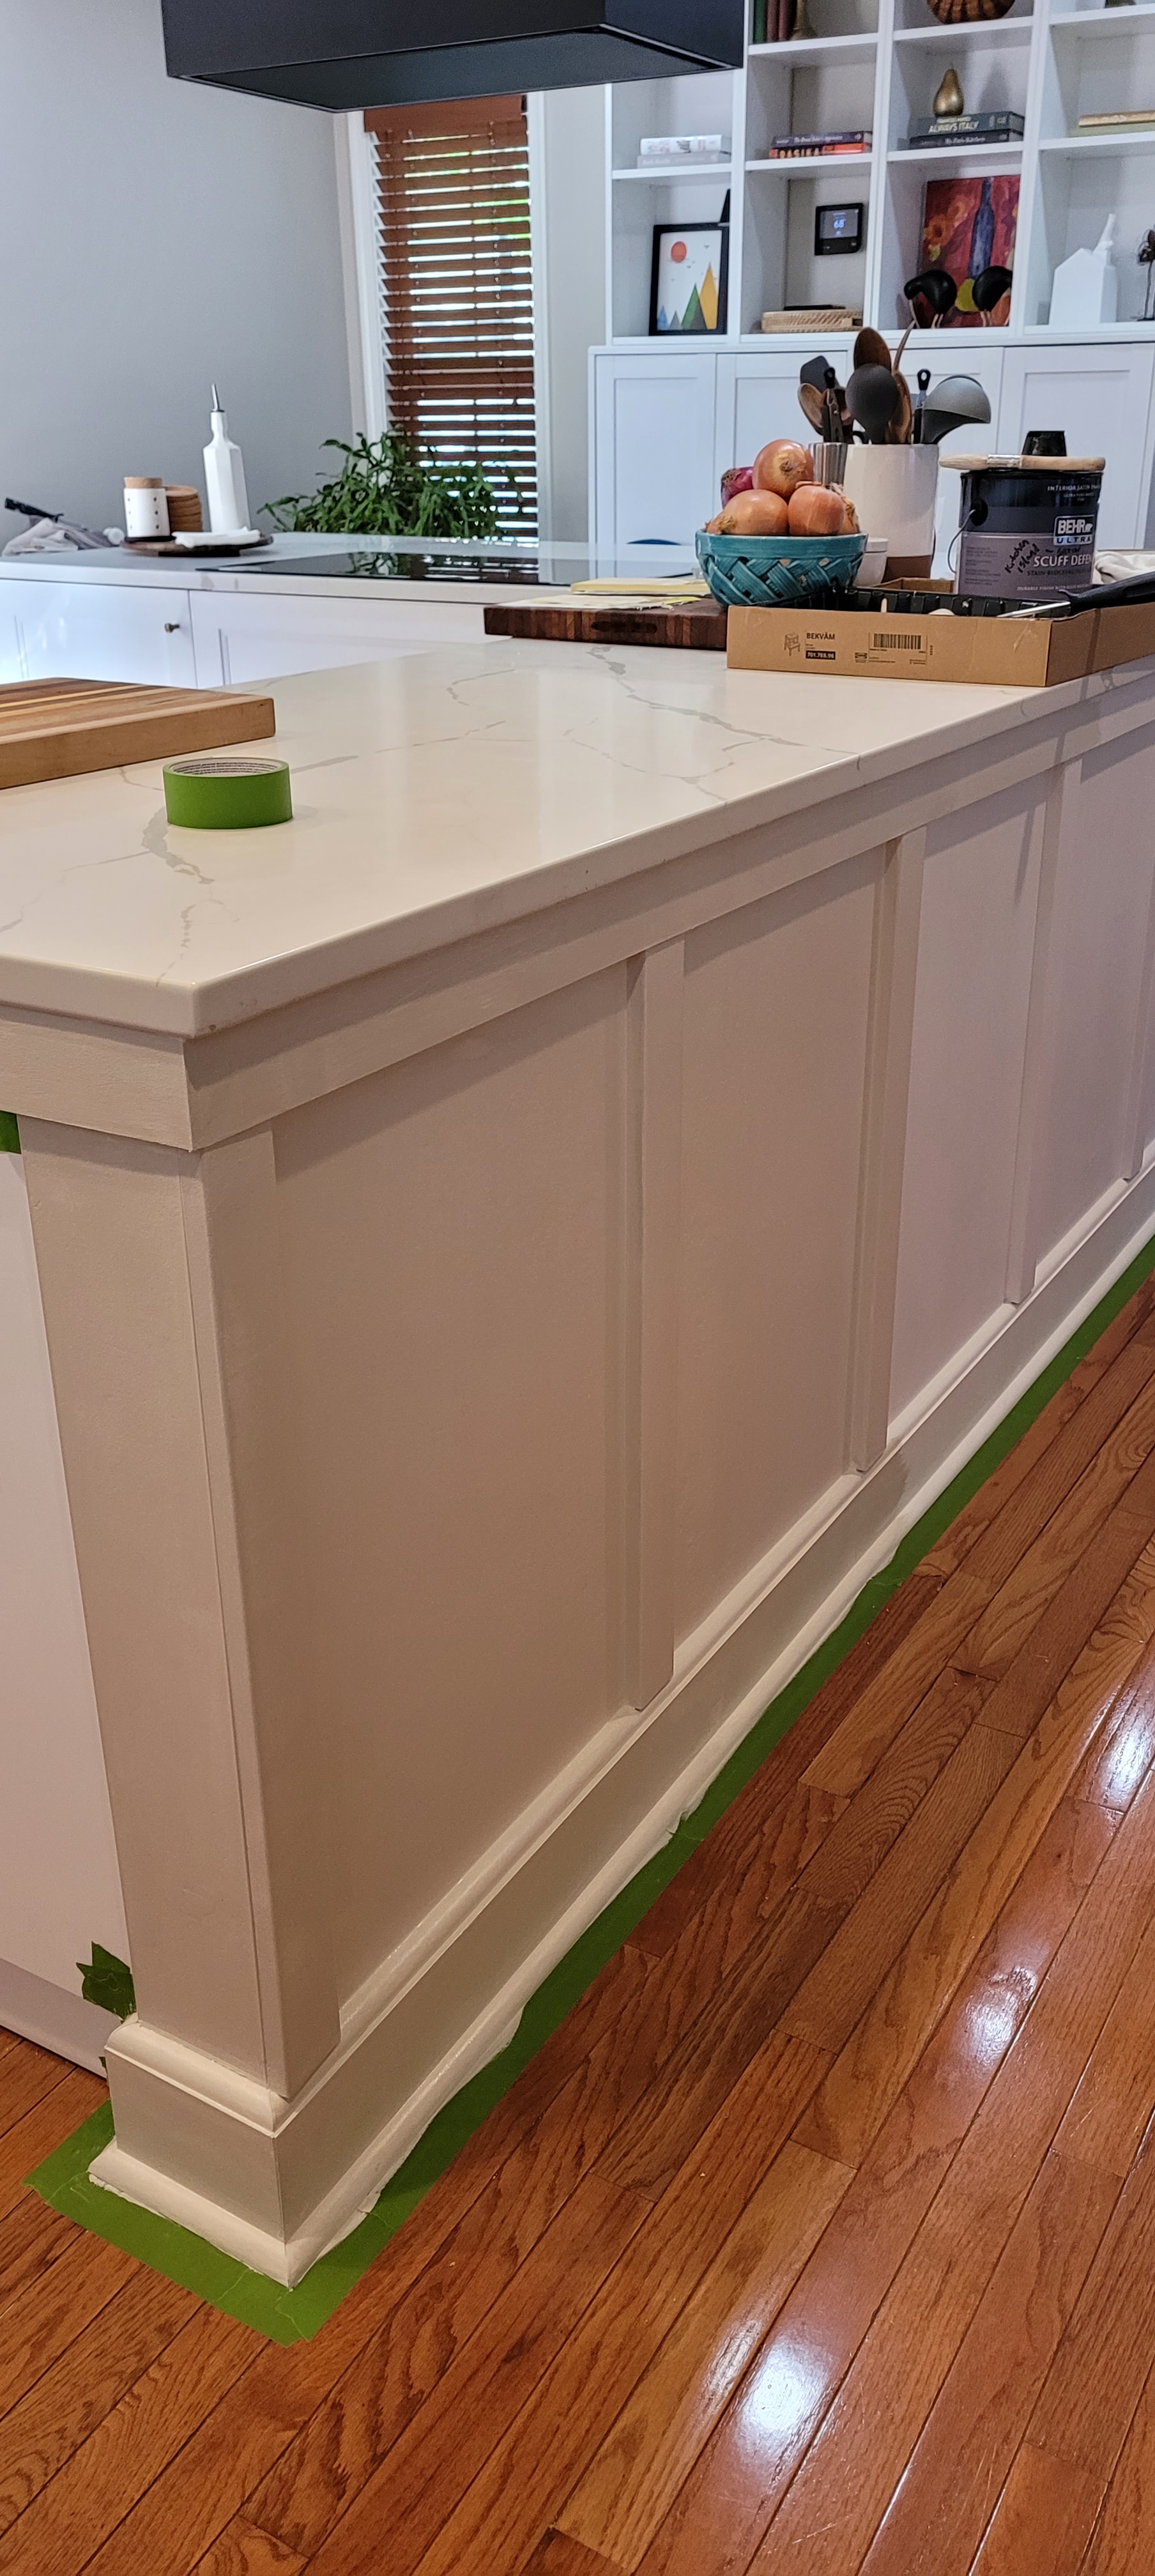
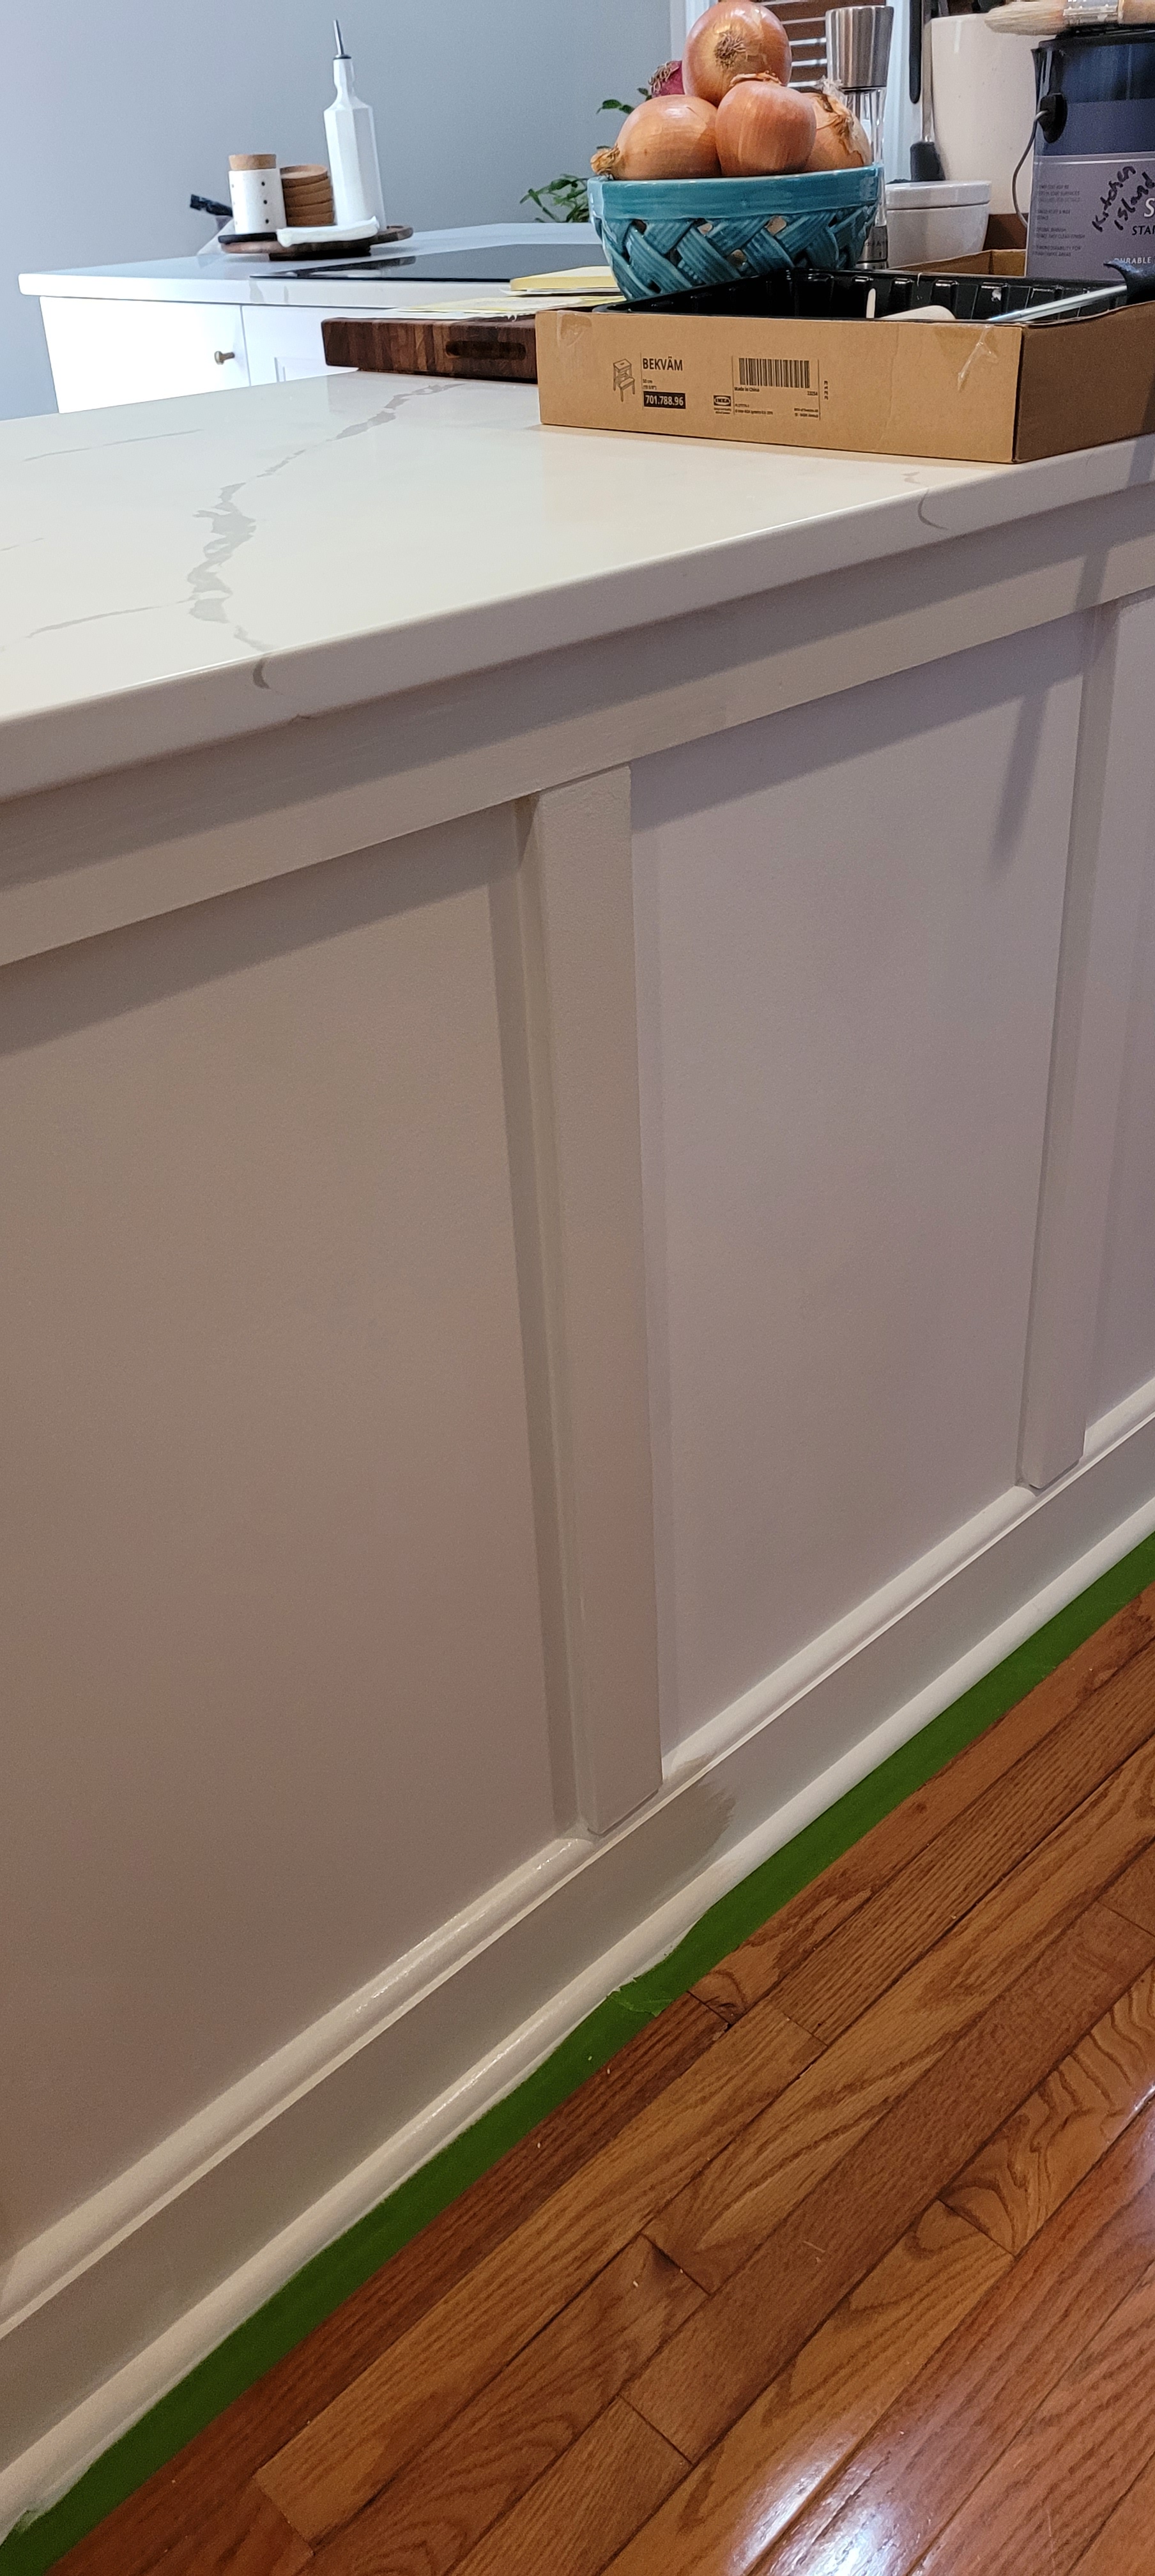
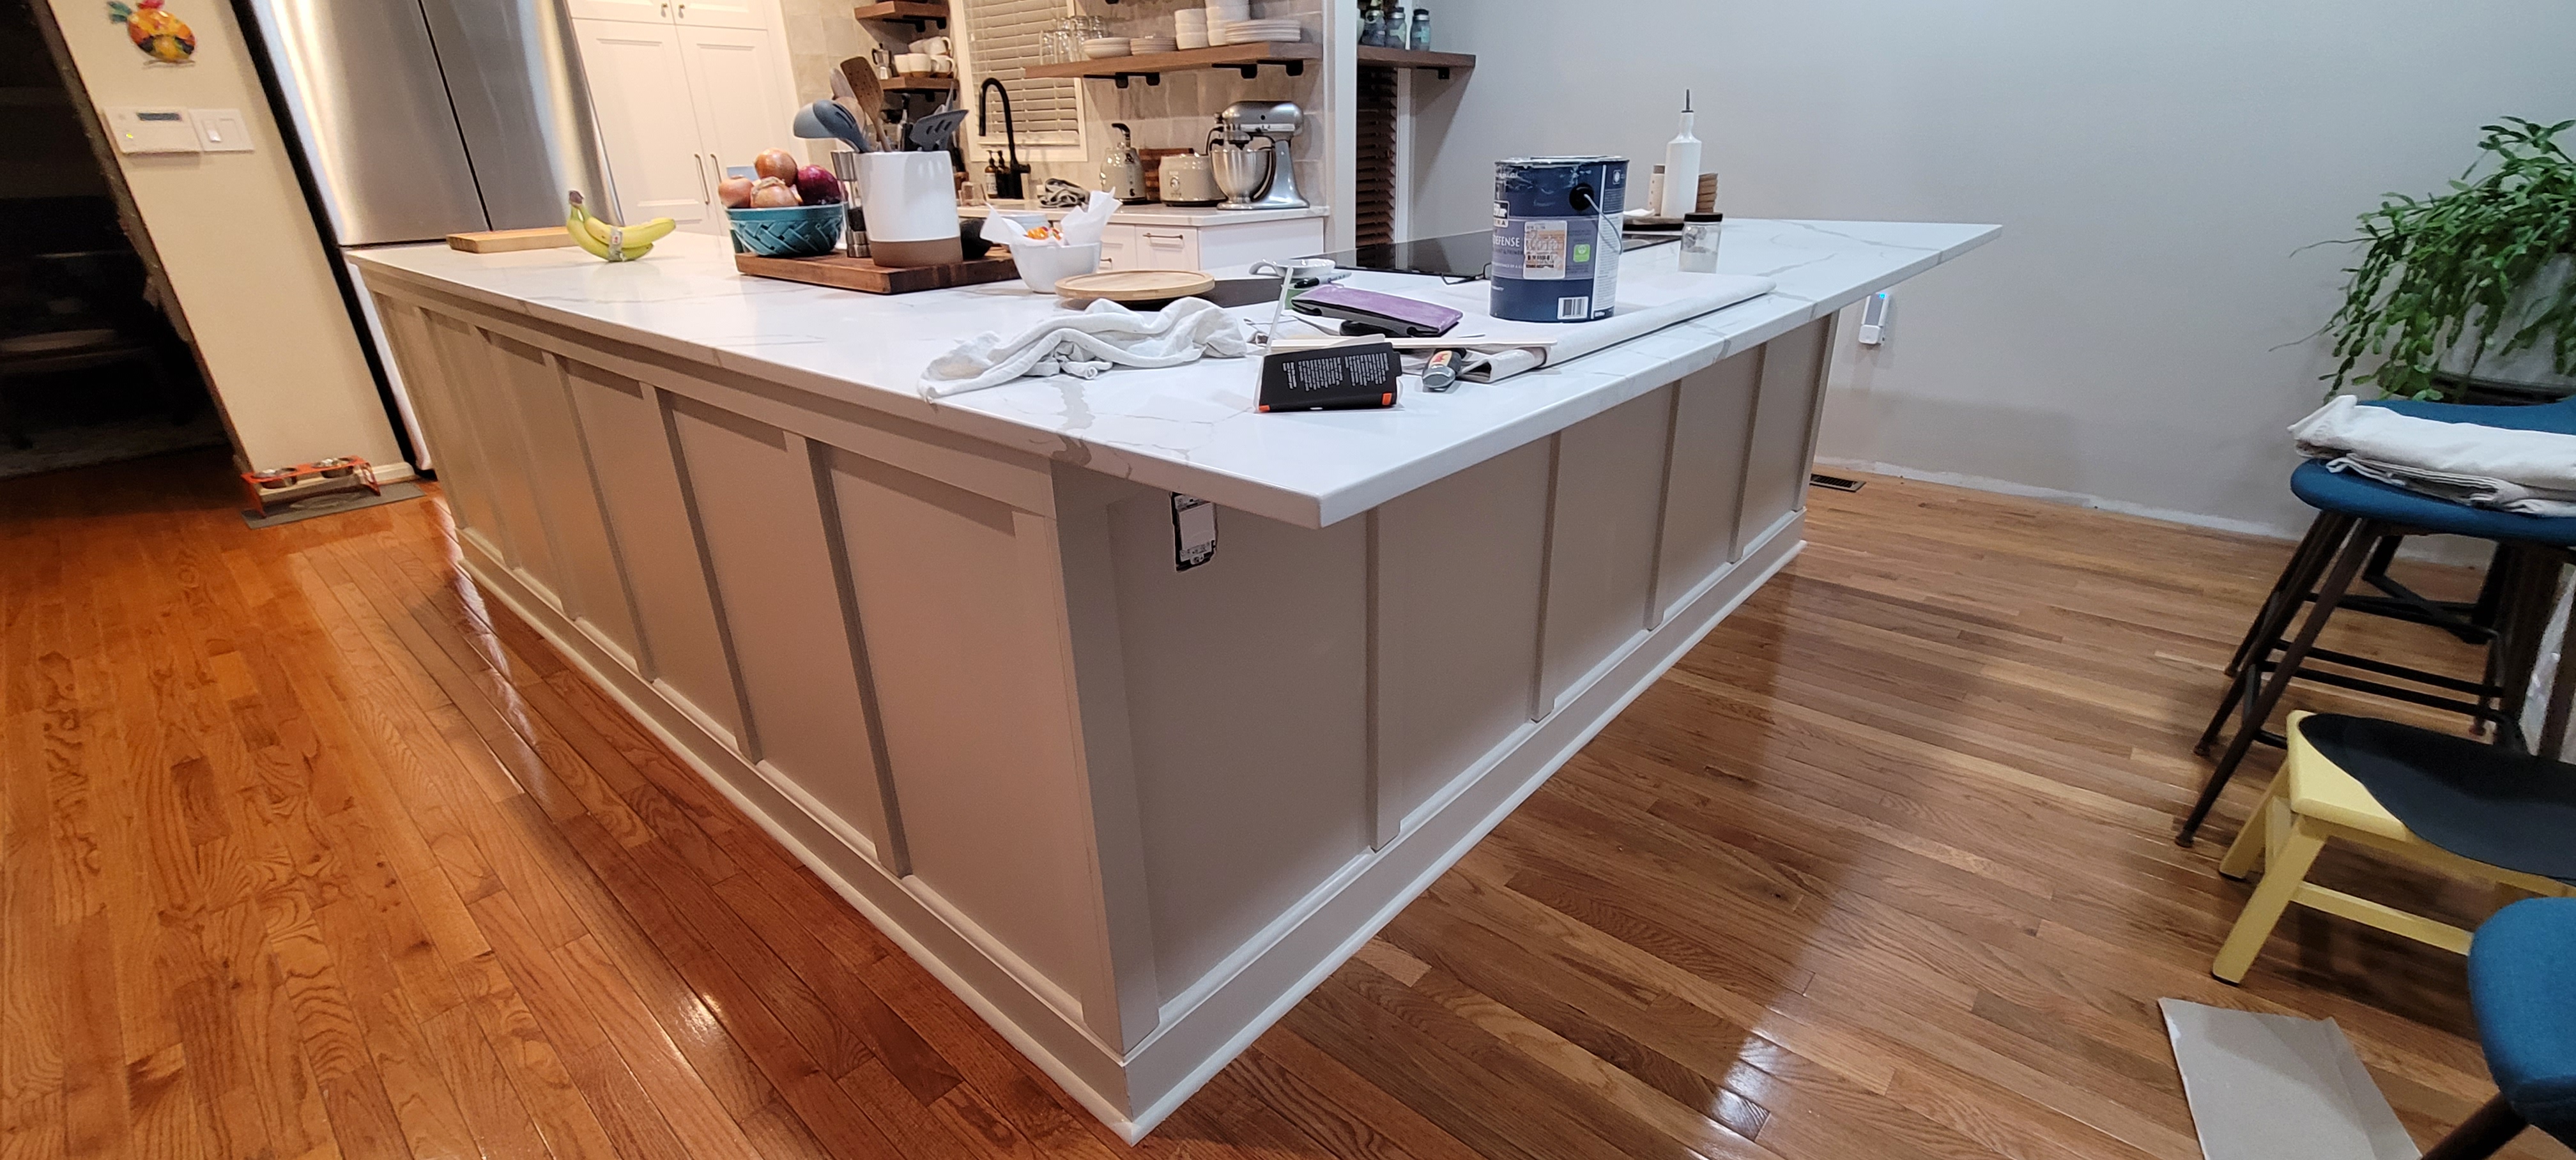
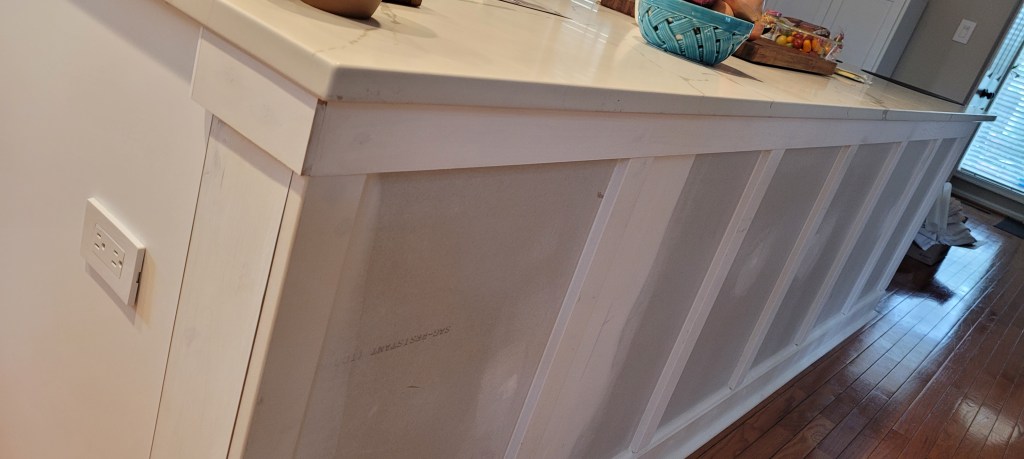
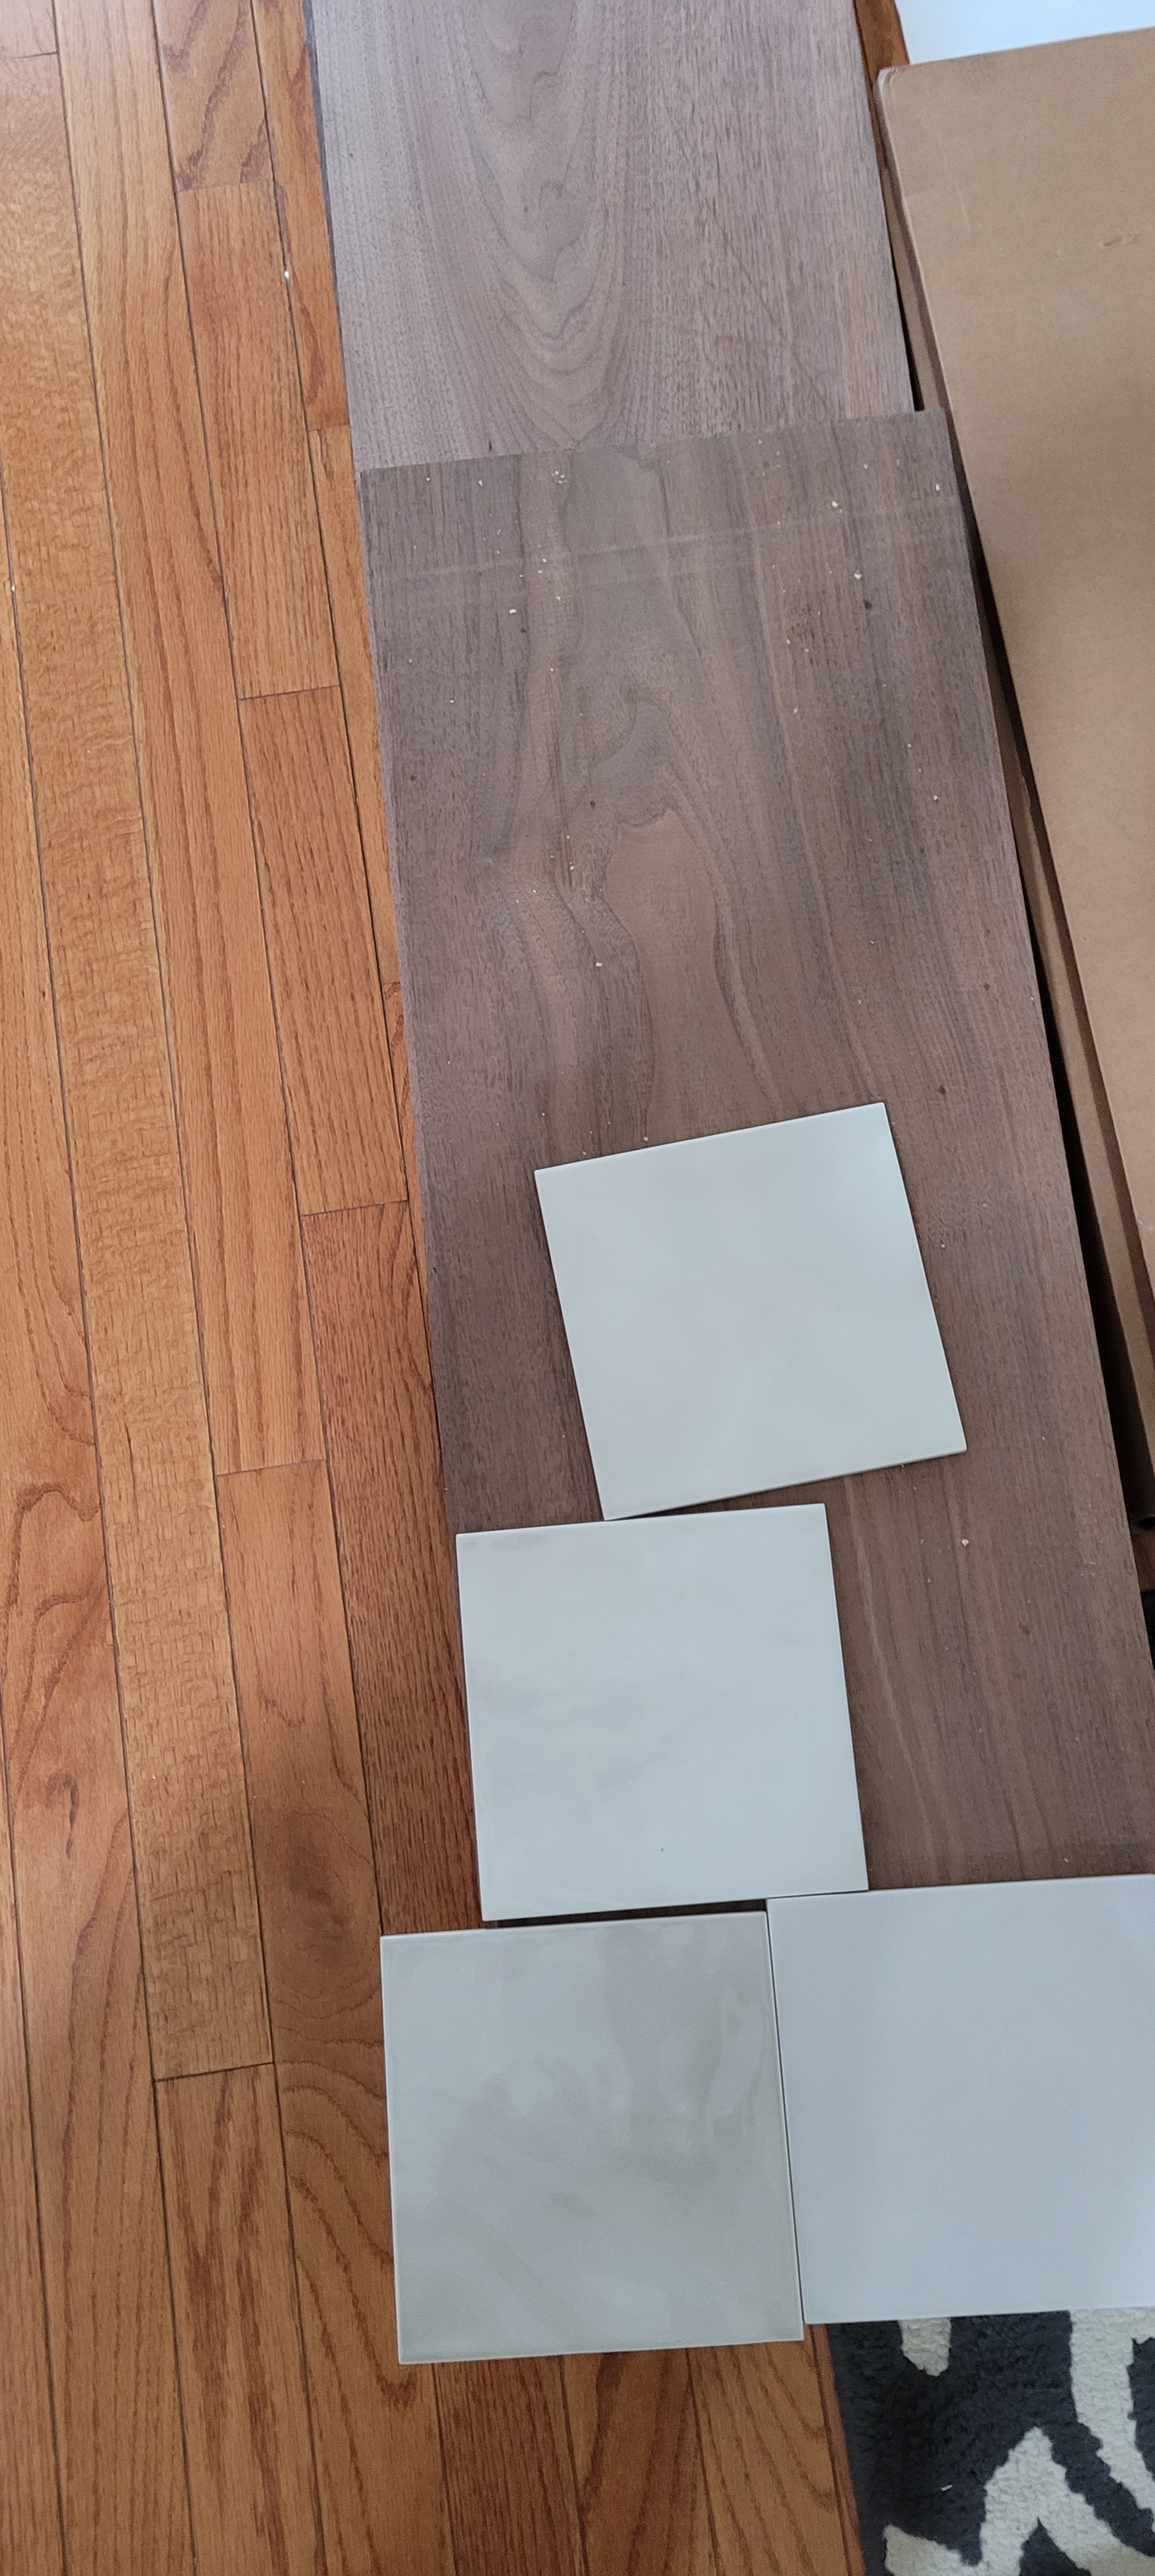
We struggled to choose a color that would blend with the kitchen and not be too much of a distraction. We originally set our sight on black, but then thought it might scream, “Look at me!” from the back wall of our kitchen. Because our kitchen walls (along with the whole house and the walls of the massive island) are painted Benjamin Moore’s Edgecomb Grey (a soothing, beigey/grey — the kids call it ‘greige’ these days), Ben (Moore, that is) recommended a number of complementary colors that go with Edgecomb Grey, including a navy blue and a deep putty grey. Navy blue, especially on islands, has been done to death — similar to its ship-lap cousin in popularity, it was a little too on-trend, and besides, all the TikTokers tell us the navy island era has passed.

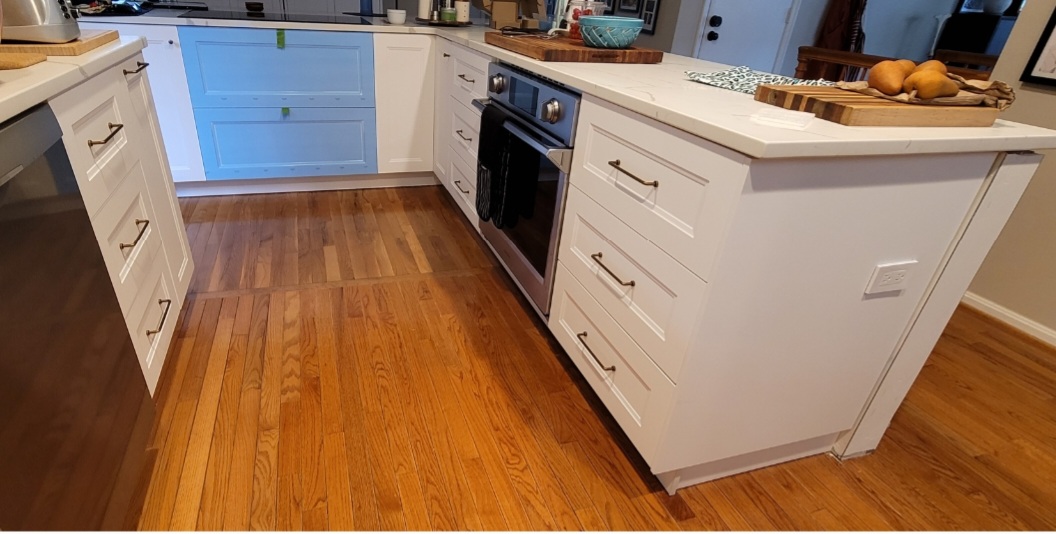
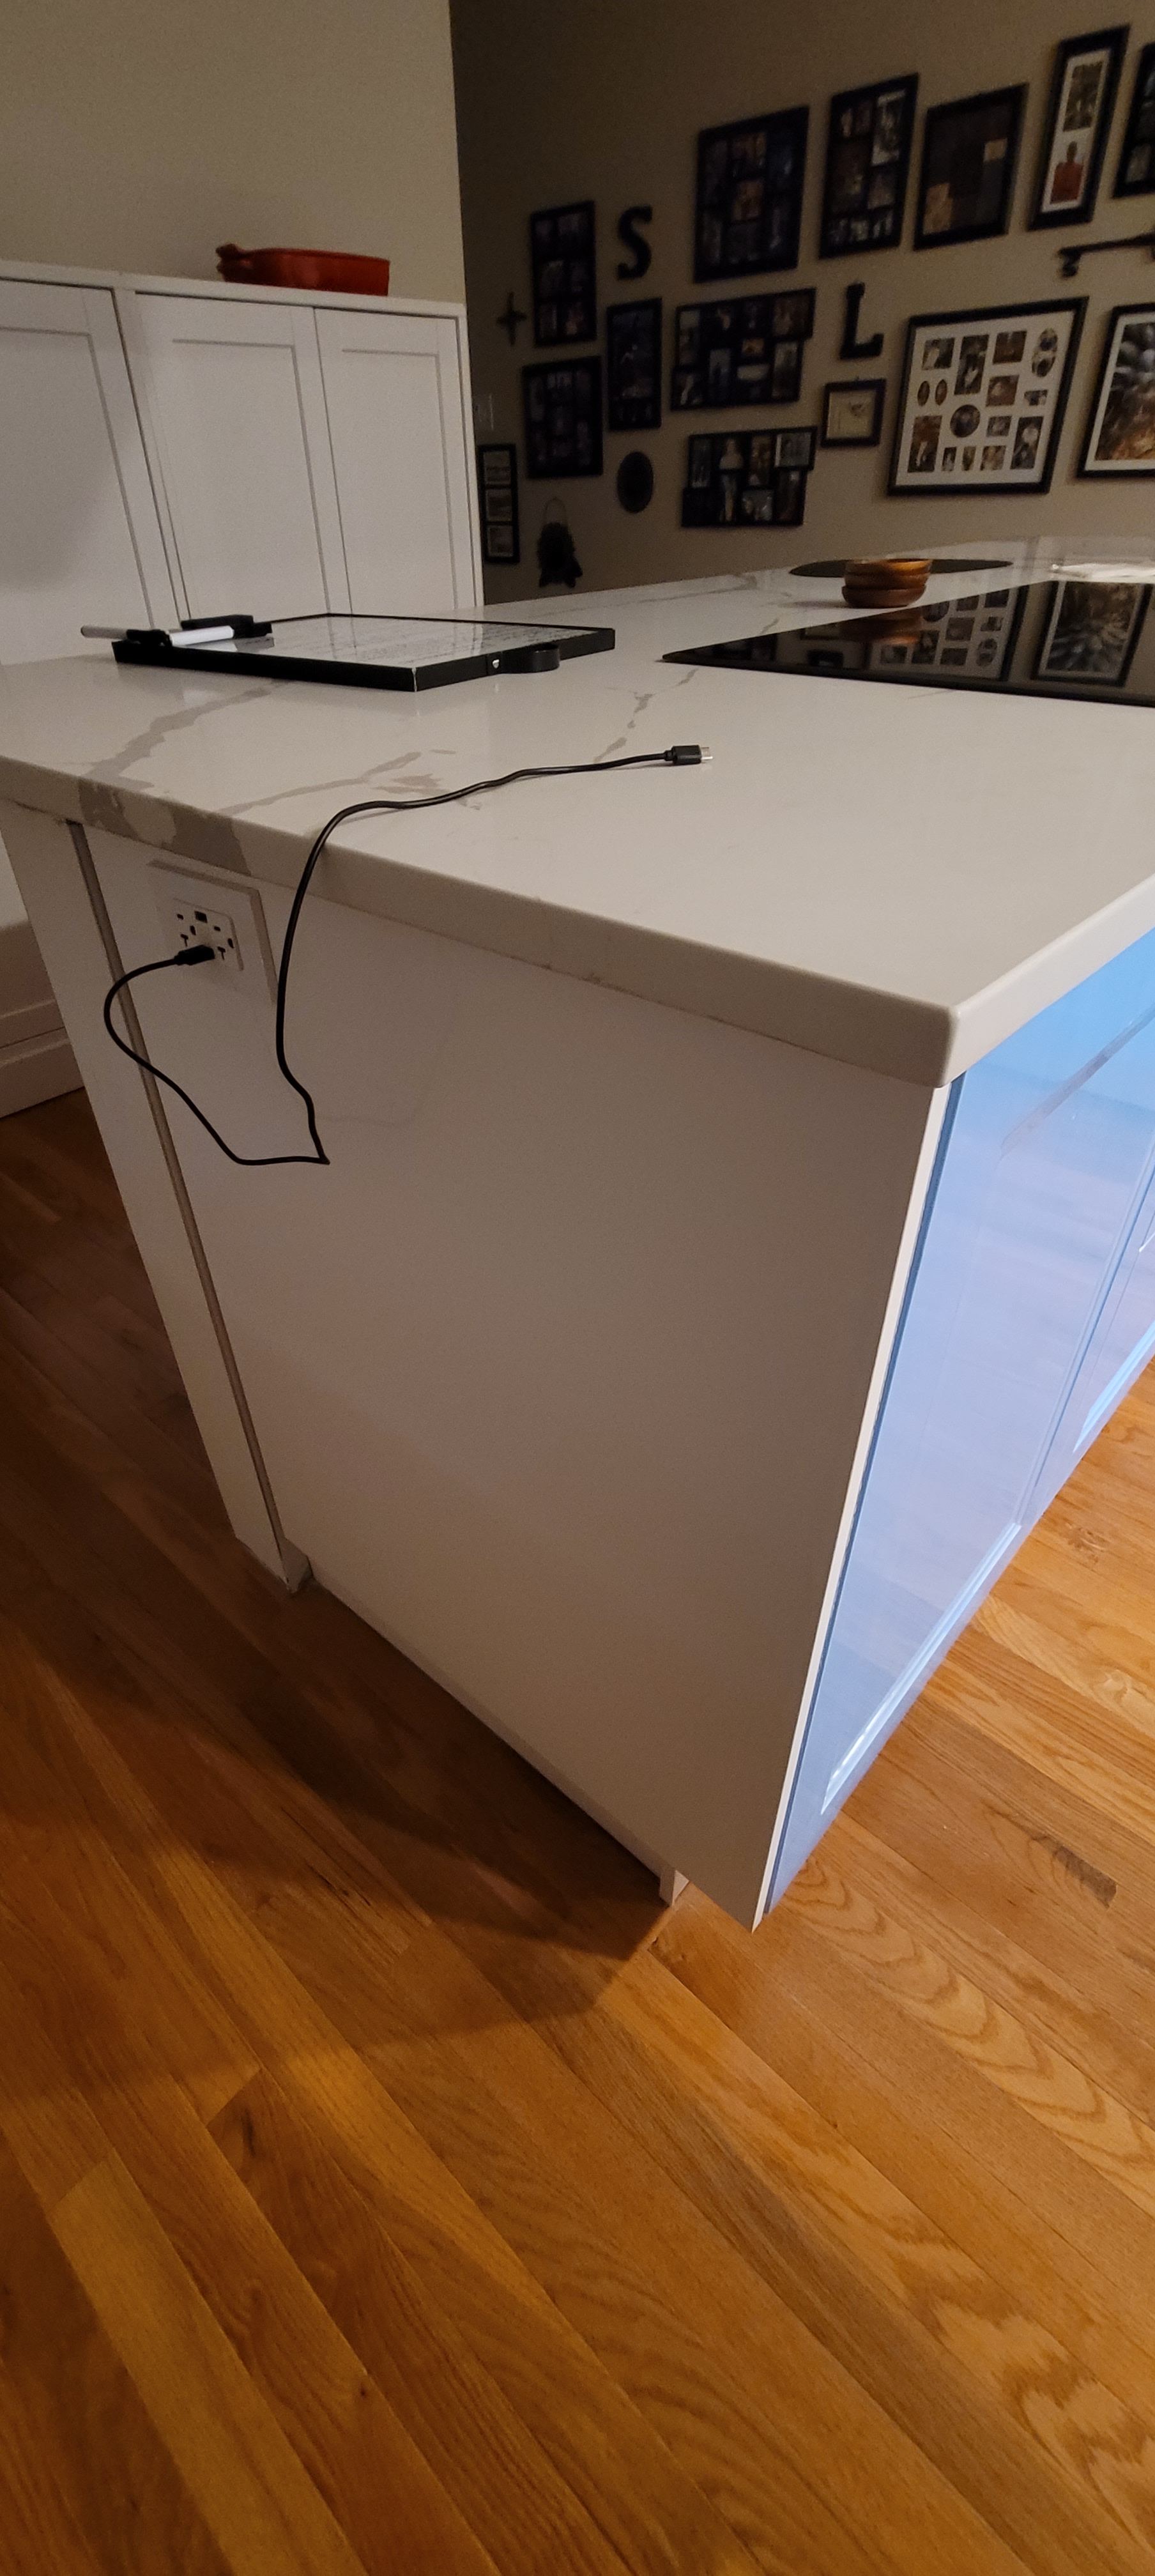
So, we went with…drumroll, please! Benjamin Moore’s Chelsea Grey! It is exclamation-point-palooza over here with that decision behind us. Seriously, you don’t really want to know how long it took us to choose the color. When we saw it weirdly, and identically, matched the veining in our quartz countertops, we were flipping sold.

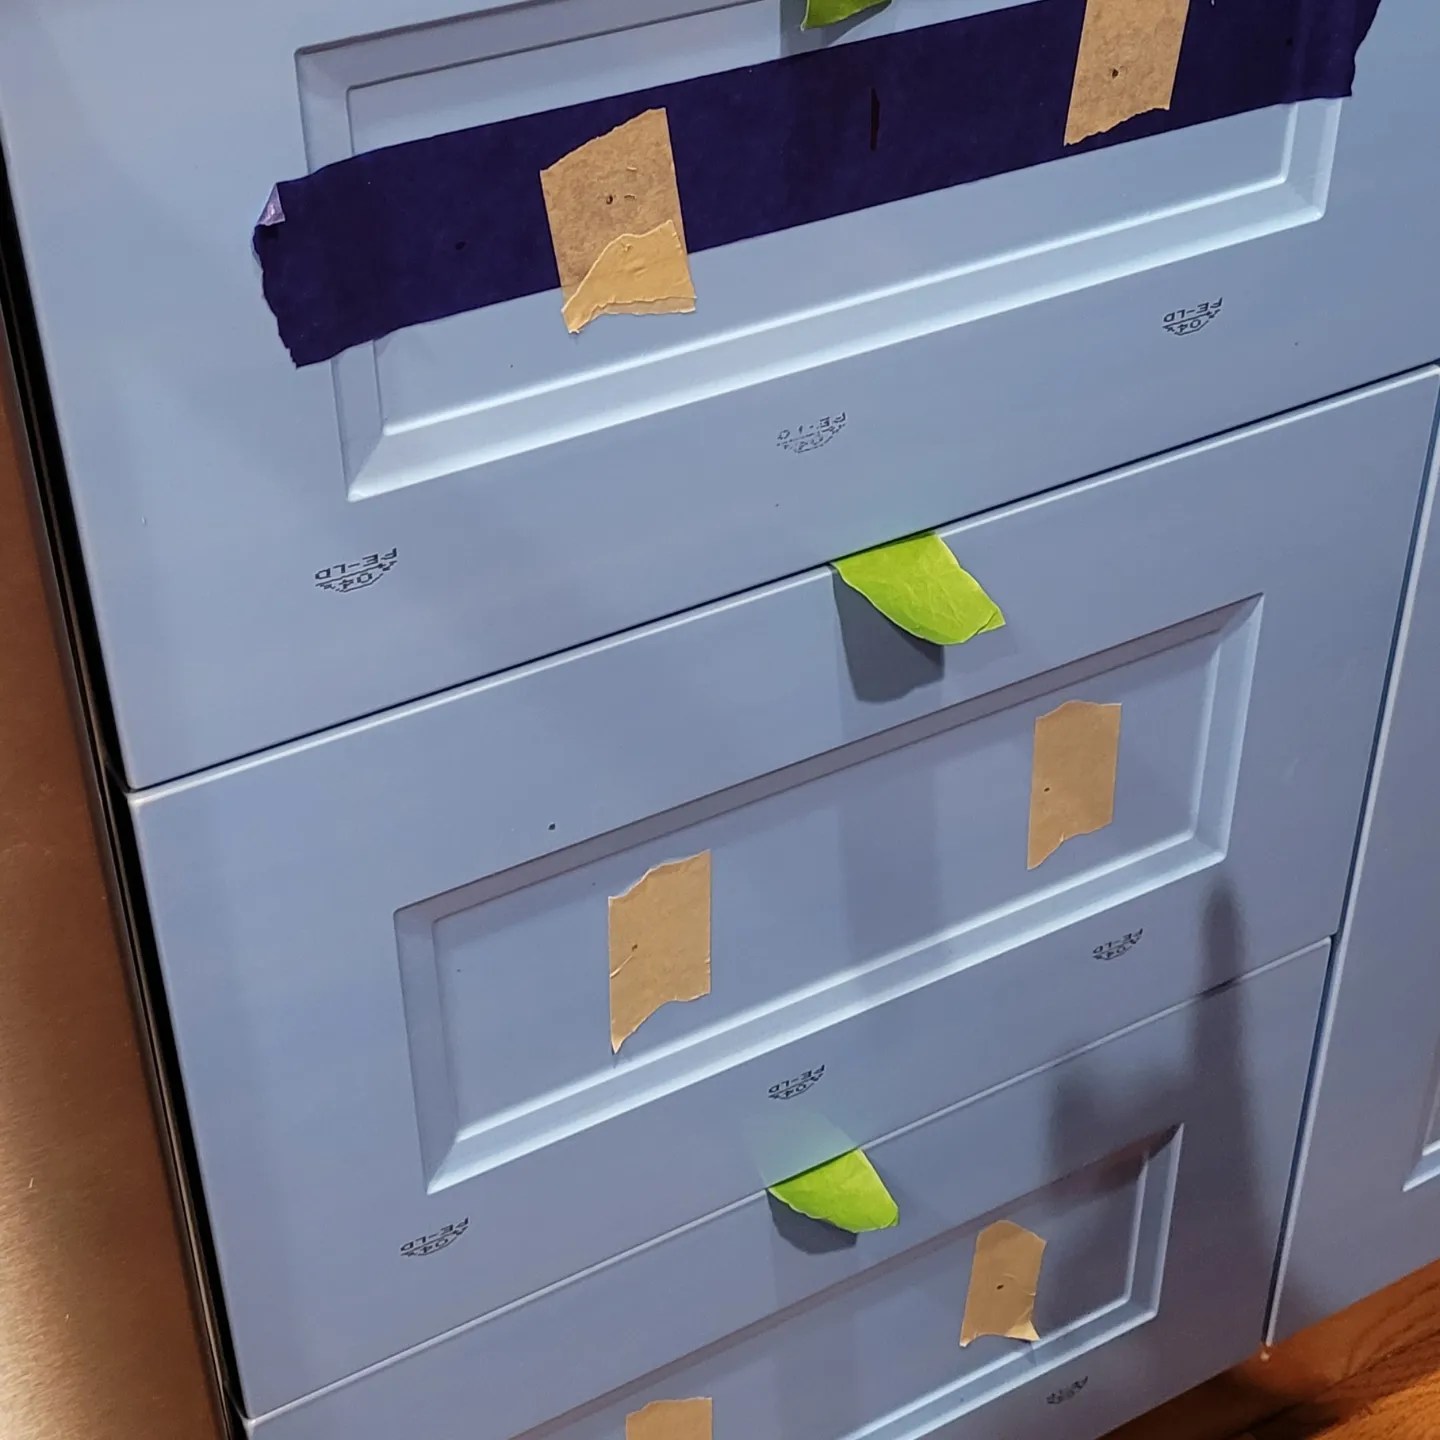
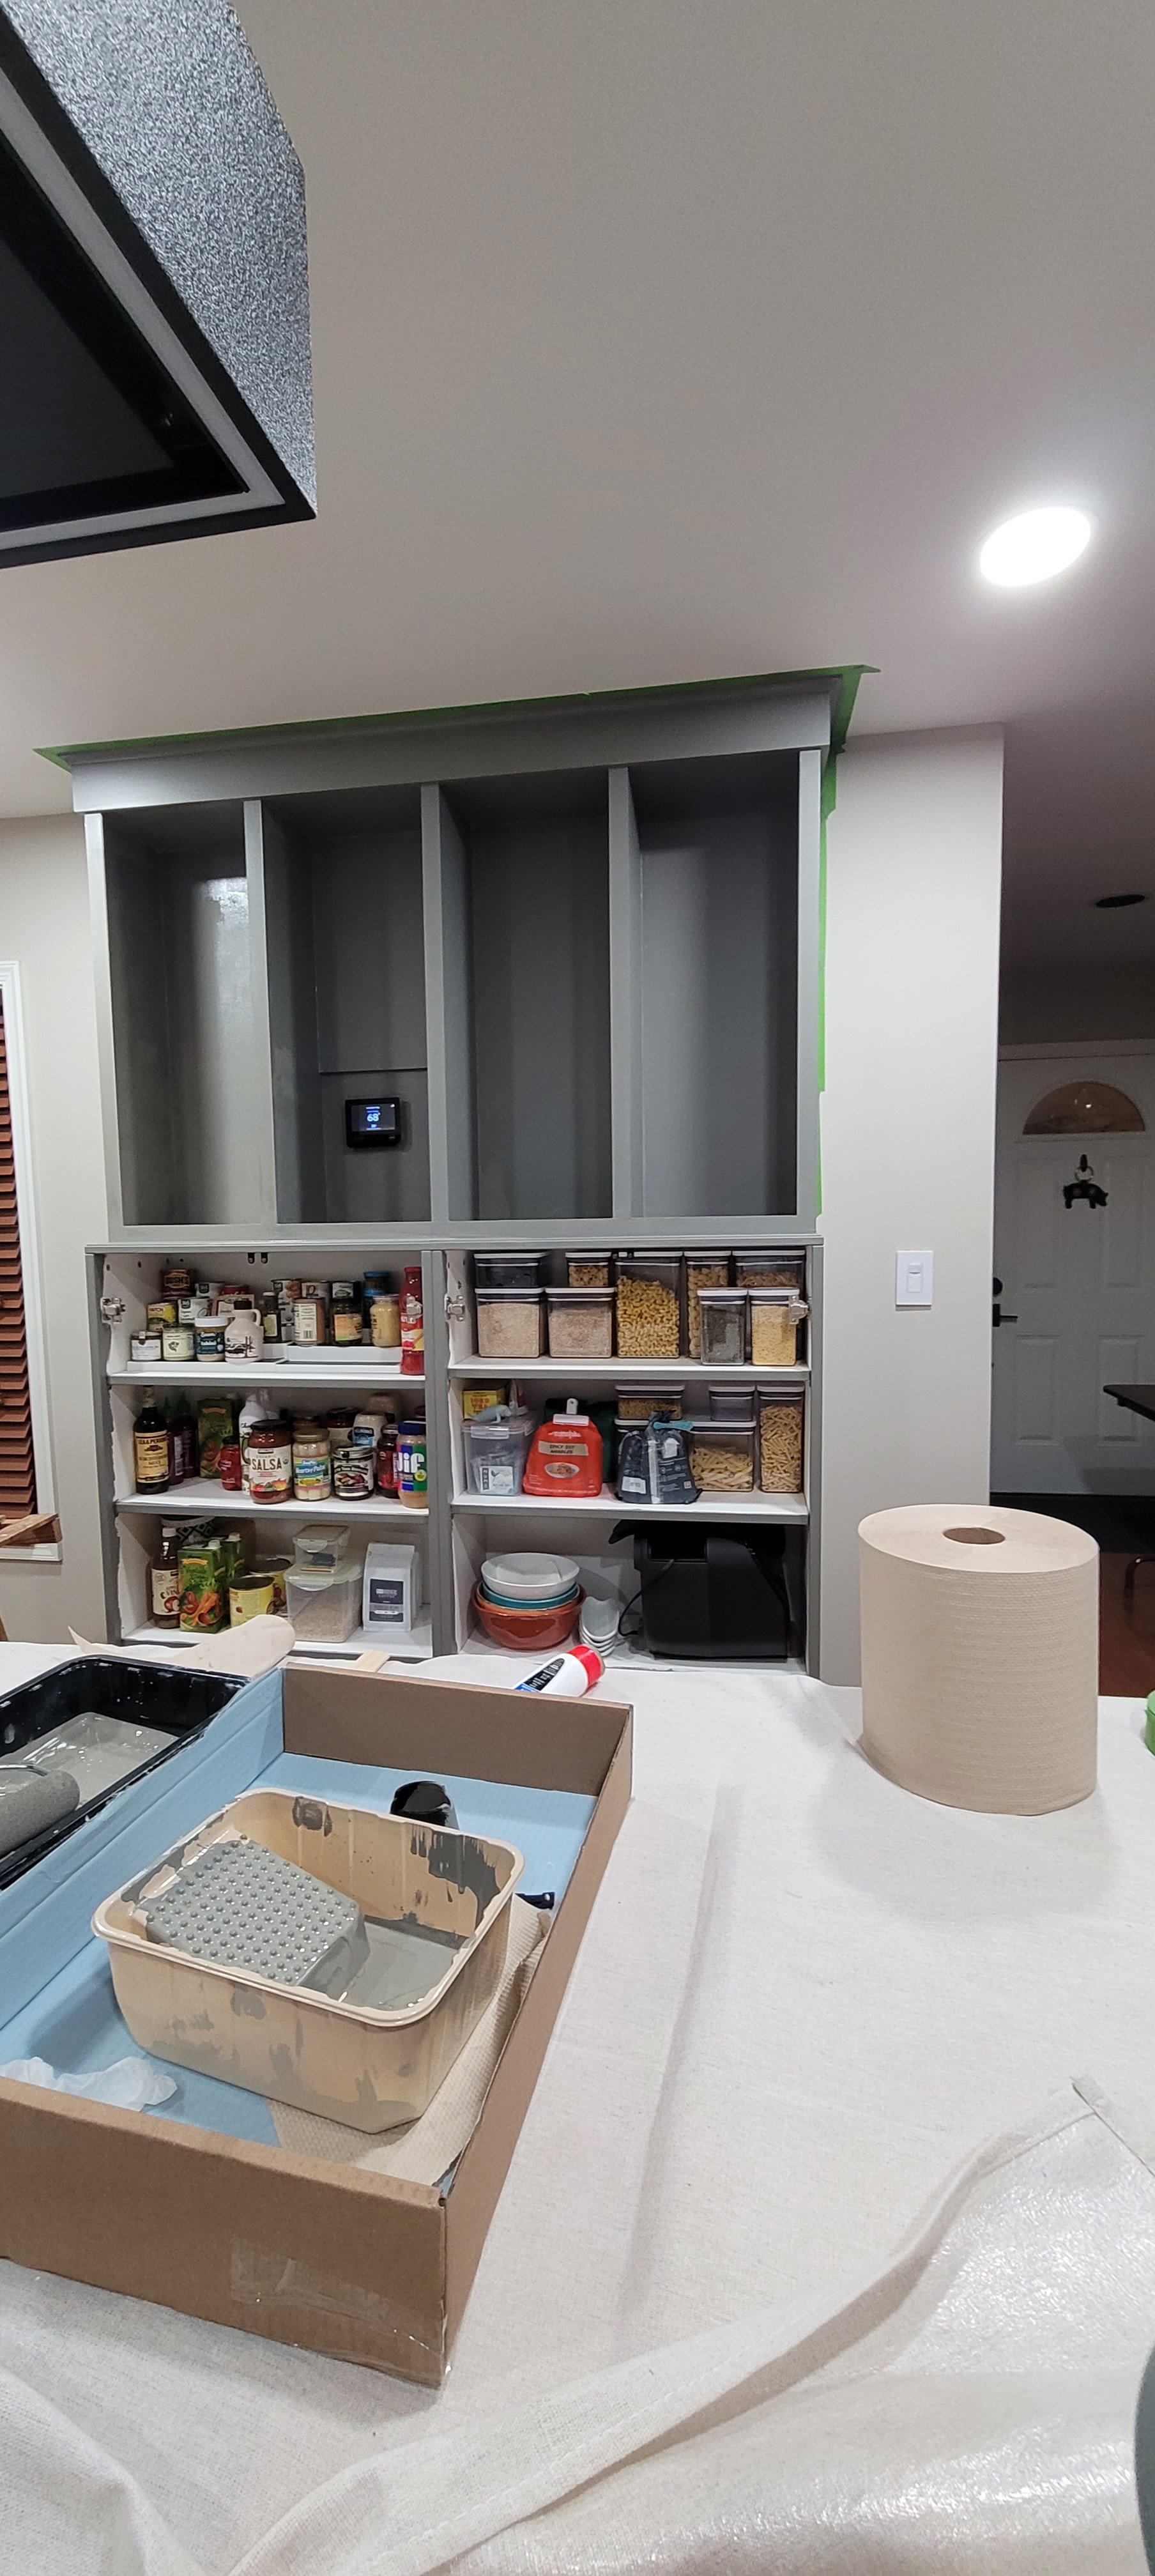
Here she is, with the first coat on. So far so good, but keep in mind, I said the same thing when we got the first coat of white on her, now many moons ago. We also changed sheens from a Matte to an Eggshell, so we’ll see if we can contain our excitement (and use of exclamation points) when we see that gloss-up happening on the second coat.

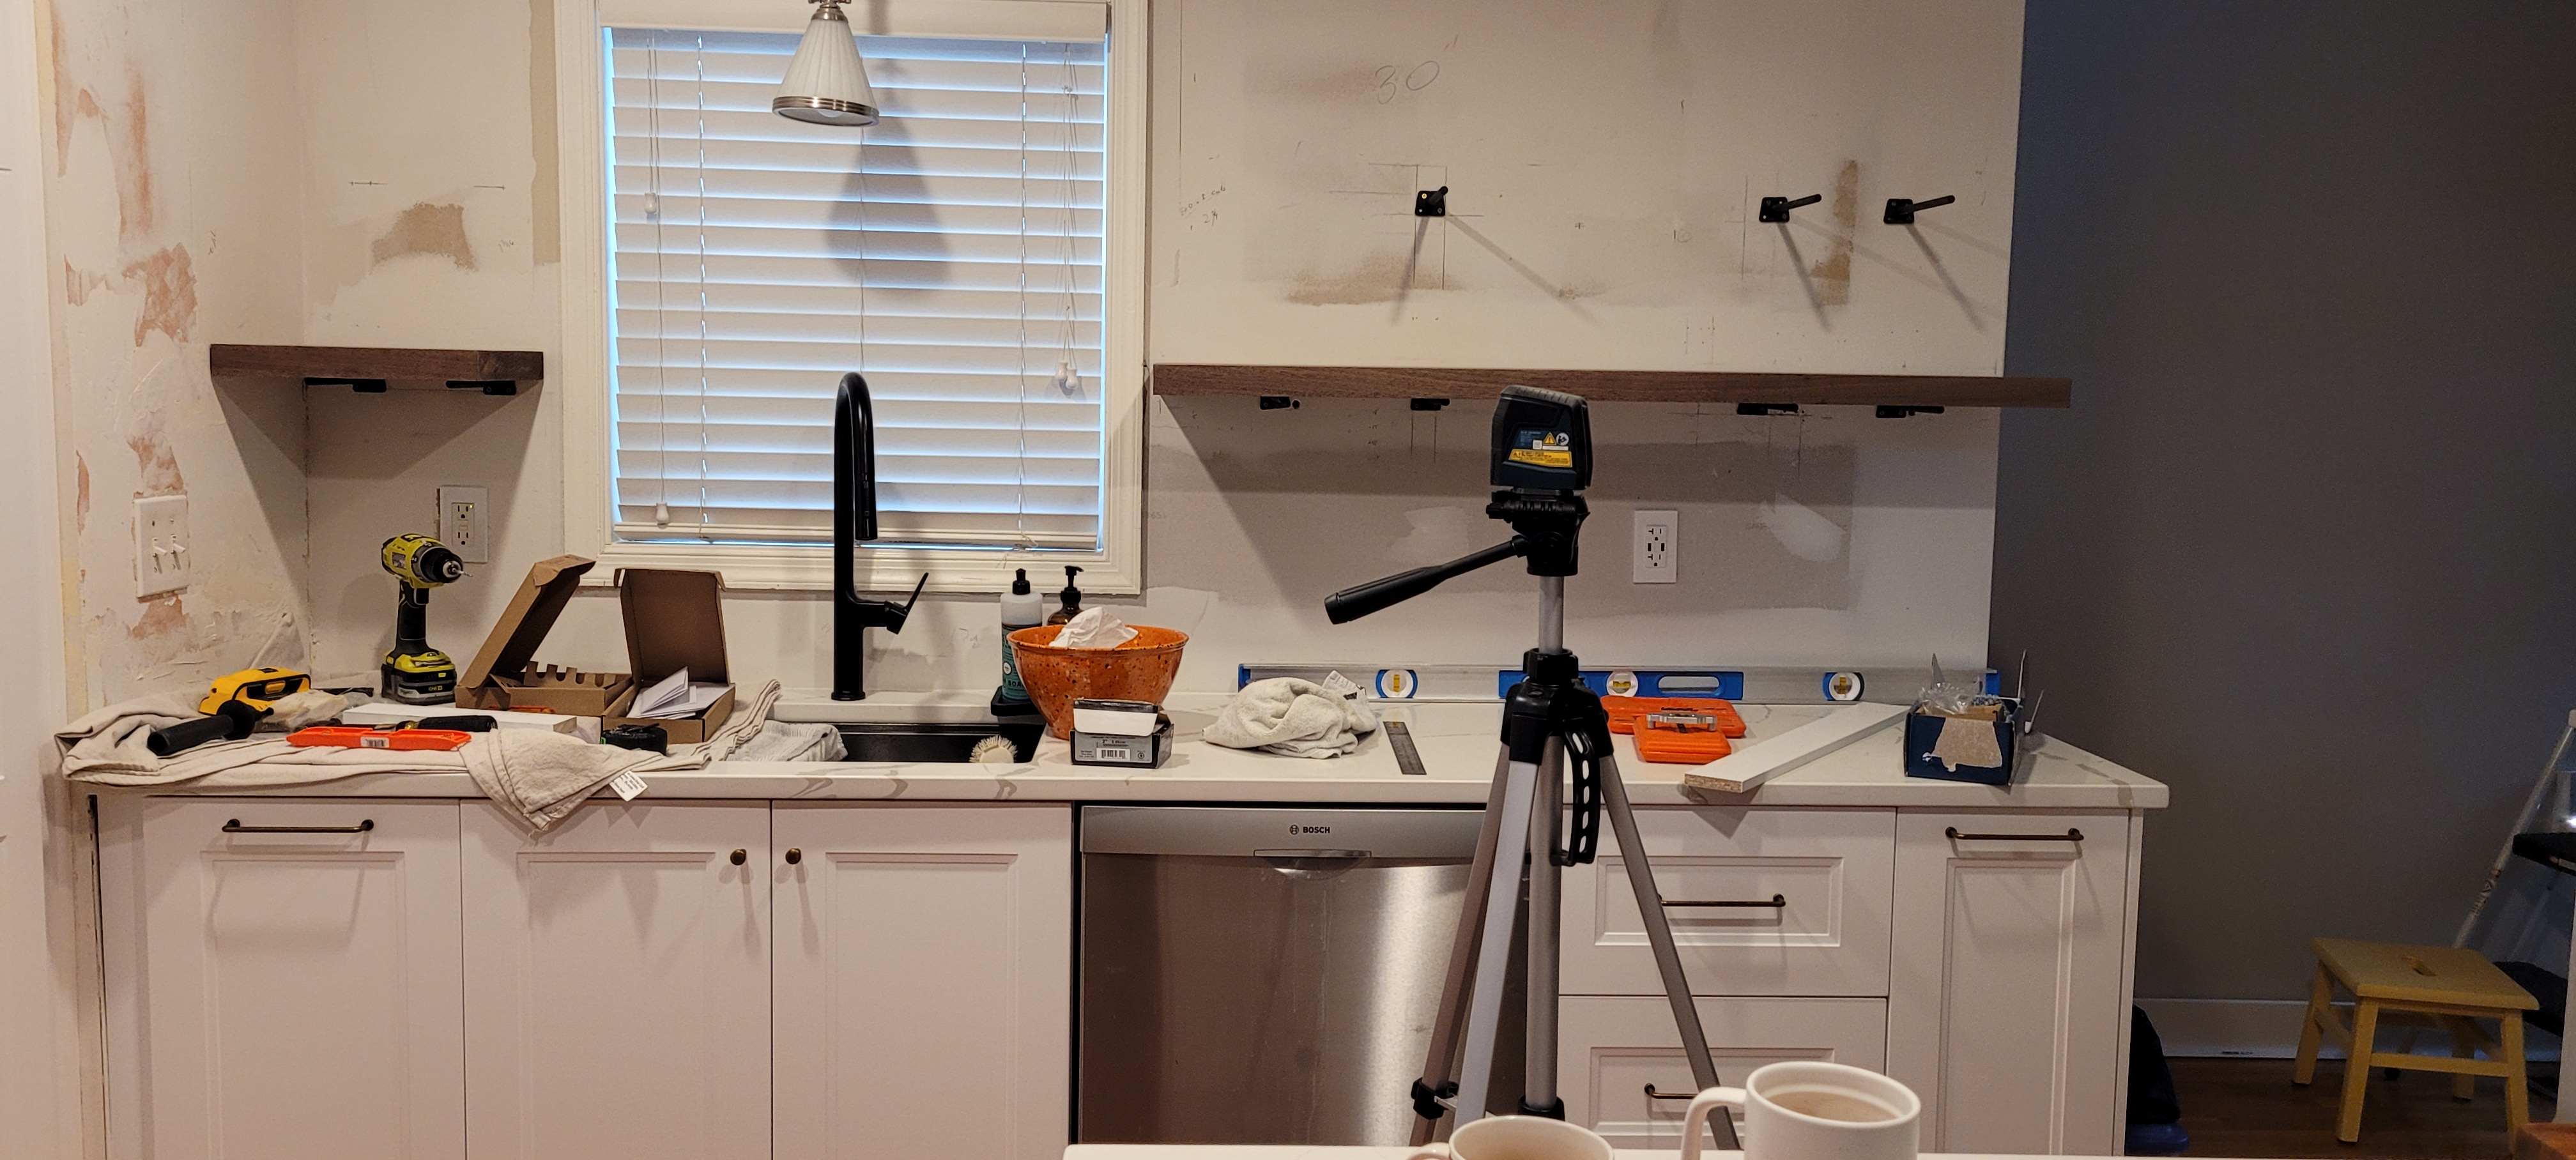
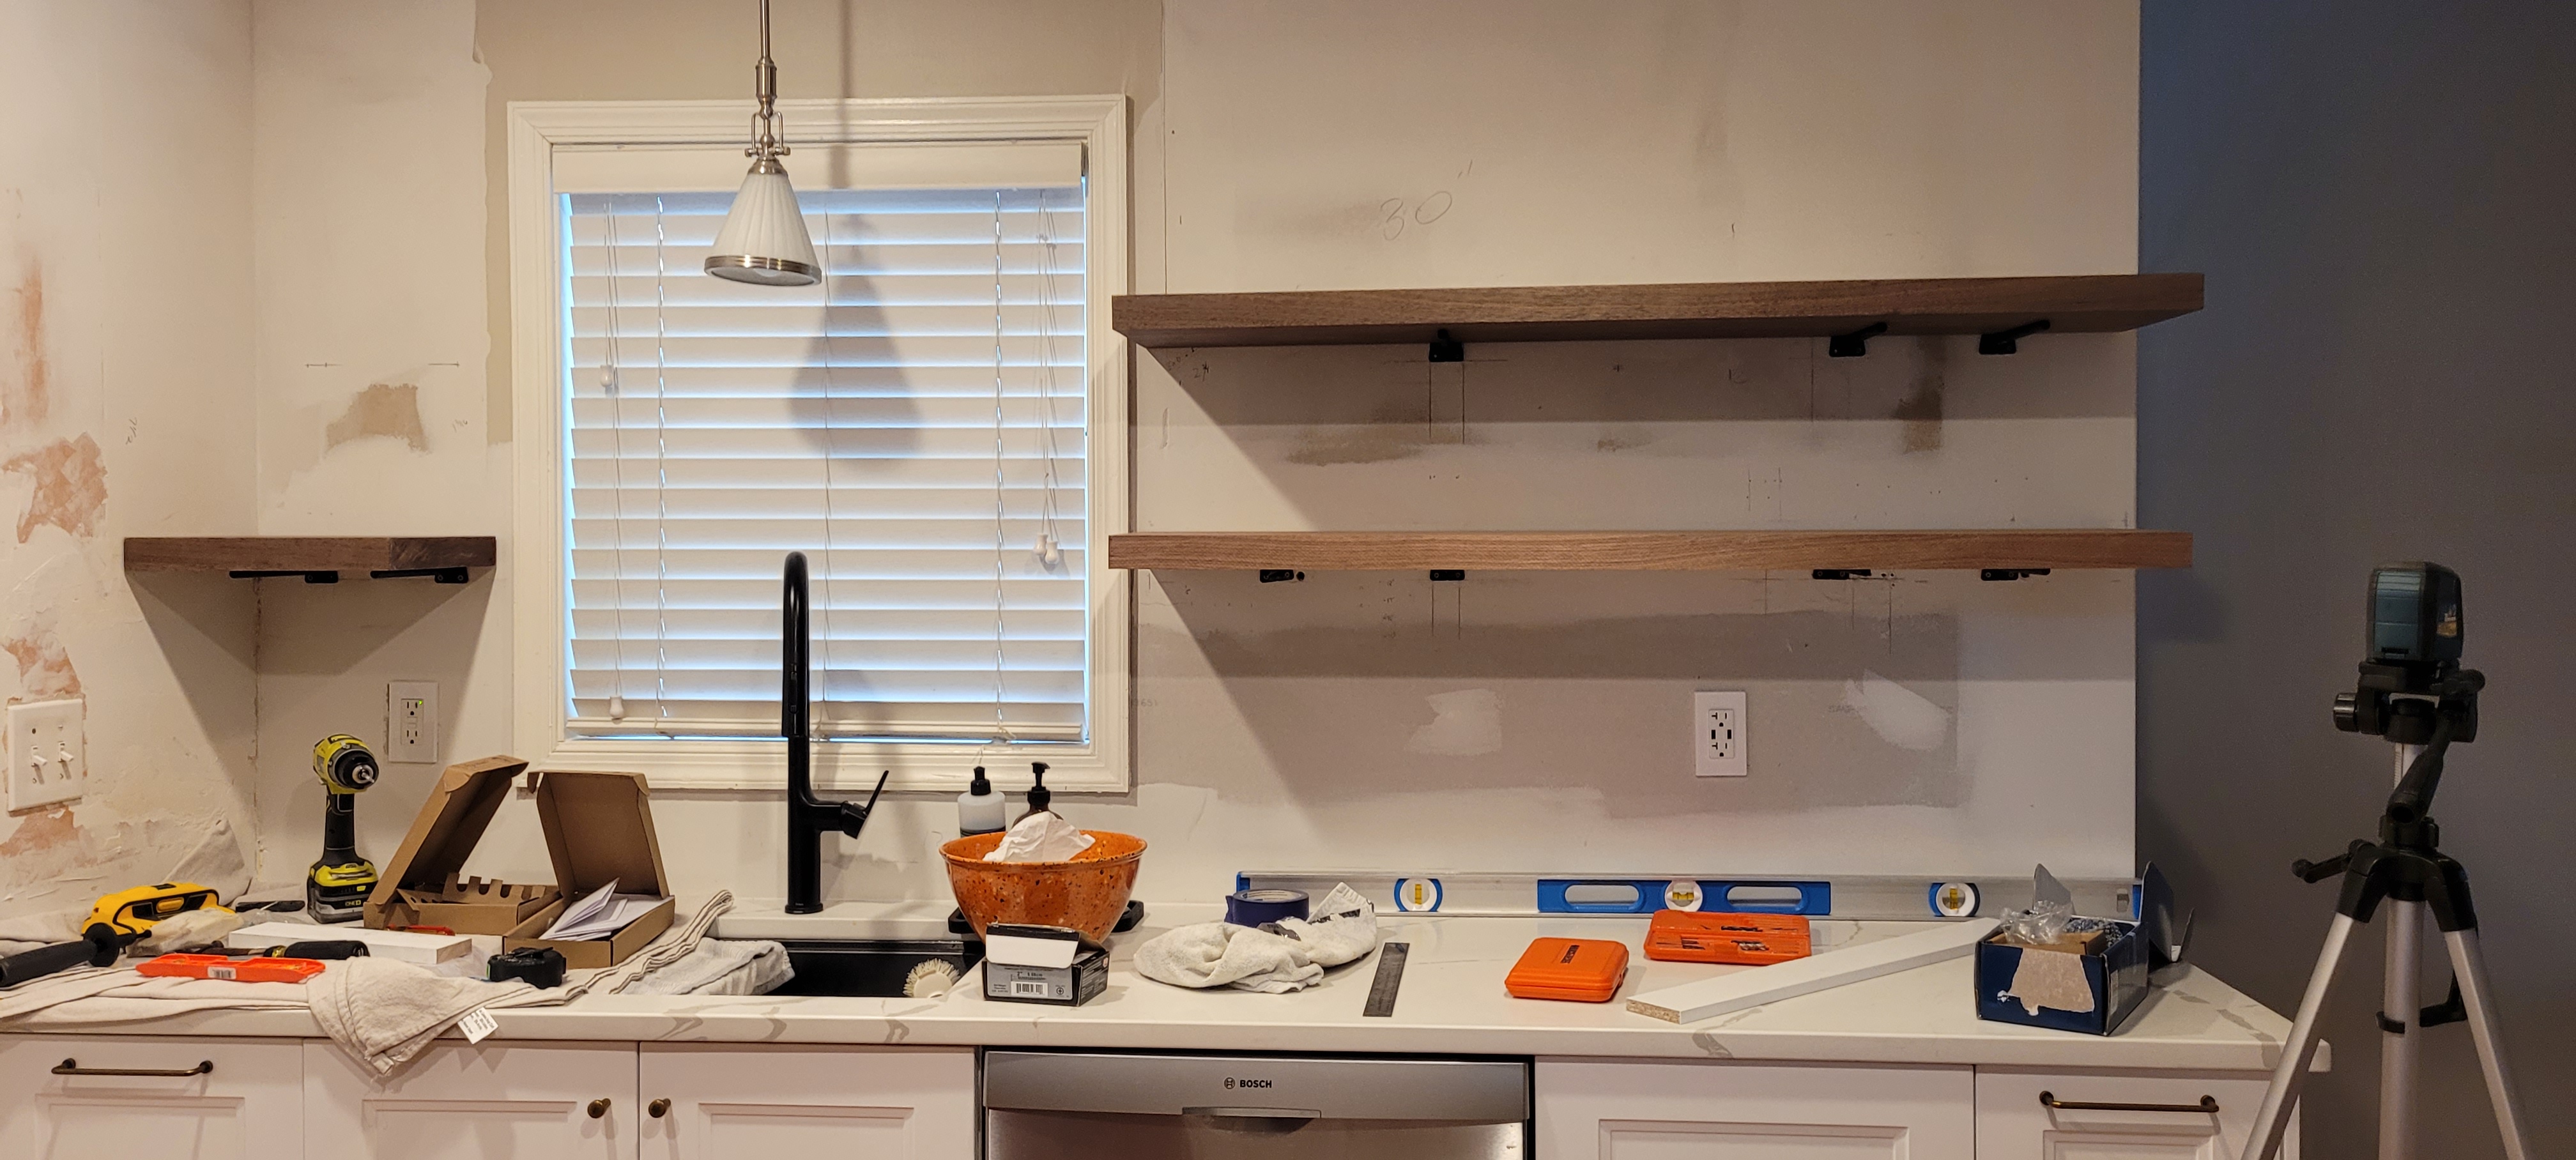
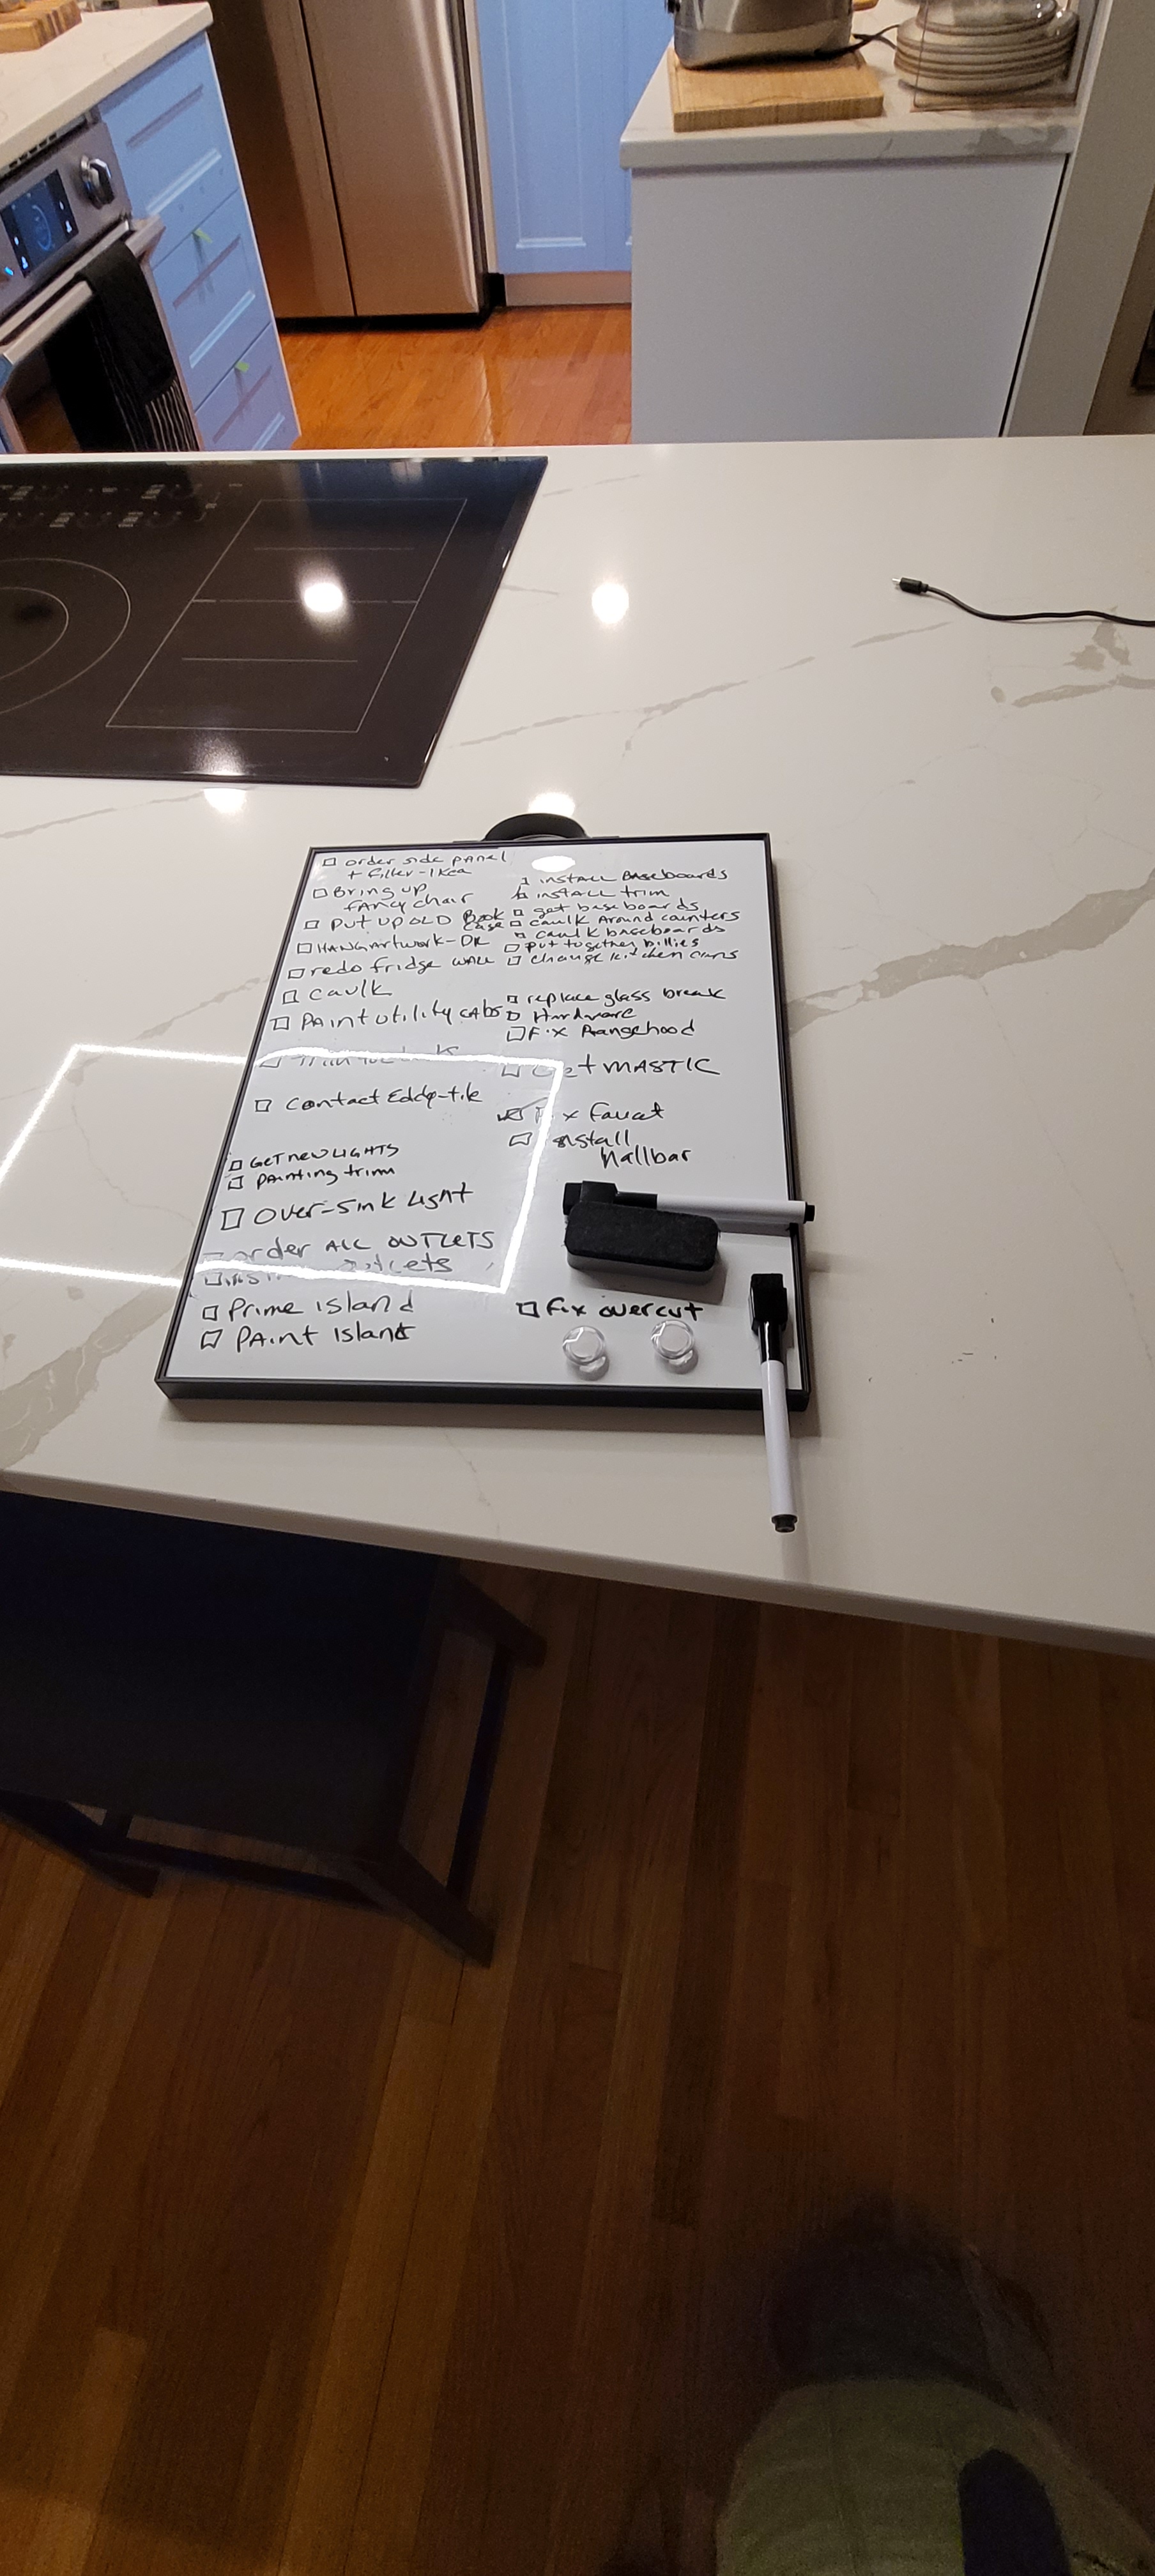
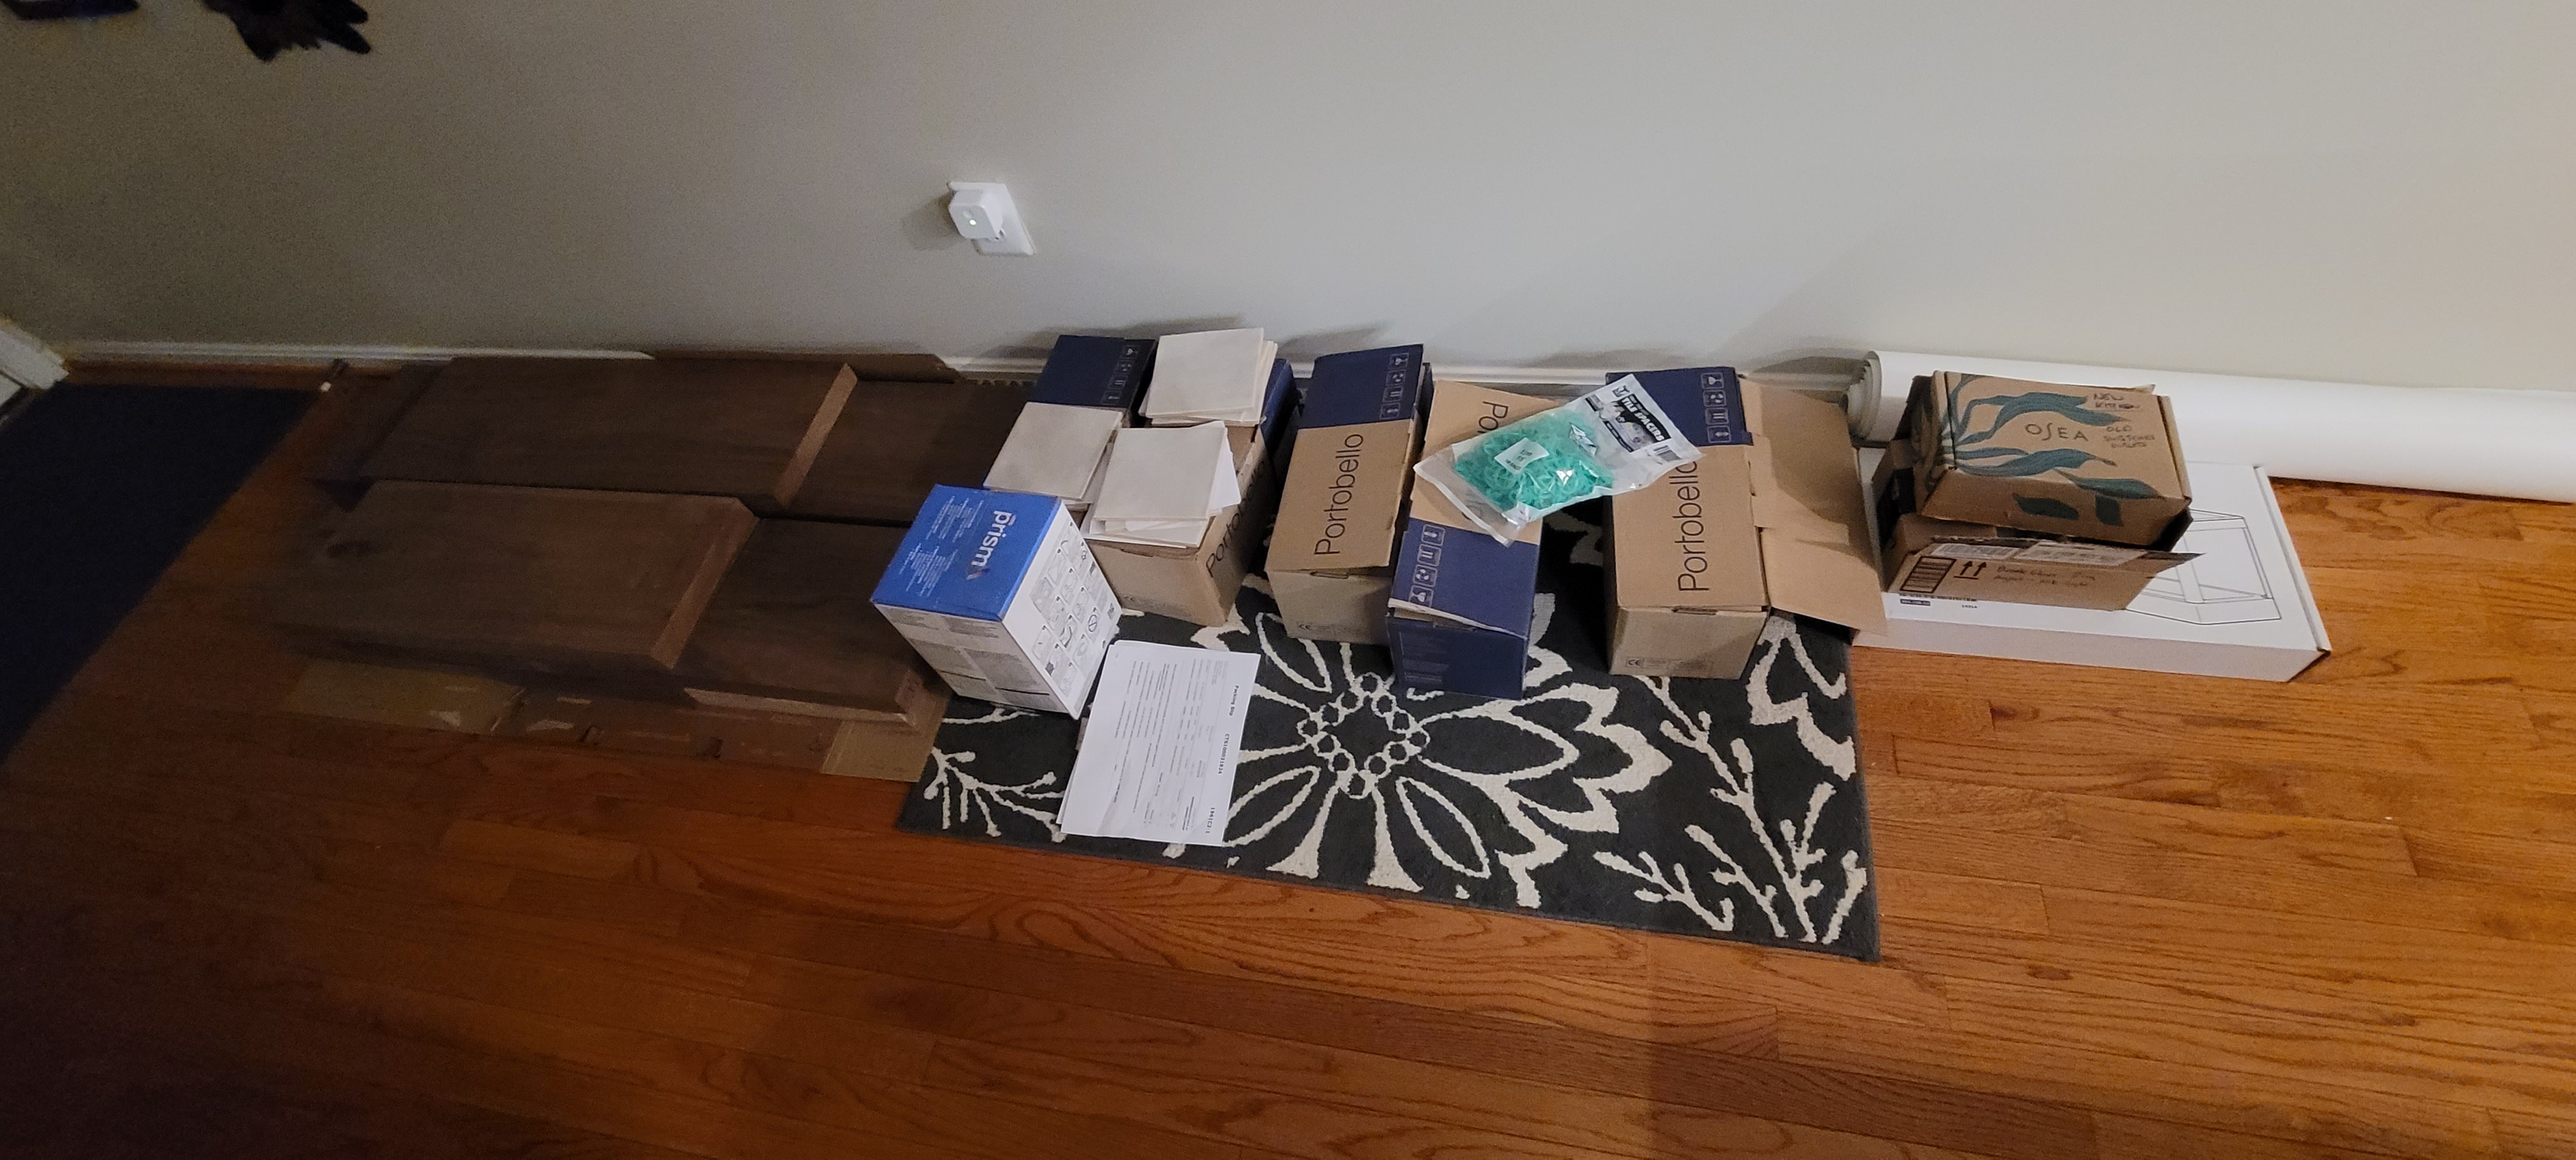
We should be done soon — the only motivation I have is that our kitchen once again looks like a construction zone. We could open a small paint supply store with all the bins we have of painting supplies. “Oh, look, they’re giving away free paint stirrers!

In the Home Stretch

So many little bits to go, but we do see the light at the end of the…island, to coin a phrase.

We have a long punch list which we are s-l-o-w-l-y working through as we find time. Rather than tackle the last two big projects on our list — both of which will consume at least a weekend each — we are settling for scratching off some smaller items on the list, just to keep the train moving.

For example, in the “knee” cubby (the place where you put your knees when you are sitting at the island), we installed a swanky (and, if I’m being honest, a bit expensive) pop out electrical outlet.

The device was about $80 and came with a screwless cover to match the other outlets in our home. I reasoned that if one’s knees accidentally grazed on an open outlet, a guest might be in for a bit of a shock, so doing this pop out version seemed safer. We wanted at least one extra outlet on the outside of the island for things like plugging in a vacuum cleaner or a piece of equipment.

Given the price, we were dismayed to find out that the cover would not fit properly underneath the counter. It was too dang tall by about a 1/4 inch! #*&@!

Because it has only taken us 6+ months to install the thing, it was hardly returnable. So, we put our mind to fashioning a cover out of scrap wood. We *think* it will work perfectly, but the proof will be in the pudding. Just in the process of priming it tonight and then we will slap on a couple coats of the same paint we used on the island so it should disappear as much as possible once installed.

We also started building out the baseboards on the perimeter of the kitchen. You’ll remember that we are building the baseboards ourselves from scratch and slowly changing them out throughout the house. Our walls and our floors are ridiculously crooked, so caulk will be our best friend going forward.

These below still need to be caulked, primed, and painted, but we like the bulked up 6″ baseboards, a far cry from the previously puny ones we had before.

In preparation for tackling the monster/beast at the end of the kitchen, we started a few preliminary tasks. We had always planned on having a floor-to-ceiling bank of utility cabinets here, but — and I do feel a little bit guilty saying this — we already have plenty of storage space elsewhere in the kitchen, so we actually are going to do a decorative topper in what will look like a built-in piece when all is said and done. Here it is before it is trimmed out and “built in,” just to get an idea of what we’re thinking:

Just a mock up to get a feel for what these might look like. No trim or caulk or paint has been applied yet.

We had originally intended to paint these black, but between then and present day, our absolutely certain/nobody-was-going-to-talk-us-out-of-it/ positively-for-sure decision has wavered. We polled every guest that walked into our home over the past few months and the consensus was: Paint It White.

You’ll recall with the “stacked or off-set” tile poll we did, that I don’t do so well with community consensus! It just makes me want to do the opposite so dang bad…

But, in this case, the white has grown on me and actually adds symmetry to the pantry cabinets directly across from them on the other side of the kitchen. So, white it is!

We will not get away with not priming and painting them, however. We have matched our cabinet paint and will use that to give the whole kit and caboodle a new coat of white paint, although we have many moons to go before we get to that final step.

Today, we knocked out one of the small preparatory tasks which involved bolting the two cabinets together on the inside so that they could not separate down the line. In the next week or two, we will trim out all of the front facing connections, fill all of the shelving holes and sand them, caulk everything within an inch of its life, and then finally give it two to three coats of primer and another two coats of paint.

And, in those little bits of downtime (ha — what even is downtime?!) we’ll just be over here tackling an ever-growing punch list of small, but important tasks to round out the project. We hope to finish by the end of the June, because seriously, this timeline is getting embarrassingly l-o-n-g.

The Island is (99.999%) Done and Dusted!

We can put a huge check mark next to this item on our punch list — this one was a long time coming. The contractor left us with a pony (knee) wall, counter tops, cabinets and appliances installed, but the back side of the massive island was ours to complete. Because it is front-facing to the rest of the house, we had to make sure it didn’t compete with all that was going on in the various spaces surrounding the island.

Where we started…

As we said in the previous post, we took a l-o-n-g time to consider our options. Adding some base moulding and applying cover panels was one option. Because we knew we would likely be toning down a lot of the colors in the kitchen by sticking with muted grays and greiges, we definitely wanted to add some texture. Enter board and batten.

Board and batten or boxing framing or even horizontal shiplap are common themes when it comes to islands, so we had a lot of options to consider, but they all play around the same theme. Since we are slowly changing the base moulding throughout the entire house — building them ourselves — we already knew we would use the “new” base moulding on the island, too. How to incorporate the battens and the rest of the framing was where we focused our planning.

Ultimately, we opted out of a full box trim because we thought the layers starting from the base moulding on up would produce too small of box panels and thus create a really busy look for this very open, but ultimately modest, space. Instead, we went with straight battens, ending at the base trim. There are so many tutorials for how to do proper board and batten online, and I think we watched every video we could find. We also had already done this before, so we kinda knew what we were getting ourselves into. We’ll try to pull together a tutorial one of these days and save it on the website.

Look at the intensity on that face 🙂

Finally, once all the bits were installed, we took to re-mudding parts of the panels because the original dry wall was, well, really messy. It is easy to blame the contractor, but honestly, they had a huge job on their hands and tidying up dry wall mud wasn’t their first priority, nor truly their responsibility. Remember, we hired them to do the electrical and the big stuff (like building pony walls), but we wanted to manage the rest ourselves, both to save cash and to create exactly what we wanted.

After all of the re-mudding, sanding, and nail hole-filling, we got to caulking. Caulking all of those seams makes for a more professional finished product, so the headache is well worth the time. In recent years, we have used Dap Extreme Stretch which is paintable and has never cracked nor shrunk on us.

When the caulking trauma/drama was finally over and done with, we were able to apply the first coat of primer. Again, primer is necessary on bare drywall board, but it is also a must when you have applied wood filler, nail hole filler, and caulk — as those products can “flash” through to your finished wall. So, in an abundance of caution, we applied two full coats of Kilz 3 primer, sanding in between each coat for good adherence.

With priming behind us, we were able to start painting. FINALLY! We went with our whole house paint color (we have a complete open concept on our main floor, meaning that all the wall color is the same. Ours is Benjamin Moore’s Edgecomb Gray.) The big dilemma was which sheen to go with since we had decided to paint both the trim and the walls in the same color. Normally, our trim would be in a semi-gloss finish, but our walls have always been flat or matte. We decided to strike a pose right down the middle and went with a satin. It worked! Just enough shine to add some light and reflective value, but not enough to look weird.

We have never been lucky enough for one coat to do the job. But, were a little surprised to see that the second coat didn’t quite do the trick, either.

We waited a full four hours between coats (we think it is more durable when each coat has a chance to fully dry), and ended up, late last night, adding a third coat. Which was, indeed, the charm.

We still need to add some scribe to this baby on the end caps, and be gentle with it for the next four weeks (the prescribed “cure” time), but we are glad to have this major hurdle scaled and cleared!

Next up, this monster needs to get trimmed out, built in, primed, and painted. Story of our reno lives 🙂

Finally, Cooking with Oil!

Not in a literal sense, of course! Cooking with oil scares the bejesus out of me!

Since we are more focused after our month-long break, we are multi-tasking to at least give ourselves a sense of some things being accomplished, because the list of unfinished items still seems a bit endless…

• Build out baseboards around the perimeter and install (we are making them ourselves.)

• Build out the pantry wall, trimmed to look like built ins, secure everything to the wall, then caulk, prime, and paint the whole blasted thing.

• Prime, at least twice, the entire island board and batten base, all the moulding, and then paint the whole kit and caboodle.

• Scribe all spaces around the counters for a more finished look.

• Tear down refrigerator wall cabinets and realign so they do not give me a migraine every time I look at ’em. (This is one task we are not looking forward to.)

Fix the open shelving in the kitchen. We still haven’t come up with a finished solution, but we did come up with something that works for us in the meantime. We have put small black hex caps around the posts that will eventually slide into the shelves. For now, they hold the shelves up from underneath.

• Complete a mile-long punch list of small tasks like changing out some lighting, touching up some paint, scraping paint droplets off the floor, etc.

We decided to start on the job we knew would take the most time and have the biggest impact. (It has already, in fact, taken forever and a day because all the nail holes had to be filled, each square had to be caulked, and everything sanded before we would be able to commence Operation Prime and Paint the Island. The hope is that it will motivate us to get the damn kitchen done, already.

With the caulking and sanding behind us, we got started priming the first coat. We are going to add a second coat to this baby, just simply because we don’t trust the bare drywall not to bleed through.

These photos are from the first coat. We will lightly sand the whole thing one more time, give it a second coat of primer, a second light sanding, all before applying color and painting the baseboards.

One other small project we have behind us is the window shelf. The window is located in a tiny cubby, about a foot deep. We didn’t want to cover the window because we want the light in that dark corner of the kitchen, so we thought it might be nice to have a shelf that I could grow herbs on.

We are next going to turn our sites to building out the pantry wall cabinets this week. More on that to come, but here’s where we stand now:

Why, yes, those are Ikea Billy cabinets on top, turned upside down. Spoiler alert, it will save us having to build out a crown at the top down the road.

These cabinets are going to be painted — wait for it — black. Do you trust me?!

We’re back!

It is true, we took a bit of a break. Life got in the way in the form of a surgery, job turmoil (looking at you, you fickle tech industry), a terrible flu, and a couple of weeks back in Ireland to restore, renew, and re-energize.

I’m not sure about the energized part, but with an 80%-done kitchen, over a year of hard labor in the books, and a wall still full of construction bits and bobs, we know it’s time to get on the stick and wrap this baby up.

Despite the overall break, we have been working, albeit slowly and hodgepodgey (yes, I would like credit for coining that word.)

A little dab here, a little dab there, and tiny bits of things are getting done. We’ll make one big push beginning in May, and if our timeline is right, and no more hurdles rise up, we should be posting some before and after pictures before the summer months arrive.

We thought board and batten was going to be a quick and easy (and entirely palatable) answer to our, “what to do with the outside wall of an 11 ft by nearly 9 ft island?” question. The palatable part was a no-brainer. After all, we have done this before and we’ve liked board and batten. And, better yet, as experienced board and batteners (!), we figured a good weekend would finish the job.

(Insert a big fat HA! to that grand plan.)

You’ll remember, here’s where we started:

Nothing went right on this task. The pony wall was crooked, there were so many waves and divots and seams that the correcting part can be fully blamed for our fleeing the country for a couple weeks. If we never have to do that again, it will be too soon. The correcting part, not the fleeing the country part…

But we did press on, and I believe in the last update, progress was made with laying the battens.

But then, as these projects so often do, we got stumped on a small thing. How to finish out the ends so that this doesn’t look like an amateur job. If I told you it took us weeks of contemplation and nailing one piece after another of finished molding before ripping it off and starting anew, you would think we were crazy. So, I won’t tell you that’s what we did…

We still need to add scribe after the painting is finished, but we settled on a simple and clean finish for the end pieces. We just couldn’t stomach the options any longer, figuring getting something done is better than getting nothing done and we can always rip it out down the road if we don’t like it.

But, the task that neither one of us enjoys is the wood filling and caulking. A necessary part for a clean, professional look, and given that we have a lot of bumps and divots, all the help we can get to smooth things out, is necessary.

So for the past two weeks, we have been nail-setting popped nails, wood-filling nail holes, caulking all of the seams (and there are many), and finally, sanding. Did I mention we sanded? We sanded and sanded and sanded.

Caulking those seams really makes a difference and now we are proceeding to the ridiculous looking, but equally necessary, task of closing our eyes and feeling up our island. The island may enjoy the process, but us? Not so much. Still, it helps us pinpoint exactly what still needs to be…sanded.

Next task is to prime the whole kit and caboodle. Twice, actually. That’s the easy part — although, every time I say, “that’s the easy part” that little voice inside says, “hold my beer…”

(Good) Tilers are Magicians

Remember when I did the poll on whether to stack or offset the wet wall tile? And NO ONE voted for the stacked? Welp, apparently I have a little bit of rebel in me, after all. 😂

Sometimes, I can’t make my mind up and this was one of those times. I had my heart set on stacked tile, but I was terrified of our crooked ceiling and our crooked walls. Our tilers are flipping magicians and I’m so glad I trusted them.

We had originally intended to do the tiling ourselves, but we ran into sheer fear when confronting those aforementioned wonky ceilings and walls. And, because we wanted the teensiest and tiniest grout lines along with the strong horizontal lines that the open shelving would provide, we were plum terrified to try to make it look right. The tiles are handmade and so they have a natural organic edge to them that, when bumped up against another tile created its own spacer of less than 1/16″. We had to swap out the sanded grout because it was too gritty to fit in between such tiny grout lines, but thankfully the company (Prism) had the Bleached Wood color in unsanded, as well.

You can see that the tilers used spacers on occasion to “bump” the tile up in itty bitty increments so that by the time it reached the ceiling, the tiles were roughly the same size. In reality, they had to accommodate a nearly 3/4″ drop along the ceiling.

Since the tile had an unfinished edge, we went with a Schluter edge in the same color as the grout to create a very pretty frame for the tile.

I do not know how they not only managed to align the tile so perfectly along the ceiling and the wall, but one of the drawbacks to stacked tile is that it can get crooked really quickly. Ours is straight as an arrow and miraculously, along the shelves, there is not gapping or mis-leveled grout lines. It is a miracle, I tell ya.

We placed the shelves temporarily on the brackets that will eventually slide into each shelf, just to get a look-see. Heart emojis galore.

We have run into a minor setback with those shelf brackets. The jig we purchased from the same company we bought the brackets from is not cooperating for us. The holes are very very tight and unless the brackets are dead straight up and down (they are) and left and right (maybe not e-x-a-c-t-l-y), there is no sliding on the shelf. We’ve ordered another drill bit to shave the holes just a wee bit larger, so until that gets here, we are in a holding pattern. Also, we don’t have a Plan B if this doesn’t work…!

#kitchenrenovations#kitchenreno#kitchendesign#kitchenremodeling#kitchenrenovation

Perfection (in this case) Is Not the Enemy of Good

With the happy interruption of a pup visit from the cutest puppy ever, we are now scrambling to get the posts for the floating shelves installed before the tile guy comes early this week. With Andrew’s help, they were able to get three out of four posts installed with the last destined to be up by the time the Cowboys lose later today.

There is absolutely no room for error (on the shelf installation — the Cowboys are another story — also, Fly Eagles Fly!), so the amount of measuring devices currently littering our counters could land a space shuttle.

The next terrifying step is to drill holes in our precious walnut wood in exactly the right spots so that they slide seamlessly onto the posts, hence the floating shelf effect. Except that these are going to be strong enough to hold an overweight fullback during the off season.

Once the tiling goes on, we’re going to start taking down the pantry wall trim that the contractor installed incorrectly and doing it right. Yay 🙂

Cabinet Jewelry!

I am sure I’m not the only one, but just getting that blue cabinet protective film off and putting the gorgeous handles and knobs on has allowed us to see ahead into the future to what our kitchen might actually look like if it ever gets completed!

This is actually the first time we have seen the cabinets since we saw them in the showroom! Seems a bit risky now looking back, but thankfully, all’s well that ends well because we sure do love them and their crisp, clean lines.

Even more, we love the hardware we chose (the aforementioned jewelry!) We did have one minor setback. We held up the handles we were installing in our 24-in cabinets to the very large, 36-in drawers that go under the cooktop. Yikes! They looked puny! We thought about using two of them, but I really did not want to clutter up the drawer with two handles. Thankfully, we lucked out because the company had the same exact handle in the next larger size. There arrived yesterday, and we now have a winner for those large oversized drawers and pantry!

Our contractor would have installed all of the hardware for us, but I had major reservations about letting anyone else drill into our cabinets. I don’t think I could handle a crooked fixture (pun!) and I felt better having that in our control. At least this way, if we screwed it up, it was on us.

We did buy a cabinet fixture installation tool that has helped to insure every single handle or knob is spot on perfect. We have used the plastic kind of templates in the past, but for this renovation, and the expense of these cabinets, we invested in this tool which, to be honest, has a bit of a learning curve, but more than paid off to get perfectly installed fixtures.

A few tips for those who may be new to installing cabinet hardware. Go ahead and clamp a scrap block of wood on the backside of the cabinet as you are drilling. This will help prevent any blowouts on the back side. We also use a piece of masking tape on the front to prevent any splintering as the drill begins.

The last tip, make sure to measure anew each and every handle placement. Don’t assume your tool remained accurate. We found that we bumped it or dropped it several times and that changed the reading just a tad. So, go back and make sure everything is correct for each and every cabinet. We also double checked each mark before drilling with a tape measure just to be certain. It was probably overkill, all that measuring, but we are thrilled that with 15 cabinets down and eight more to go, our track record is strong.

Punch Drunk

Nothing sexy to see here. All about the punch list this week and moving back into a kitchen we’ve been displaced from for months.

We finally got the kitchen faucet touch system working after Kraus (an awesome company, btw) sent us a brand new faucet just to replace one of the faulty parts on our brand new faucet. The hubs got that done tonight.

After three months, we did our first load of dishes in the dishwasher. Glory be!

The outlets with USB ports were finally installed and operational on the island.

We are currently debating whether to hire out for a tiler or just do it ourselves, which neither of us have the energy for at the moment. And, we are searching for courage to drill holes in those beautiful slices of Walnutwood for our floating shelves.

Baseboards are on the back burner until we figure out what we want. Who knew there were so many choices?!
And, finally, the punch list continues to grow.

kitchenreno #kitchenremodel #kitchendesign

Pennsylvania and Walnutwood

We made it to Central Pennsylvania — or, at least, I think it’s Central Pennsylvania. Maybe it’s a little East Central Pennsylvania. In any event, we hugged the Susquehanna River all the way up through Harrisburg and then about 45 minutes north to tiny little Mount Pleasant Mills, our destination to pick up the most glorious walnut wood. Well worth the trip. We couldn’t miss the opportunity to stop at an old timey Italian bakery in Harrisburg to pick up goodies before heading back from our day-long odyssey to find the perfect wood for our open shelving. Would definitely recommend this mill who sold us the wood, planed and cut it all to size for less than half of the $1,200 we received estimates for in DC.