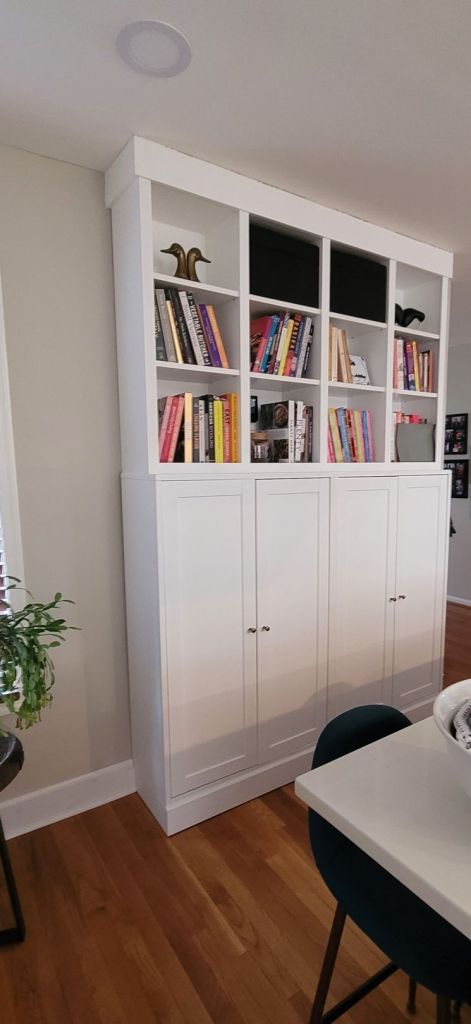
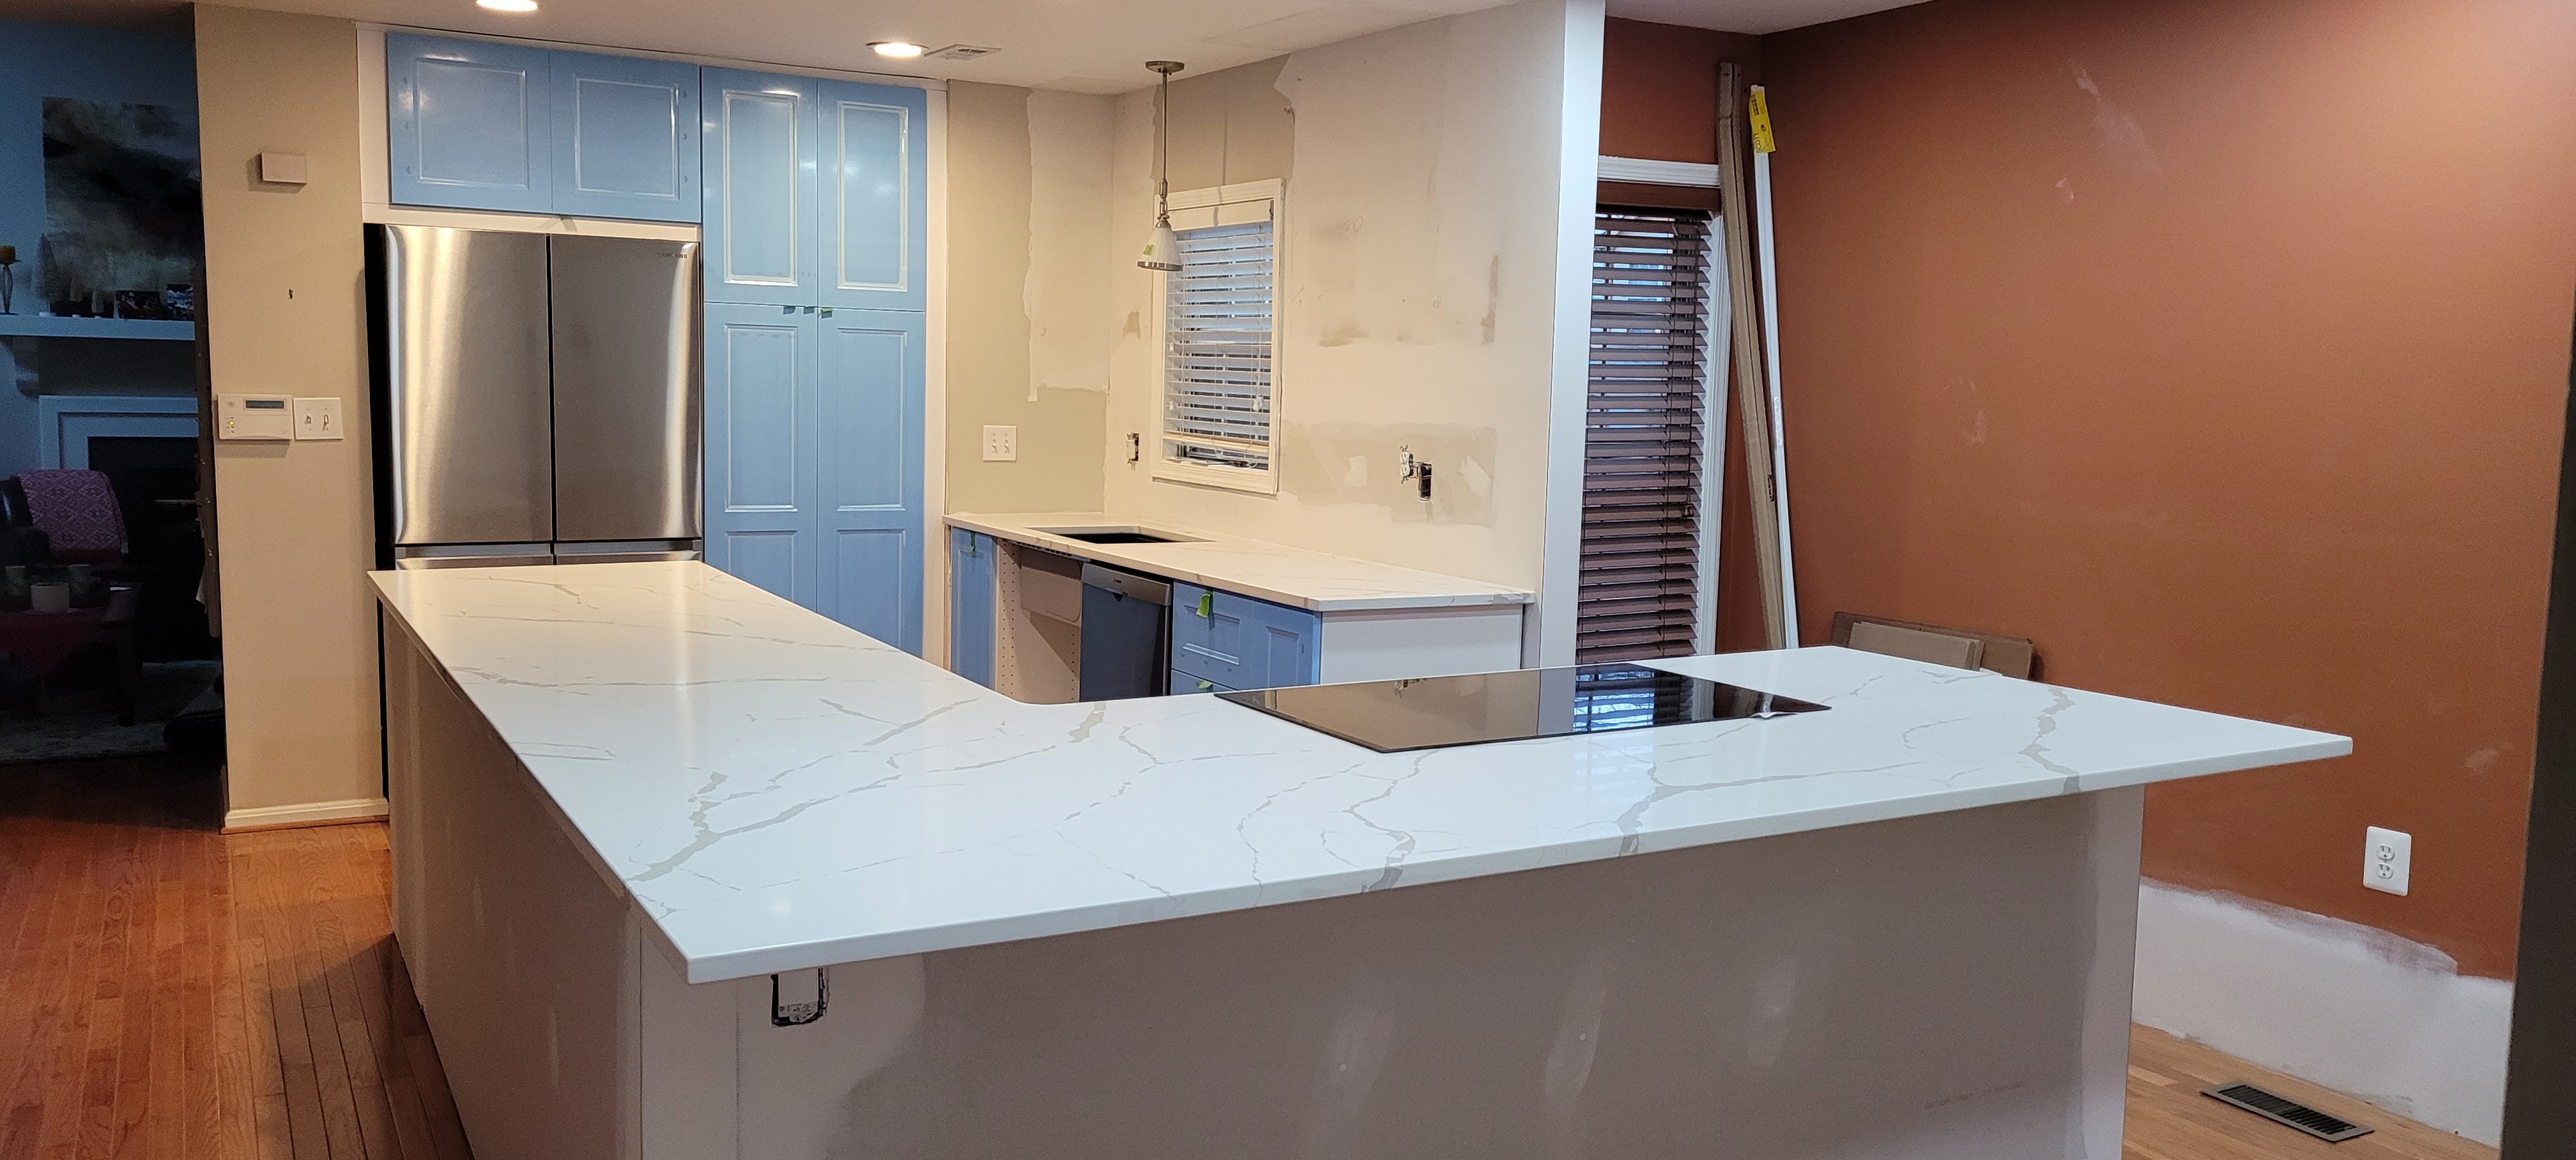
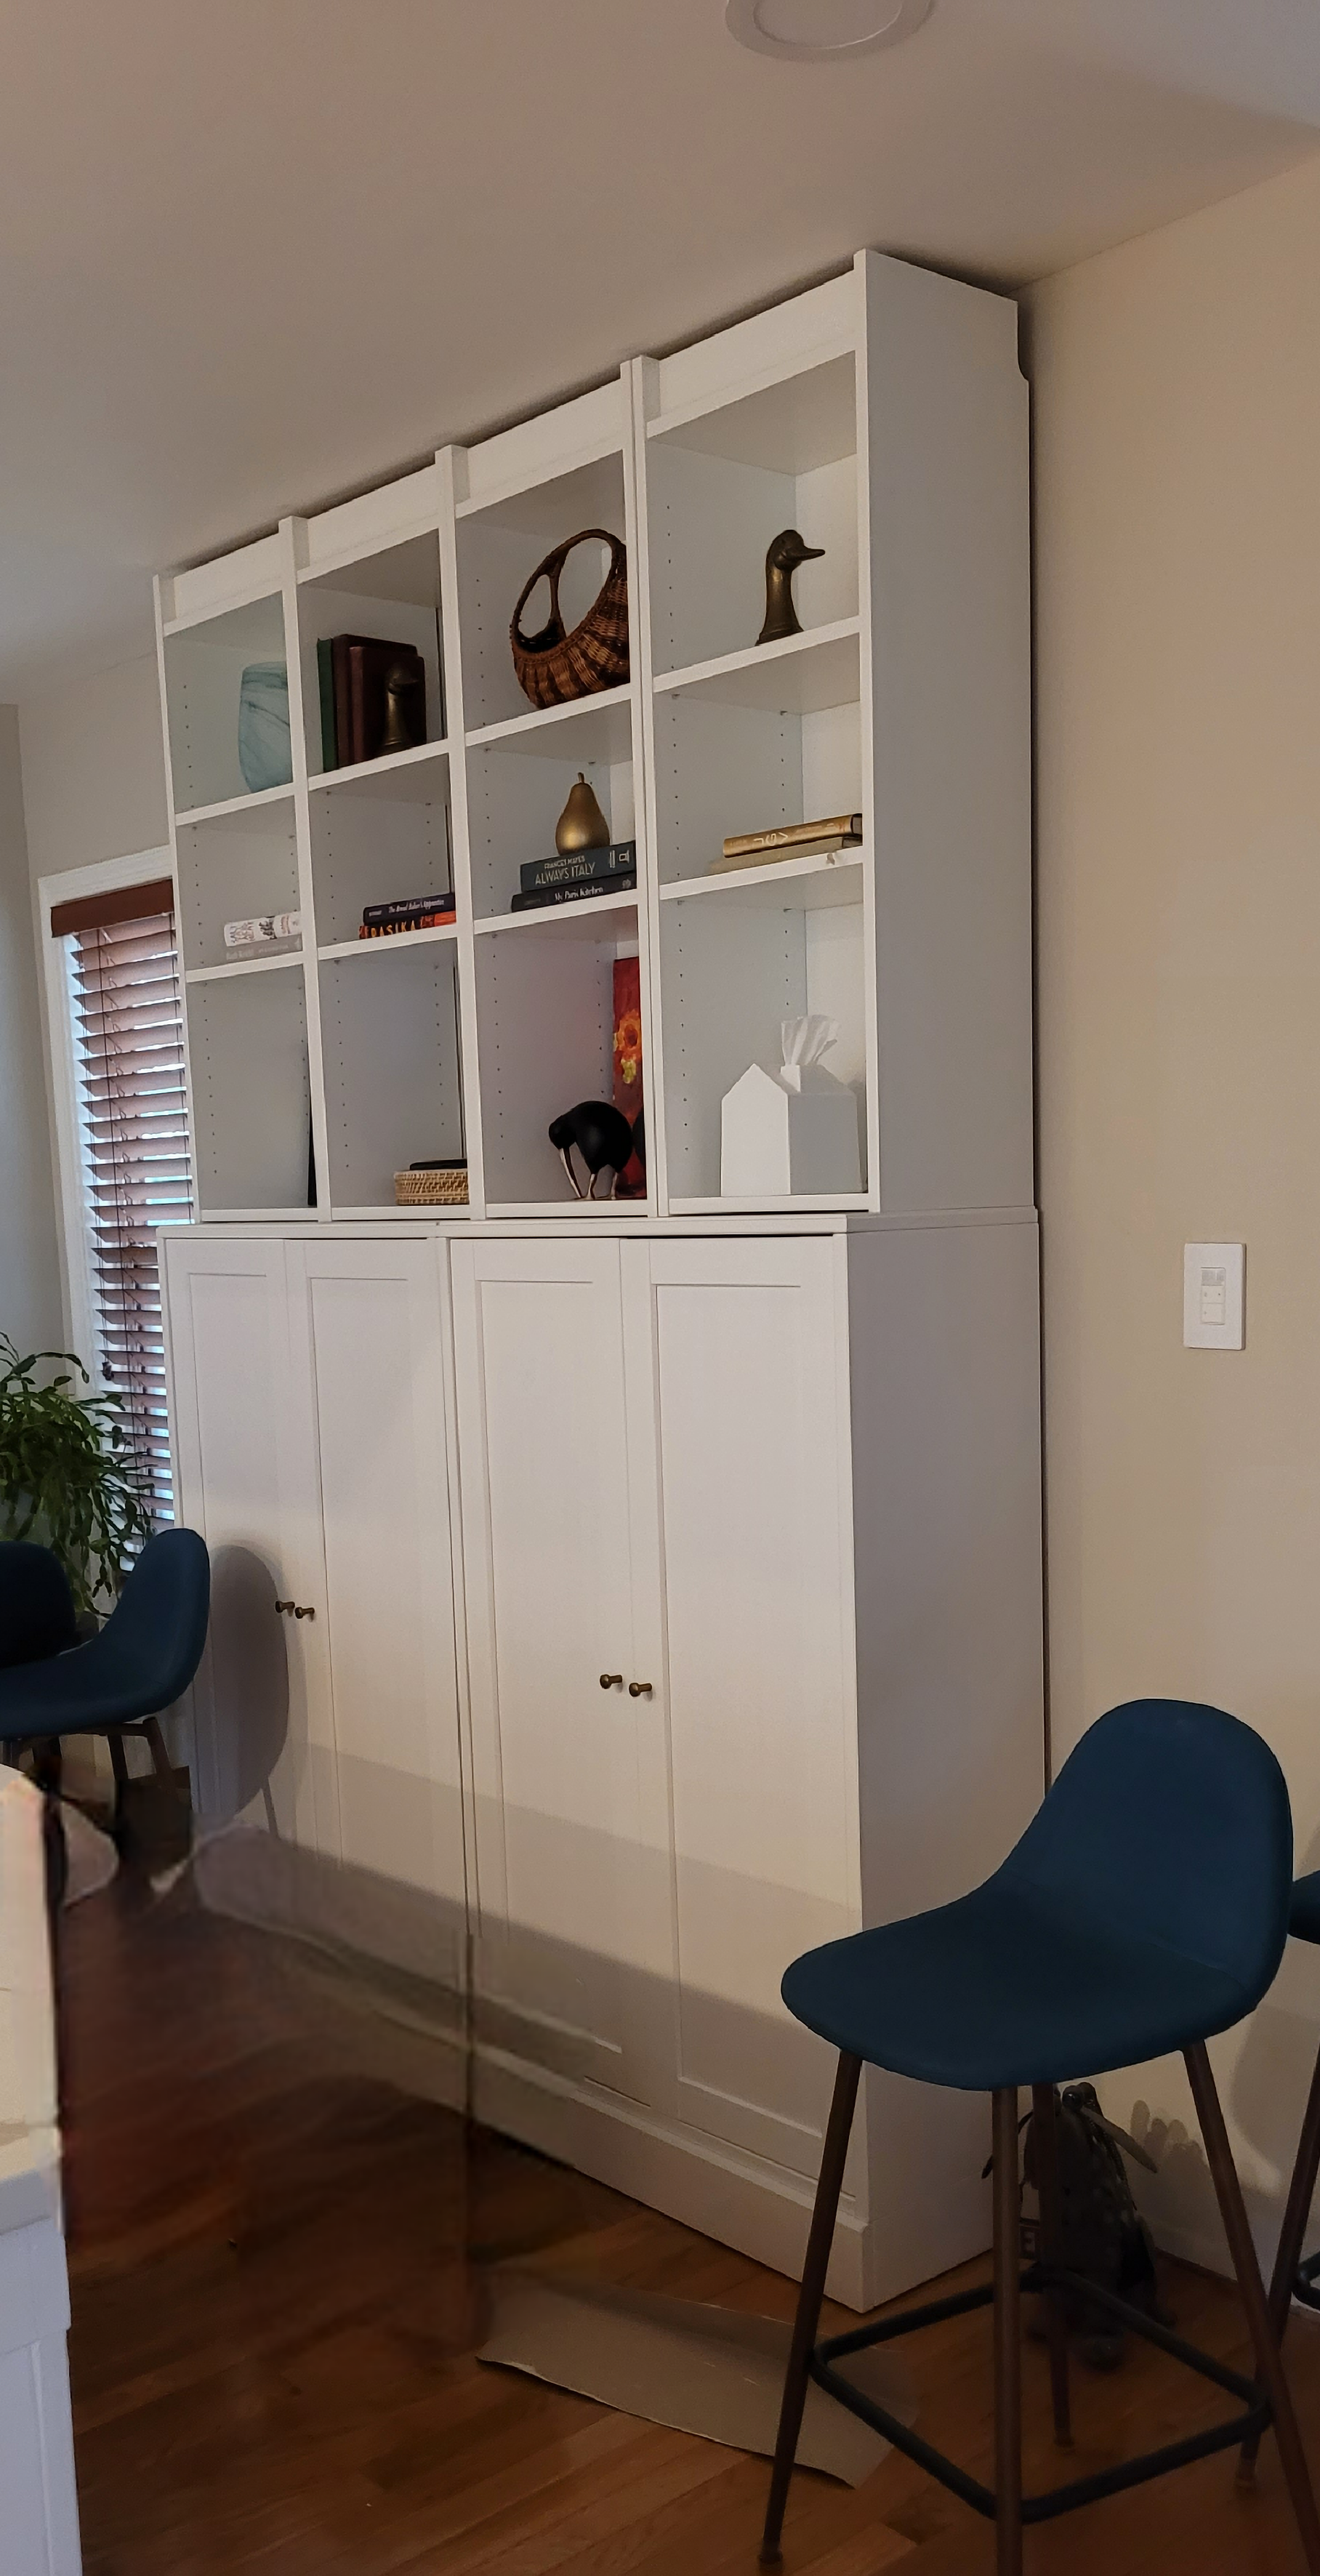
We just weren’t happy with our initial color choice on this floor-to-ceiling cabinet that sits at the back of our kitchen.
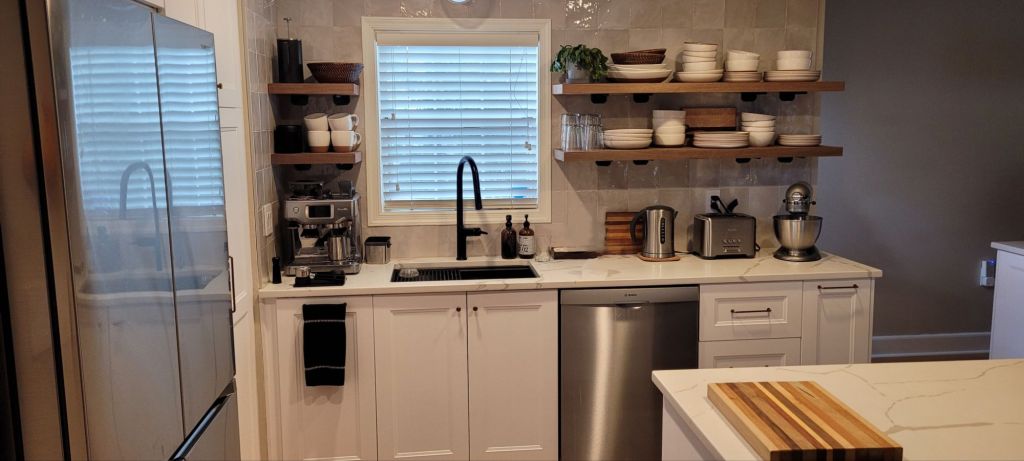
Even though our kitchen cabinets are white and our quartz countertops a creamy white, we have lots of pops of warm walnut open shelving and putty grey veining in the quartz that helps keep the kitchen from looking too sterile and cold.
But, even though we tried to keep things light by choosing white for this substantial piece, it took all the focus in the room. It was so bright and so white, that it started to annoy me.
With baseboards left to caulk and paint and a bunch of other punch list items staring us down, repainting the entire cabinet just seemed like a distant chore nobody wanted to do.
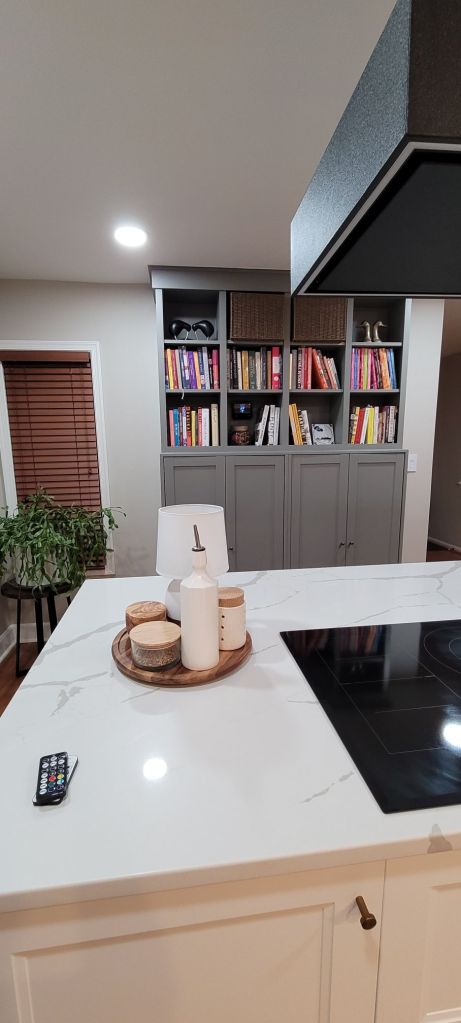
But, the cabinet sits directly in front of the island, so it taunted me every time I used our cooktop. One day, somewhere in the middle of boiling pasta and making sauce, I decided I couldn’t take it anymore and began looking at color swatches.
I had already purchased a gallon of paint for our guest bedroom upstairs and when I put those swatches on the wall to see if I liked it up there, something clicked.
“I think it’s the perfect color for our kitchen utility cabinets!” I said to no one in particular. (I was definitely excited.) Could it possibly be an exact match of the veining in our quartz? Why, yes, it could, as a matter of fact.
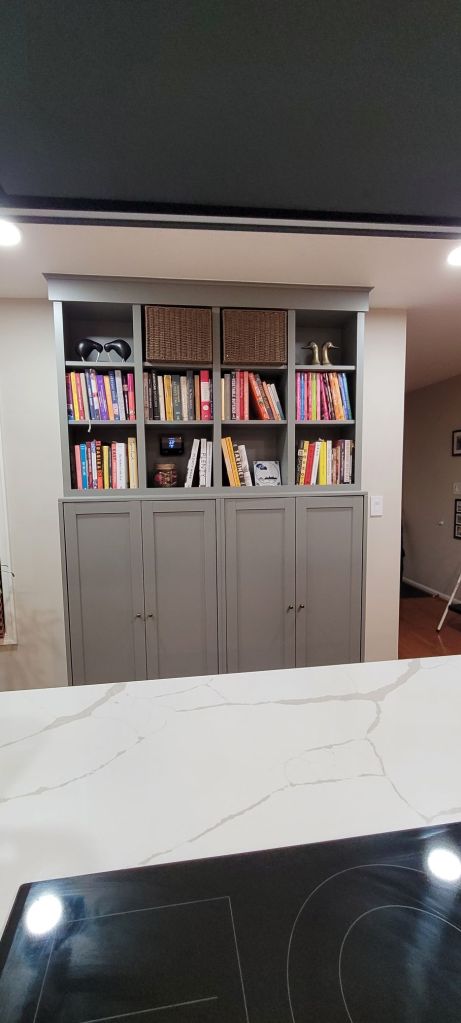
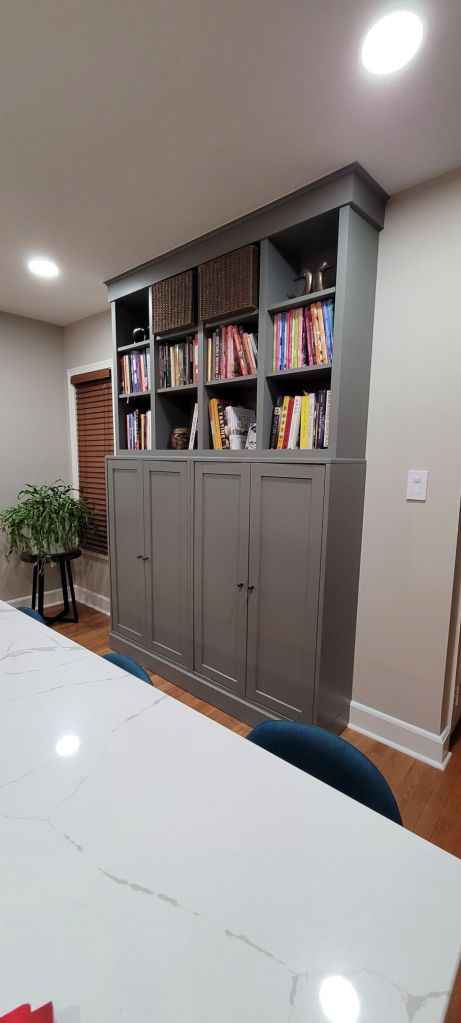
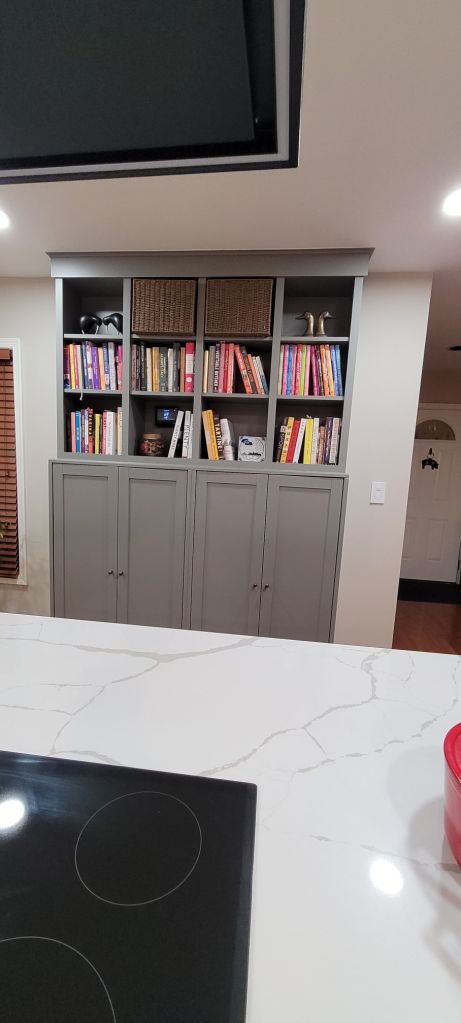
The color, Benjamin Moore’s Chelsea Grey, is a muddy warm grey and it was either going to be perfect or an unmitigated disaster.
Spoiler alert…
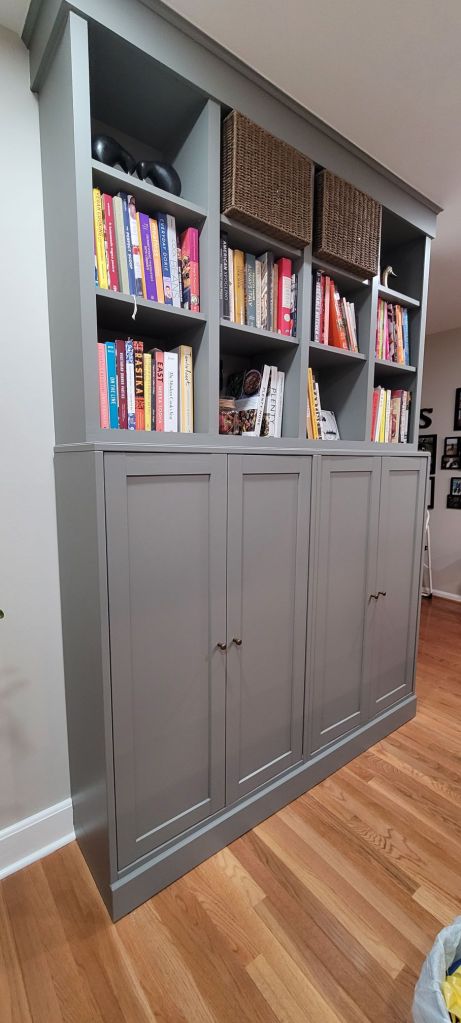
It is perfect. A testament to always waiting until you get the second coat on, if I’m being honest, after the first coat I thought we had made a big mistake.
The undertones were greenish and dull. But, the second coat brought the whole thing to life and we couldn’t be happier!
The color really picks up the veining in our countertops and adds a whole other level of warmth to the room.
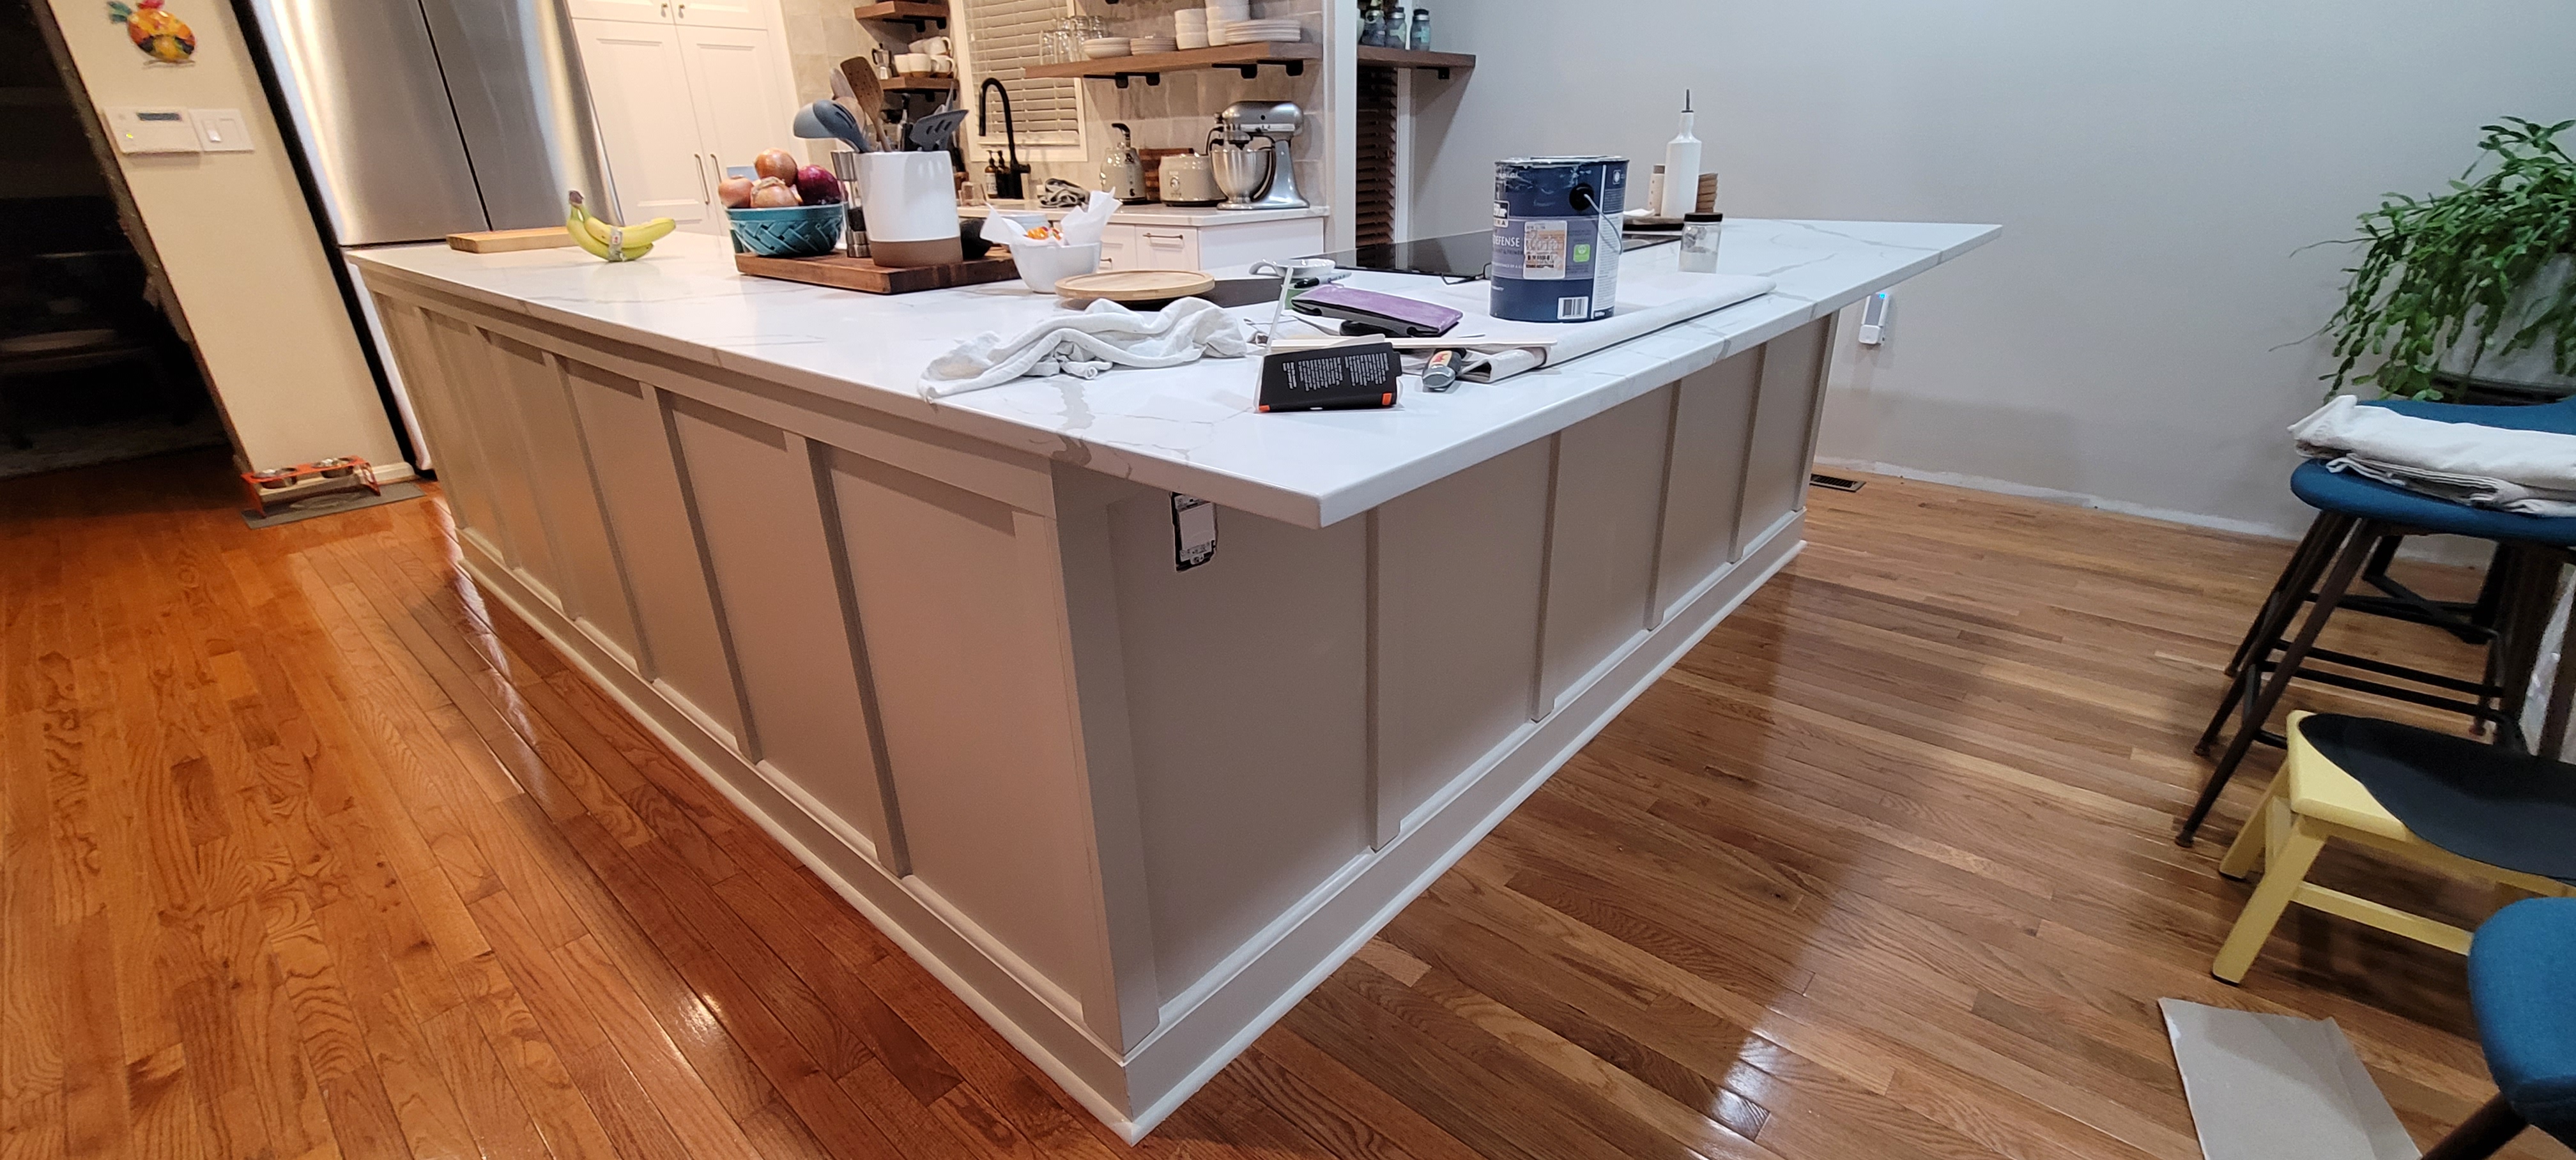
We can put a huge check mark next to this item on our punch list — this one was a long time coming. The contractor left us with a pony (knee) wall, counter tops, cabinets and appliances installed, but the back side of the massive island was ours to complete. Because it is front-facing to the rest of the house, we had to make sure it didn’t compete with all that was going on in the various spaces surrounding the island.
Where we started…
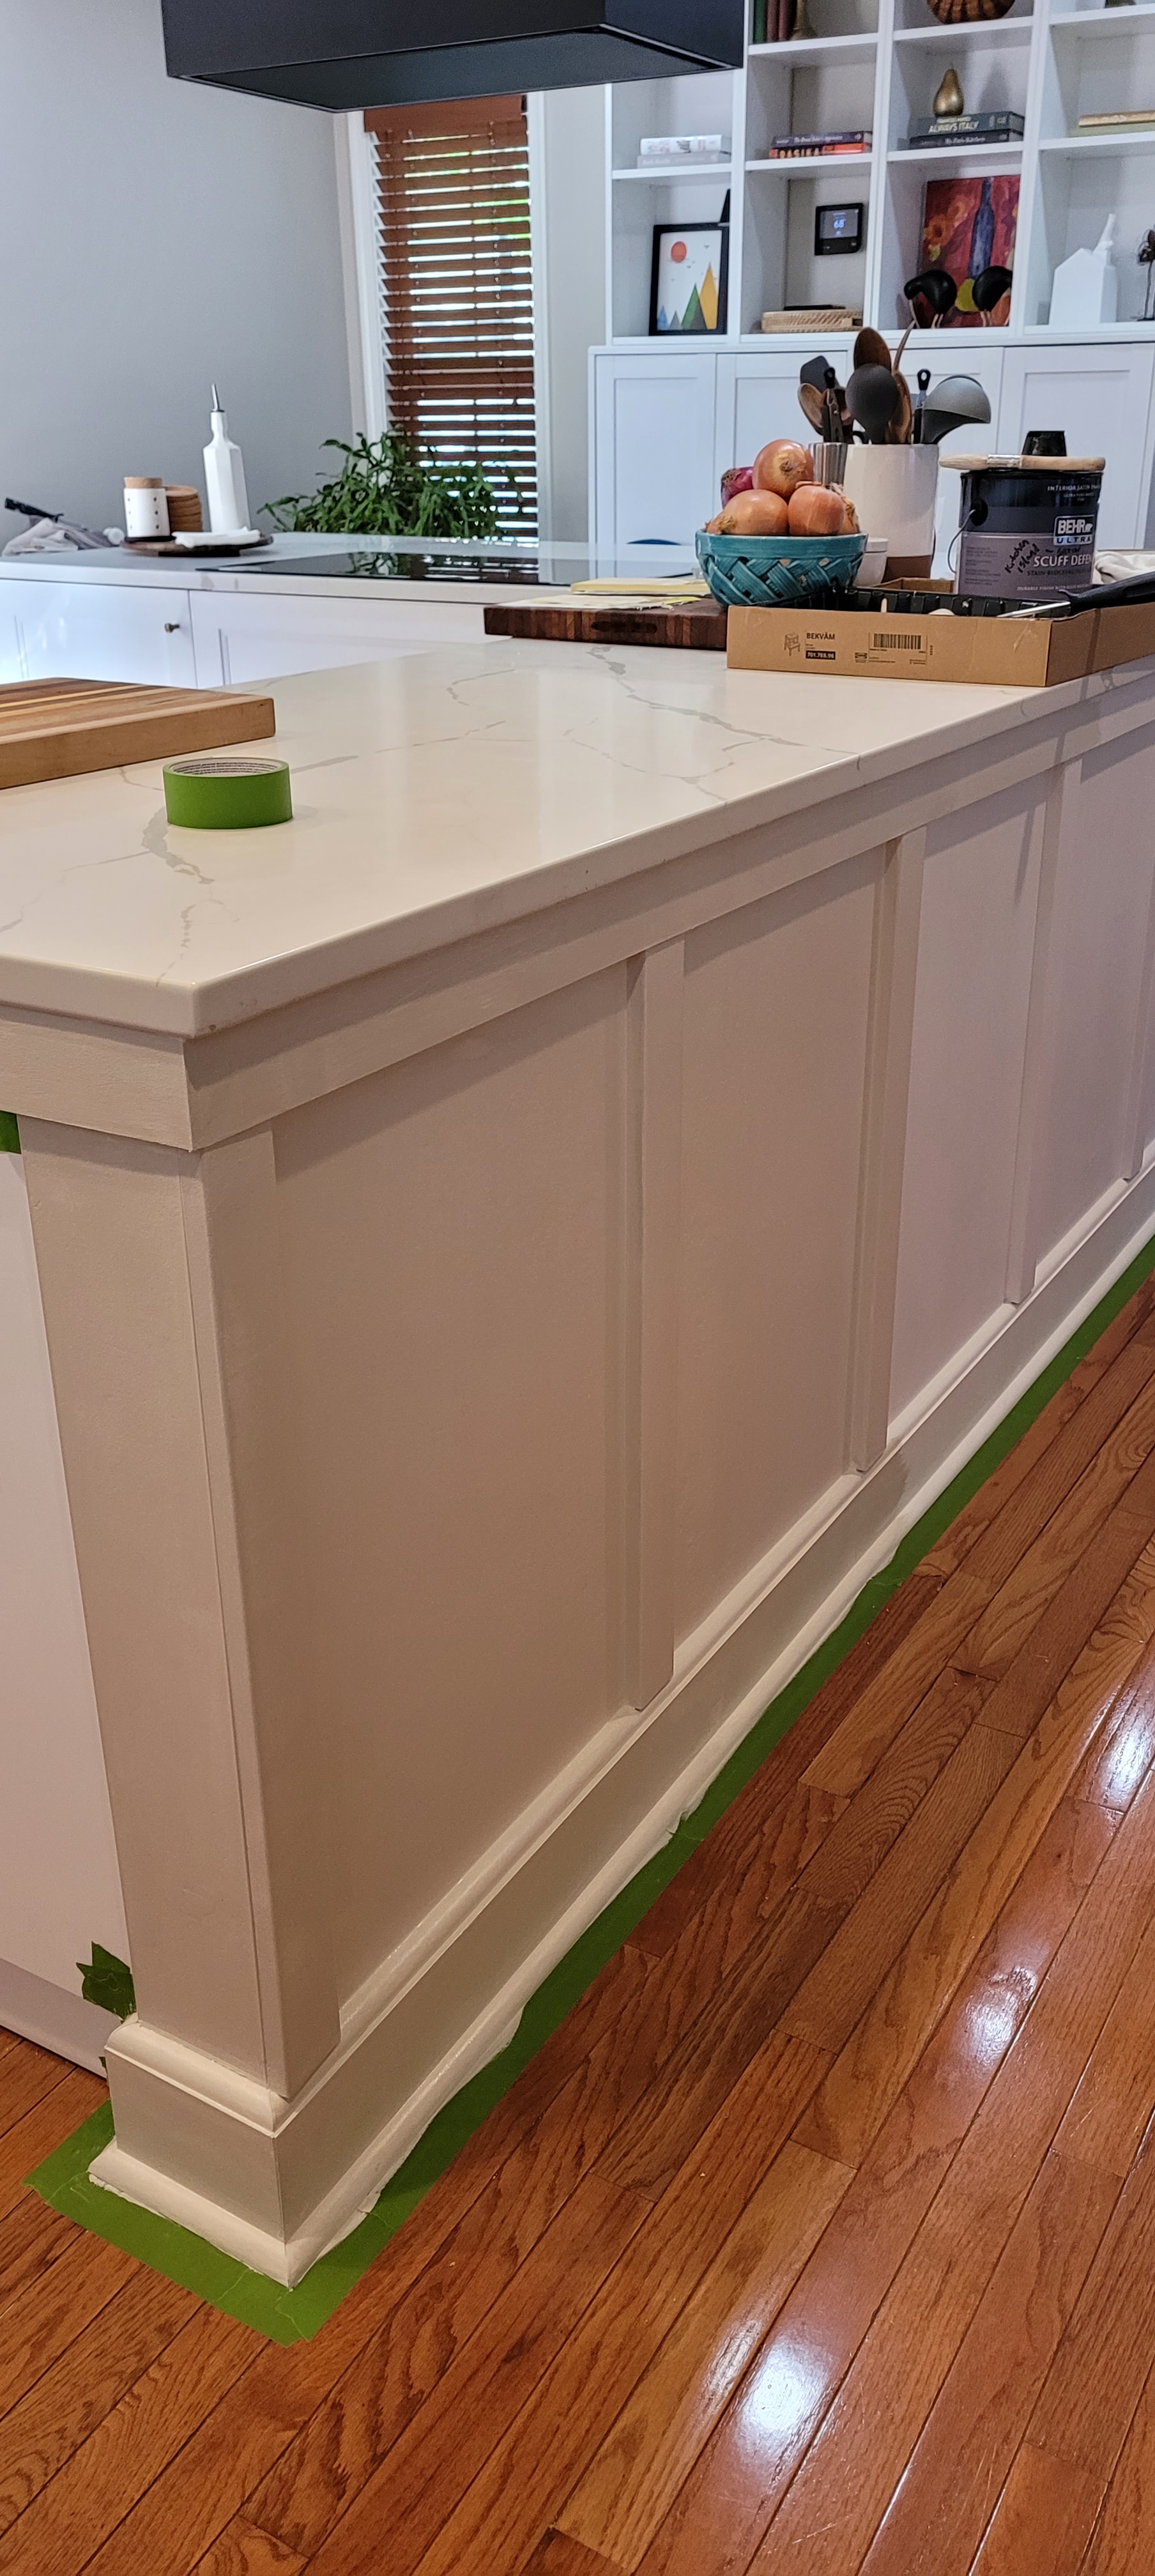
As we said in the previous post, we took a l-o-n-g time to consider our options. Adding some base moulding and applying cover panels was one option. Because we knew we would likely be toning down a lot of the colors in the kitchen by sticking with muted grays and greiges, we definitely wanted to add some texture. Enter board and batten.
Board and batten or boxing framing or even horizontal shiplap are common themes when it comes to islands, so we had a lot of options to consider, but they all play around the same theme. Since we are slowly changing the base moulding throughout the entire house — building them ourselves — we already knew we would use the “new” base moulding on the island, too. How to incorporate the battens and the rest of the framing was where we focused our planning.
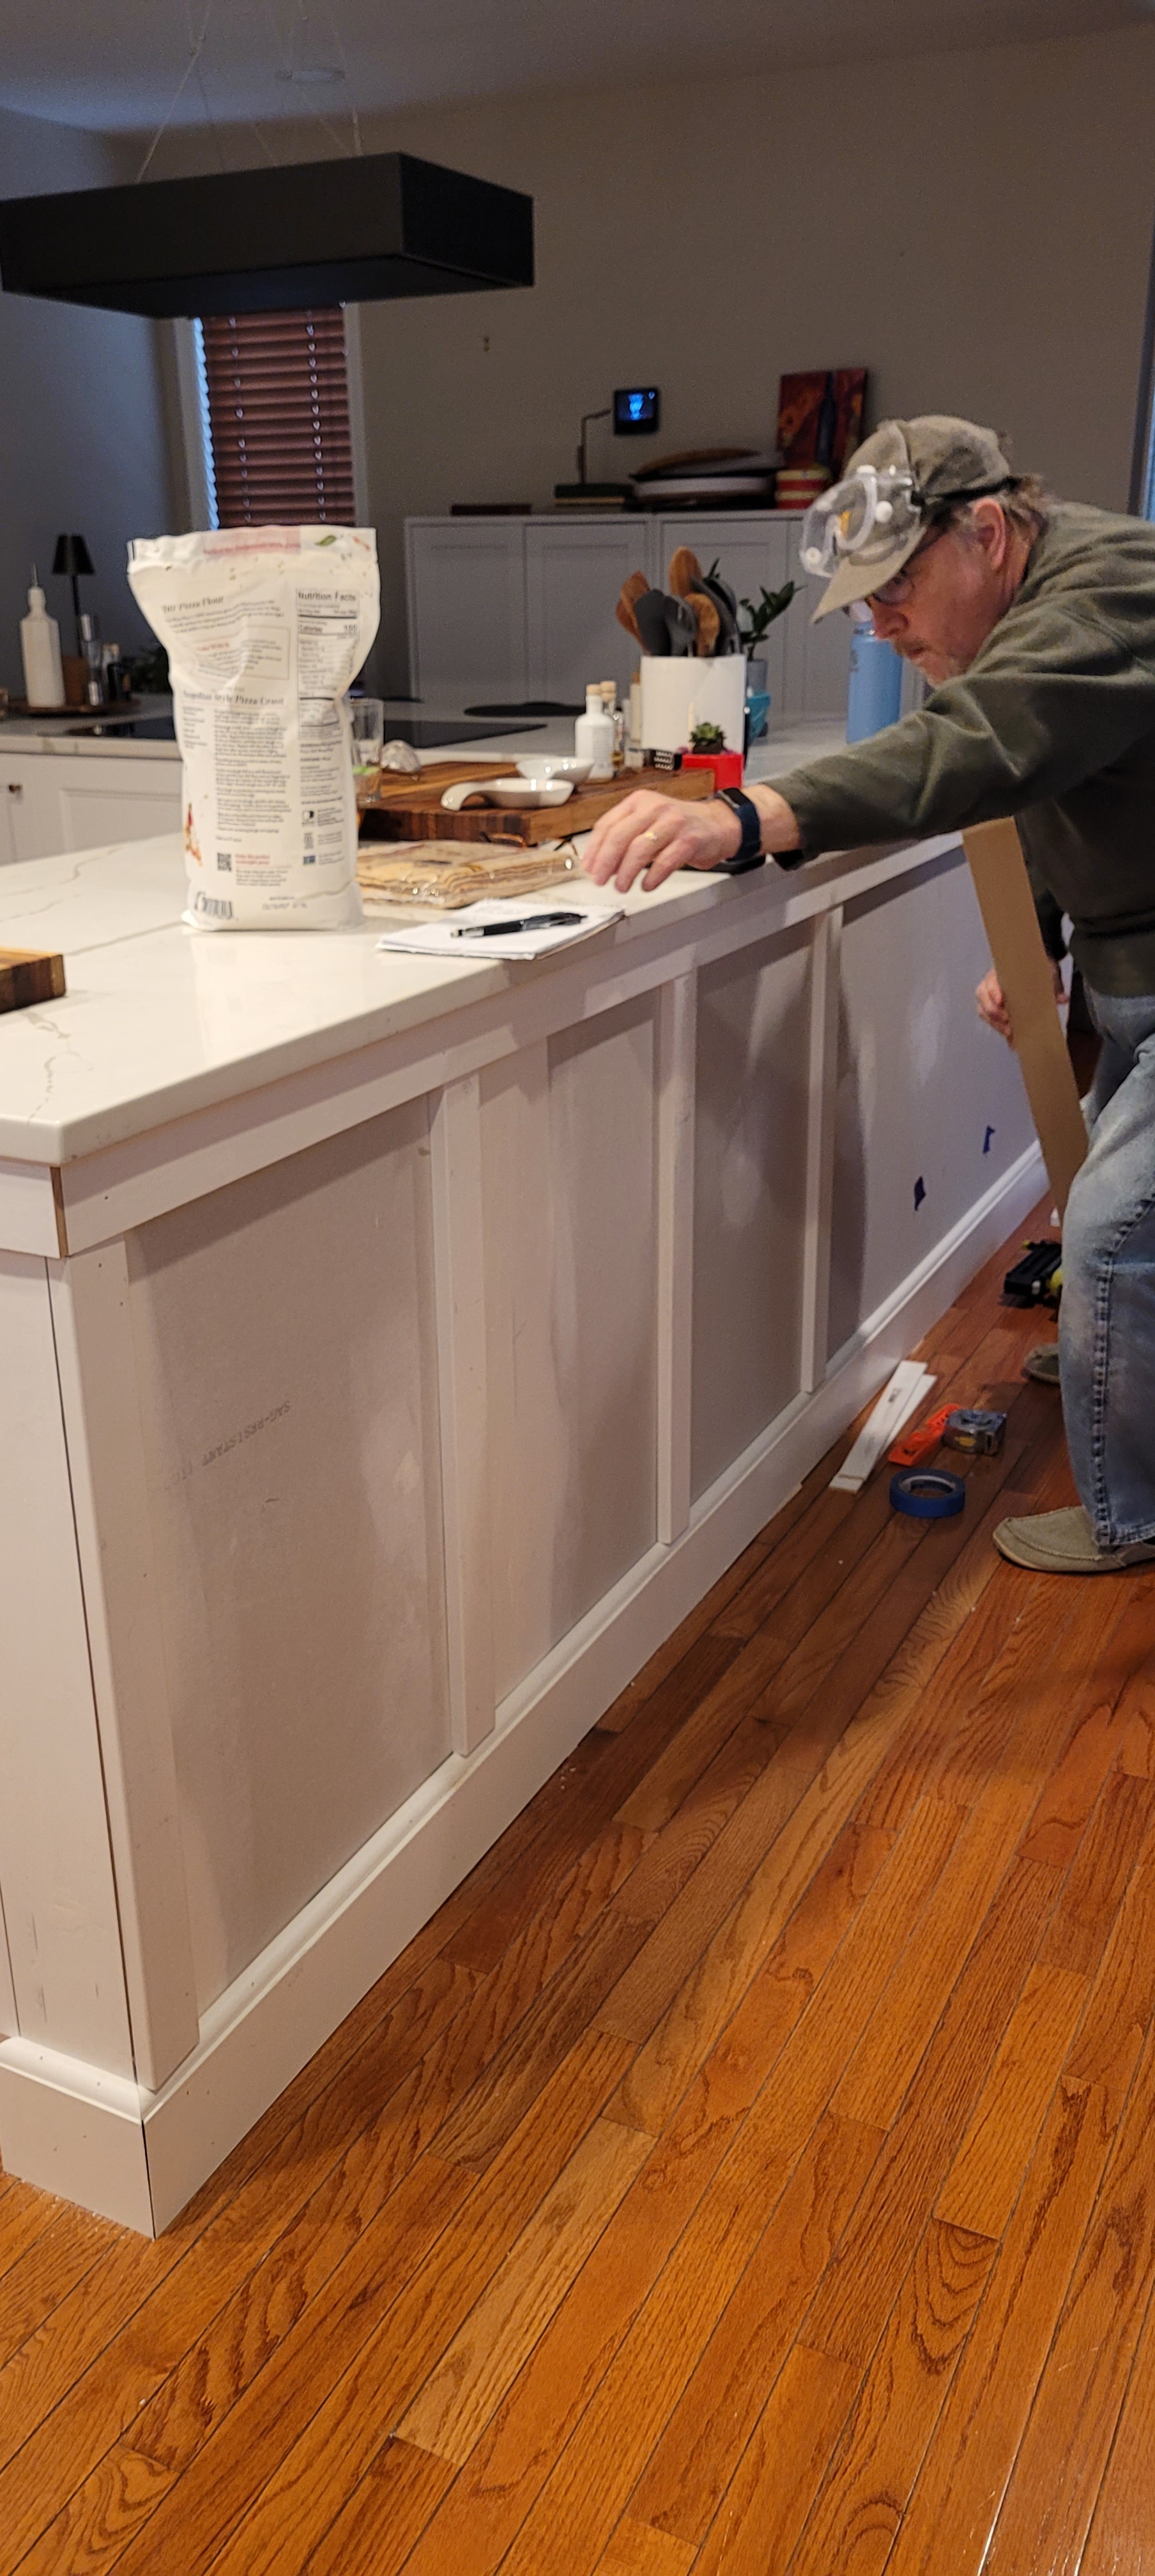
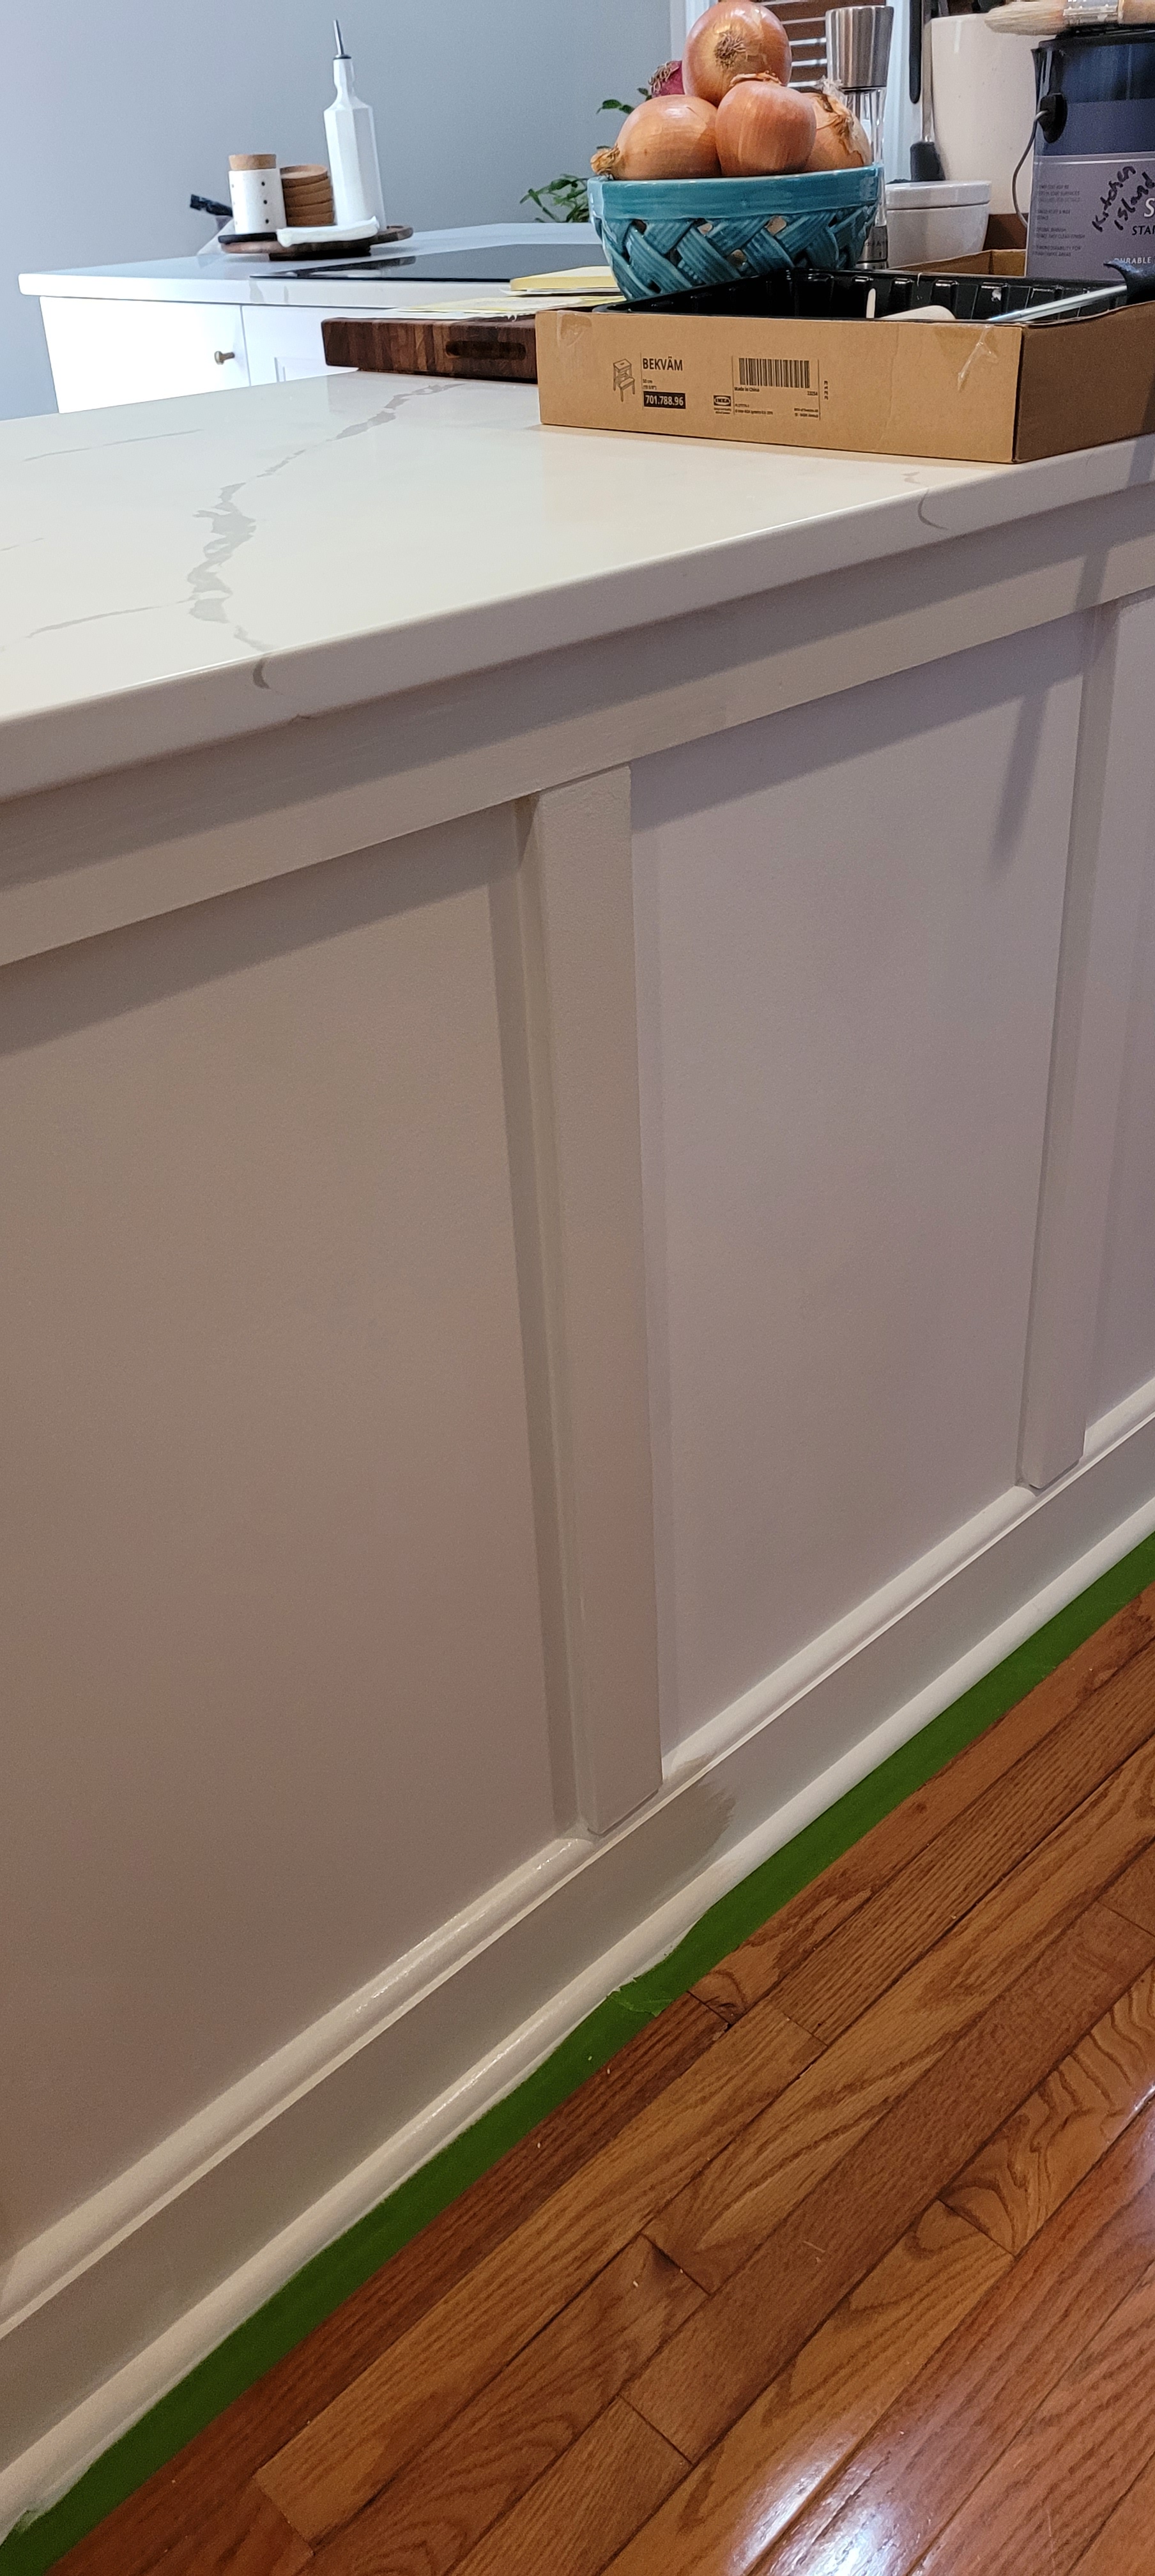
Ultimately, we opted out of a full box trim because we thought the layers starting from the base moulding on up would produce too small of box panels and thus create a really busy look for this very open, but ultimately modest, space. Instead, we went with straight battens, ending at the base trim. There are so many tutorials for how to do proper board and batten online, and I think we watched every video we could find. We also had already done this before, so we kinda knew what we were getting ourselves into. We’ll try to pull together a tutorial one of these days and save it on the website.
Look at the intensity on that face 🙂
Finally, once all the bits were installed, we took to re-mudding parts of the panels because the original dry wall was, well, really messy. It is easy to blame the contractor, but honestly, they had a huge job on their hands and tidying up dry wall mud wasn’t their first priority, nor truly their responsibility. Remember, we hired them to do the electrical and the big stuff (like building pony walls), but we wanted to manage the rest ourselves, both to save cash and to create exactly what we wanted.
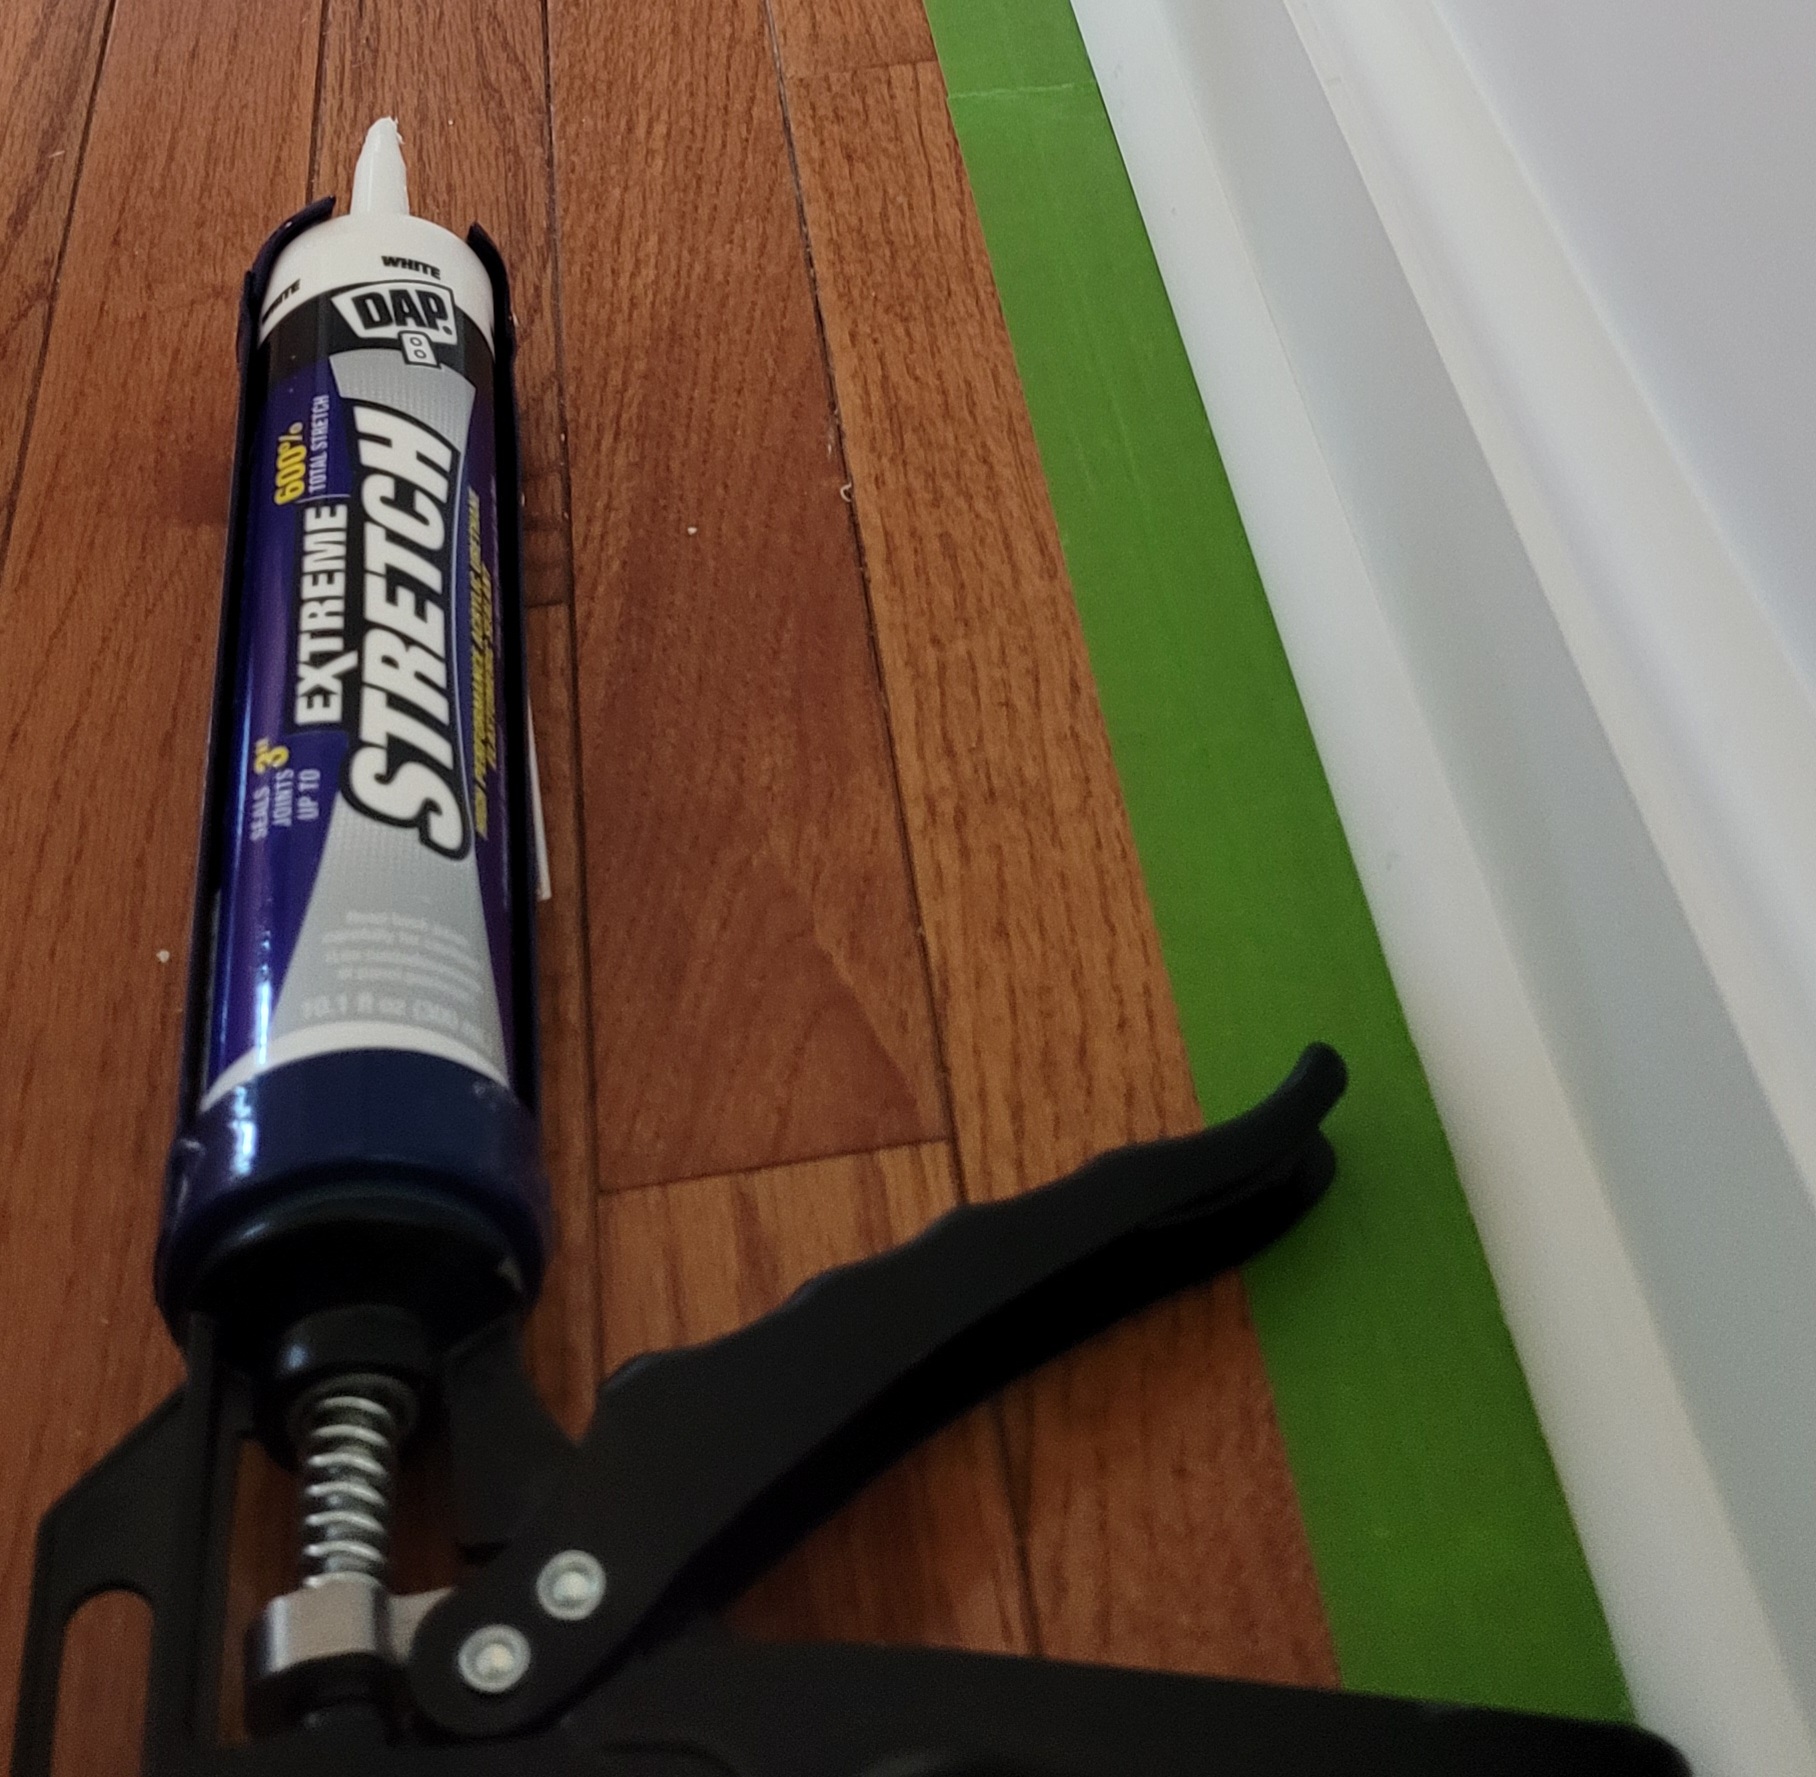
After all of the re-mudding, sanding, and nail hole-filling, we got to caulking. Caulking all of those seams makes for a more professional finished product, so the headache is well worth the time. In recent years, we have used Dap Extreme Stretch which is paintable and has never cracked nor shrunk on us.
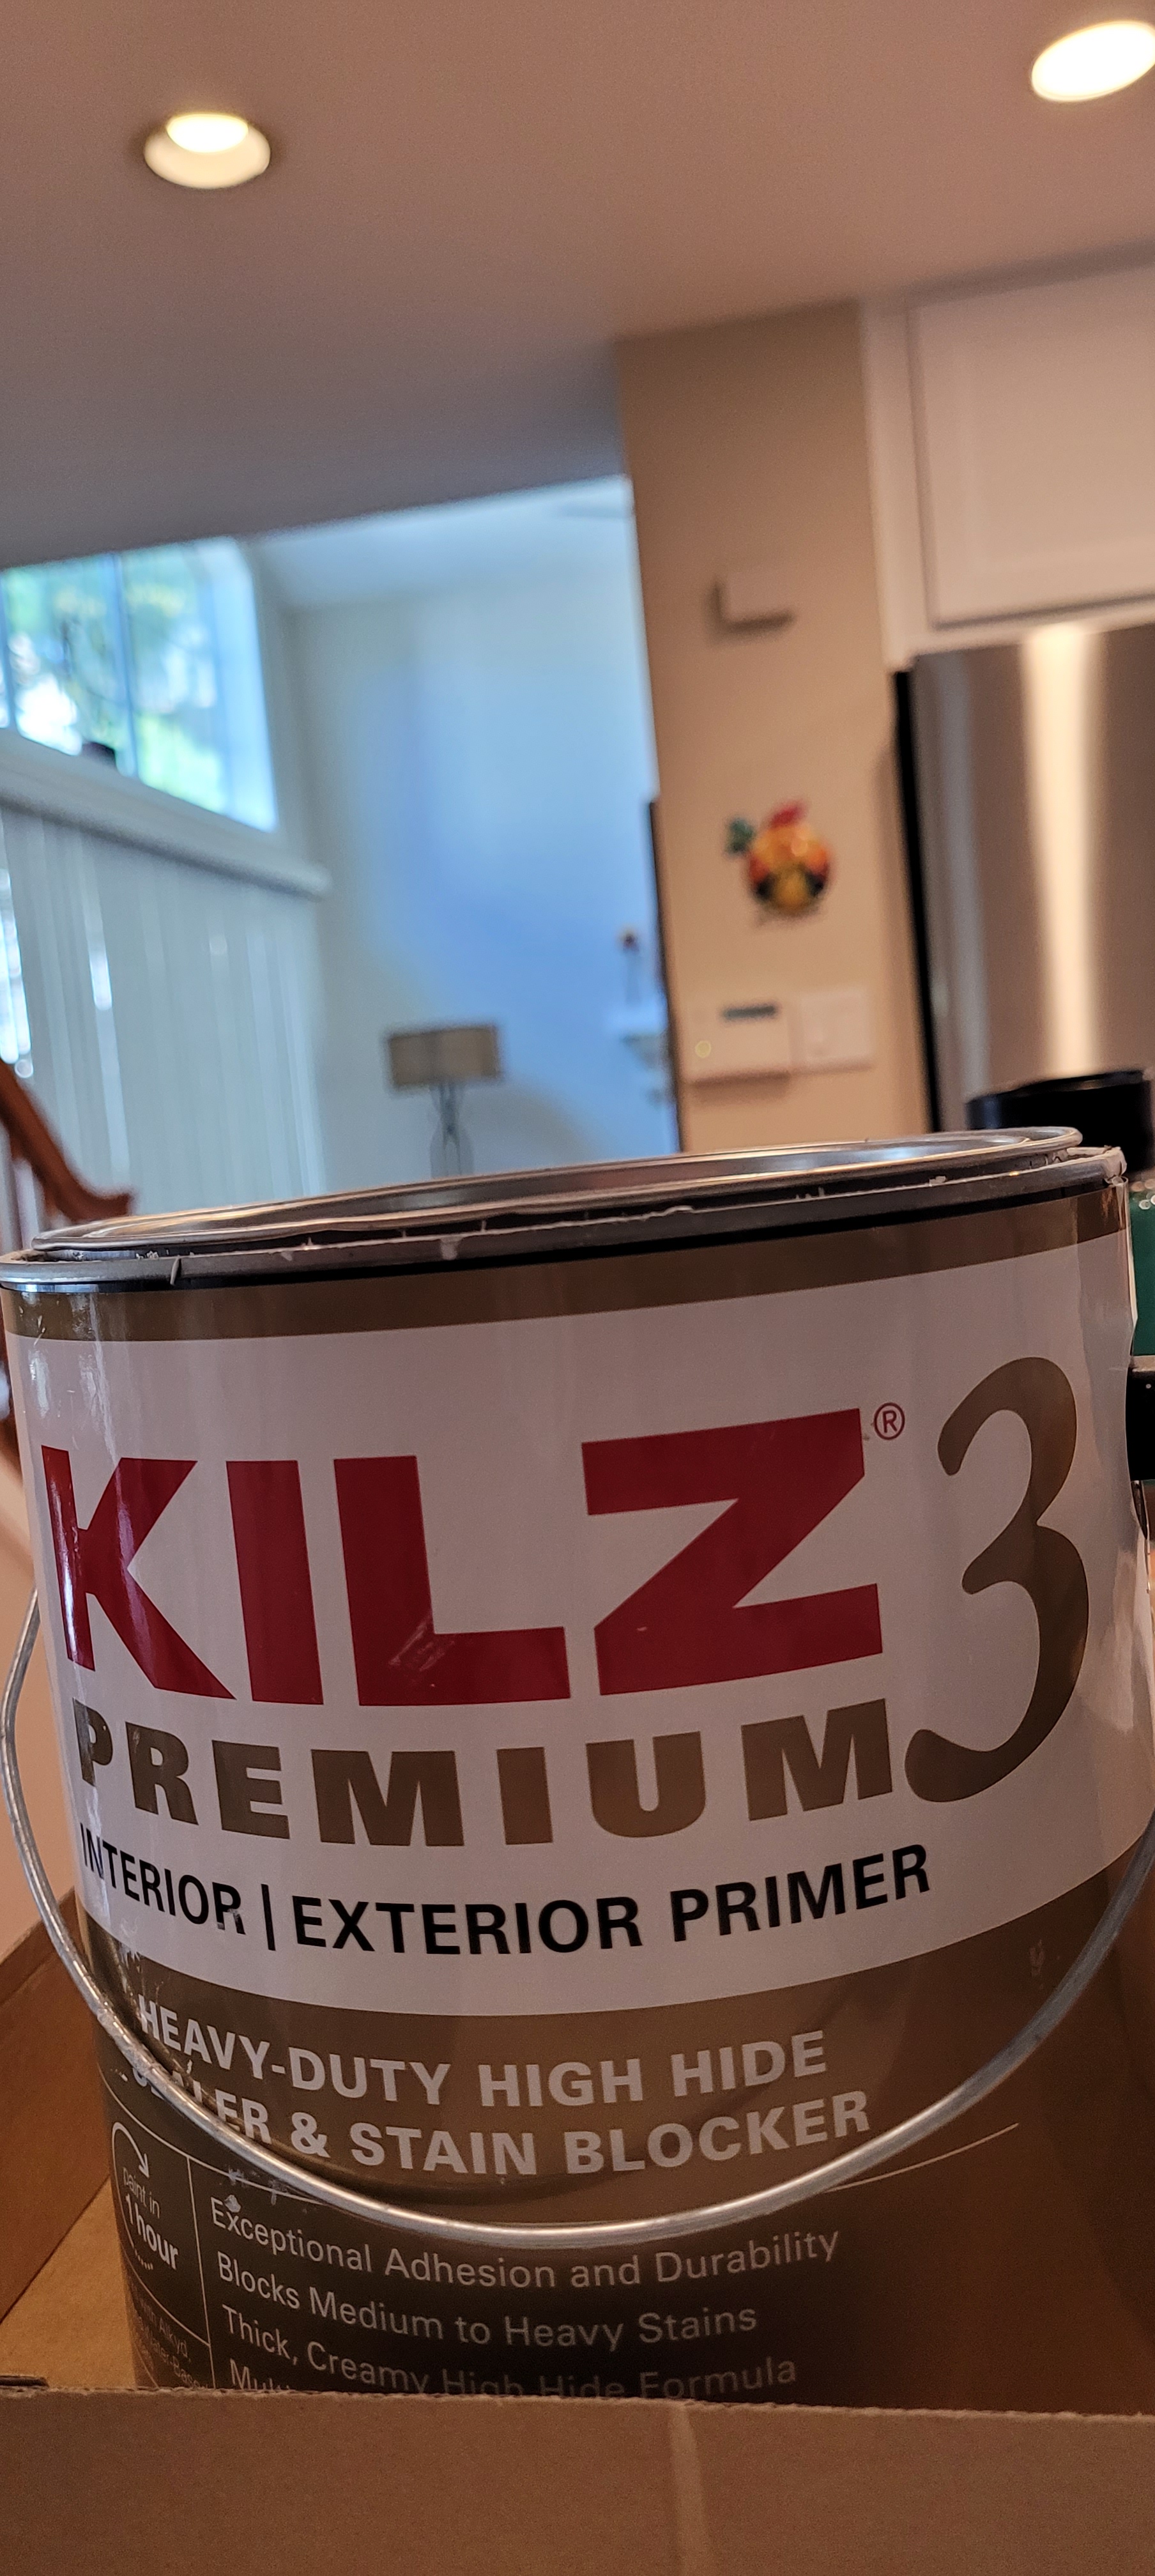
When the caulking trauma/drama was finally over and done with, we were able to apply the first coat of primer. Again, primer is necessary on bare drywall board, but it is also a must when you have applied wood filler, nail hole filler, and caulk — as those products can “flash” through to your finished wall. So, in an abundance of caution, we applied two full coats of Kilz 3 primer, sanding in between each coat for good adherence.
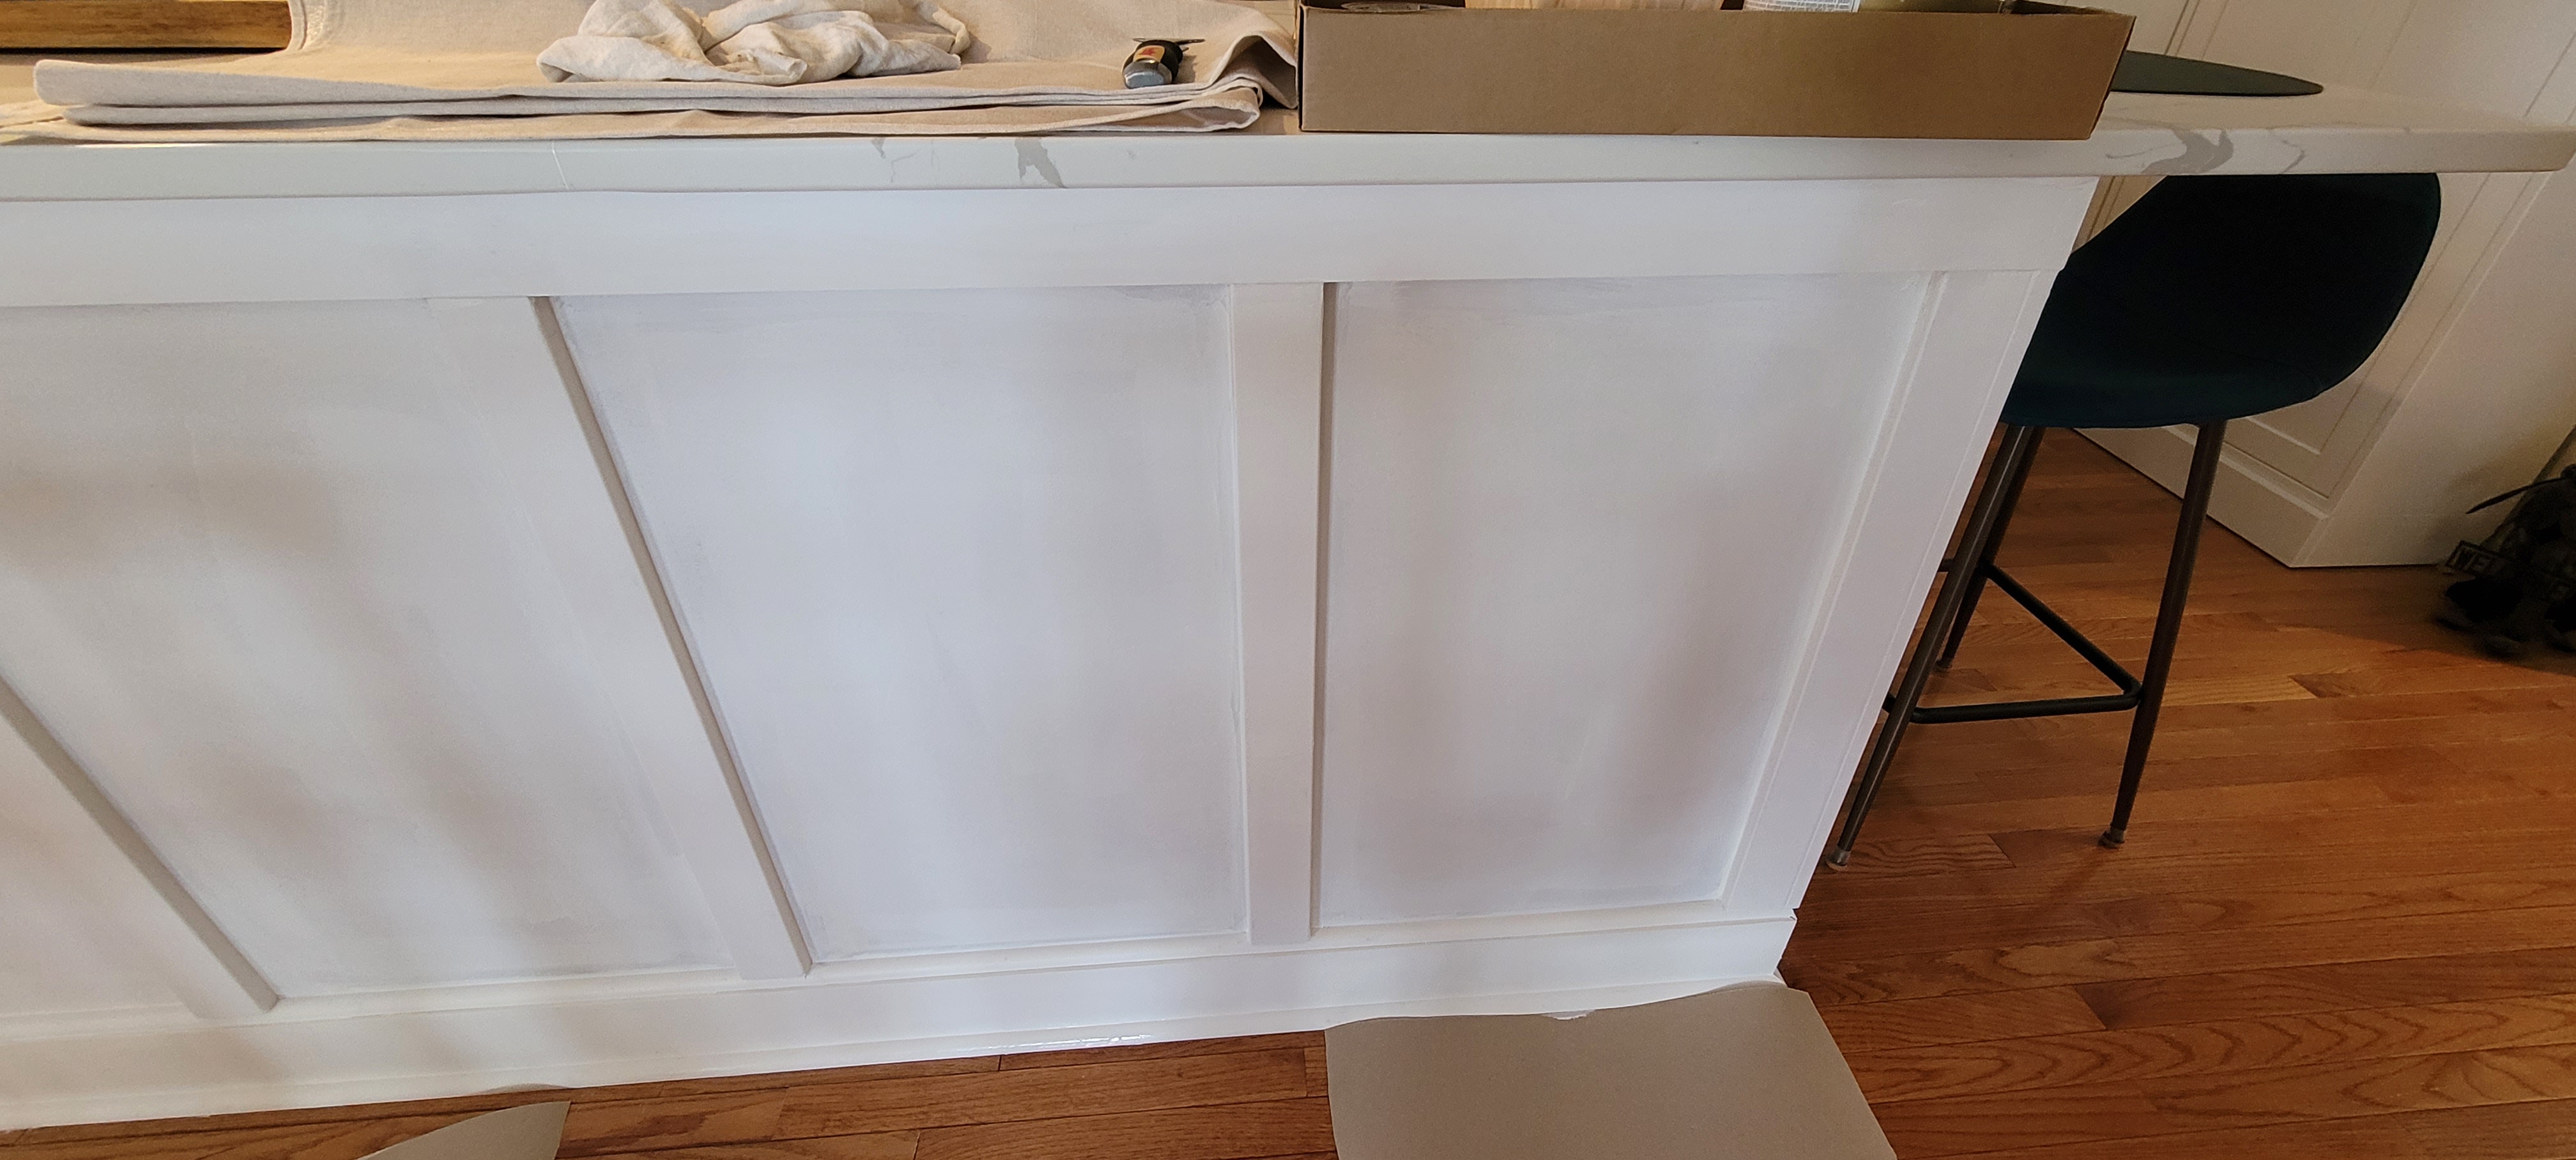
With priming behind us, we were able to start painting. FINALLY! We went with our whole house paint color (we have a complete open concept on our main floor, meaning that all the wall color is the same. Ours is Benjamin Moore’s Edgecomb Gray.) The big dilemma was which sheen to go with since we had decided to paint both the trim and the walls in the same color. Normally, our trim would be in a semi-gloss finish, but our walls have always been flat or matte. We decided to strike a pose right down the middle and went with a satin. It worked! Just enough shine to add some light and reflective value, but not enough to look weird.
We have never been lucky enough for one coat to do the job. But, were a little surprised to see that the second coat didn’t quite do the trick, either.
We waited a full four hours between coats (we think it is more durable when each coat has a chance to fully dry), and ended up, late last night, adding a third coat. Which was, indeed, the charm.
We still need to add some scribe to this baby on the end caps, and be gentle with it for the next four weeks (the prescribed “cure” time), but we are glad to have this major hurdle scaled and cleared!
Next up, this monster needs to get trimmed out, built in, primed, and painted. Story of our reno lives 🙂